 |
|
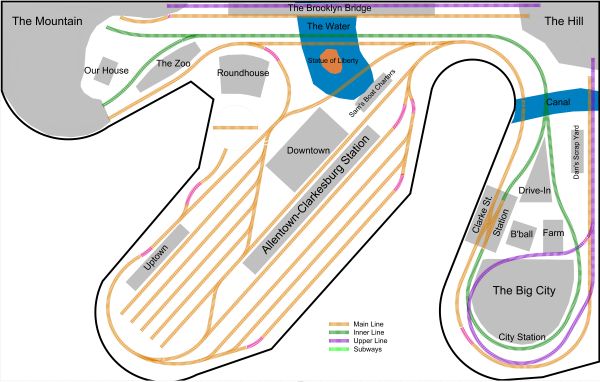
The Allentown-Clarkesburg Railroad | ||||||
|
|
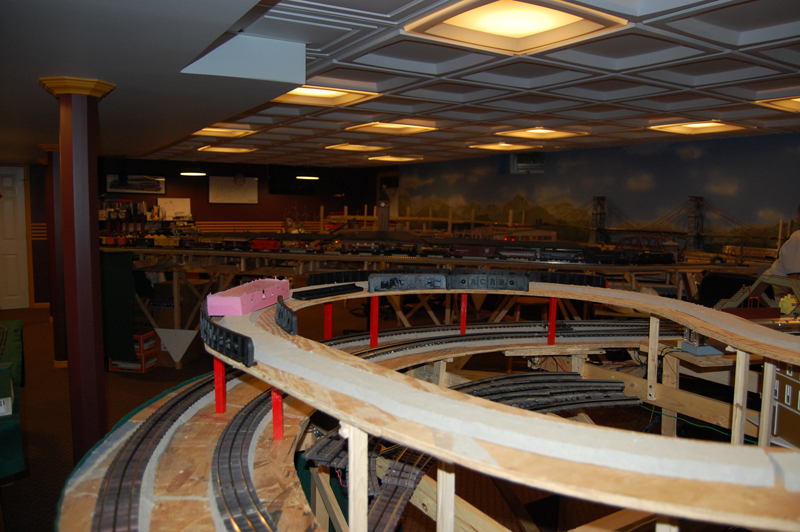
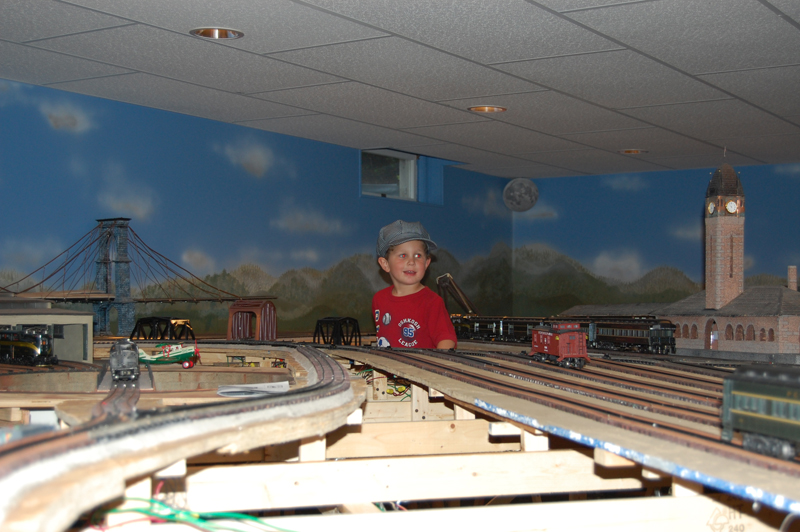
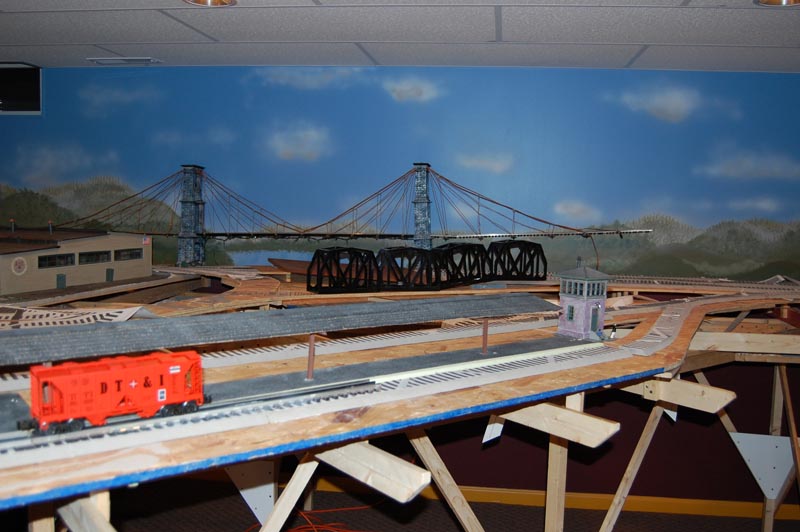
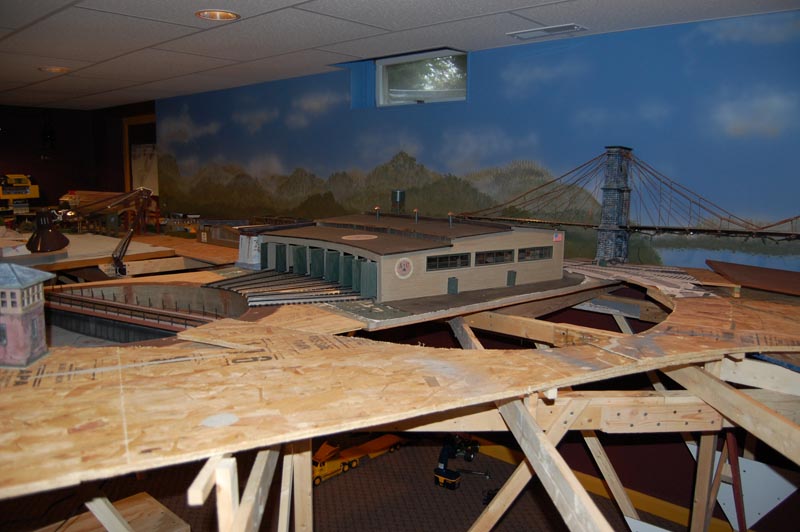
Construction on the current Allentown & Clarkesburg Railroad has been underway for since 2007, very much in fits and starts. The layout uses L-girder, open-grid construction.
I used XTrkCad to design the layout. It's a bit fiddly at first, but it's 1) free and 2) highly customizable, allowing you to create and edit your own parameter files using the GUI or the text files themselves. You can download the latest version from www.XTrkCad.org.
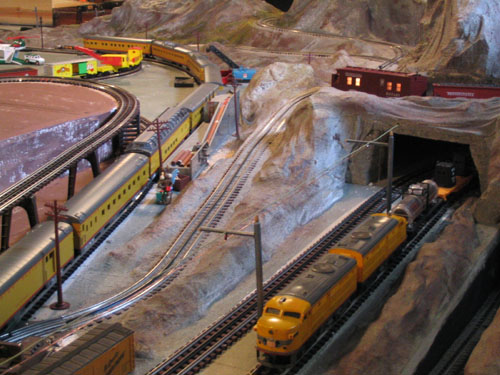
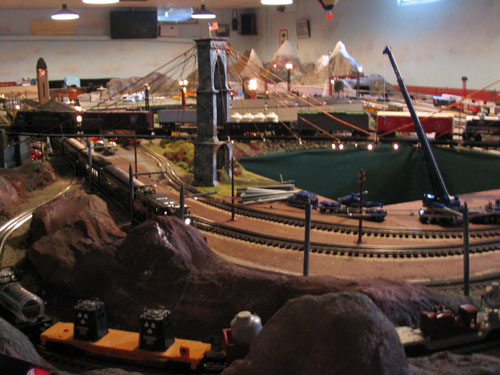
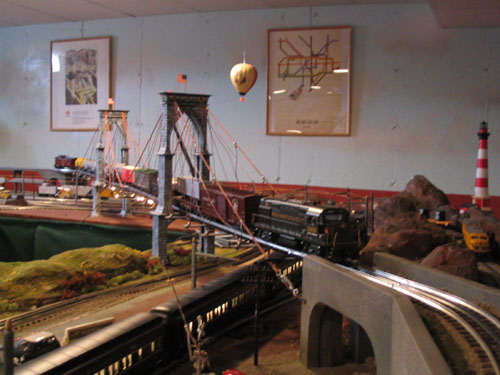
The New ACRR (2007-2018)
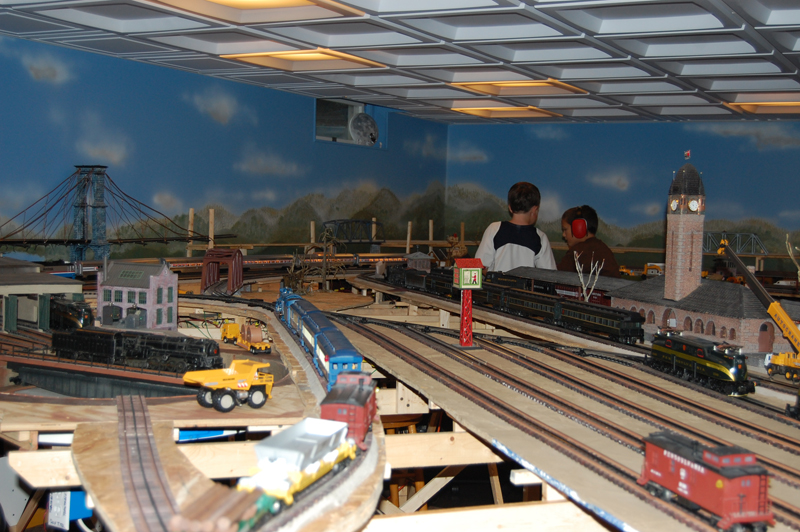
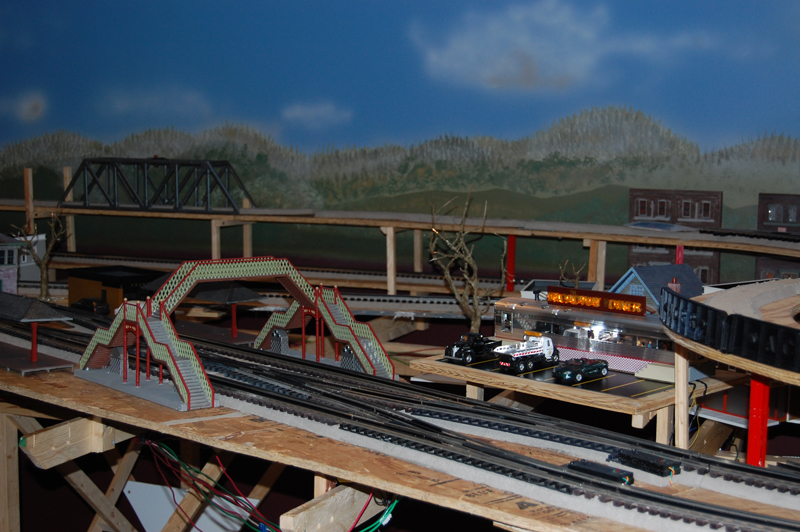
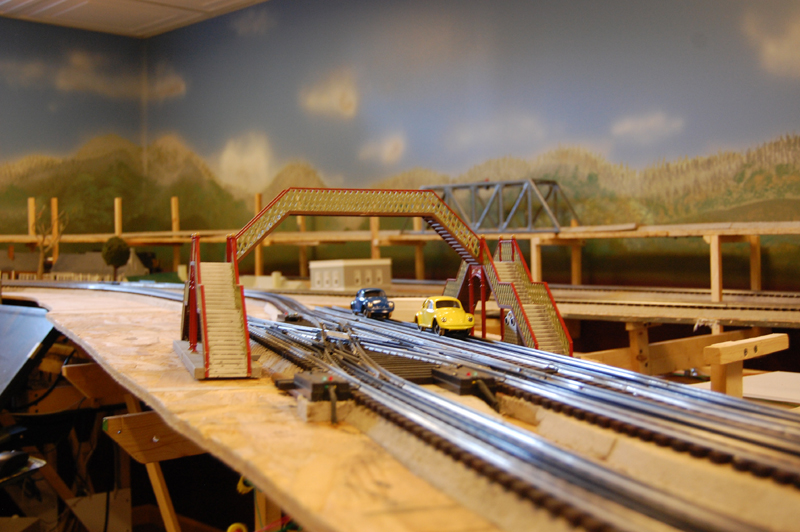
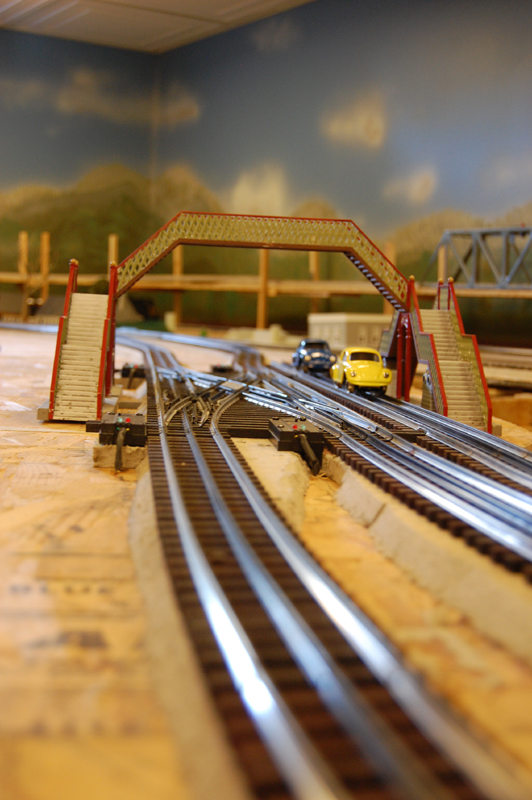
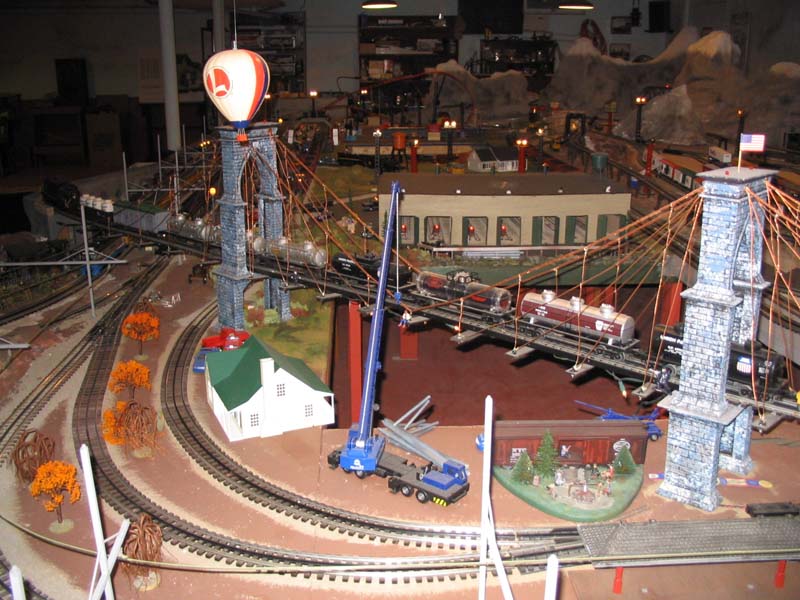
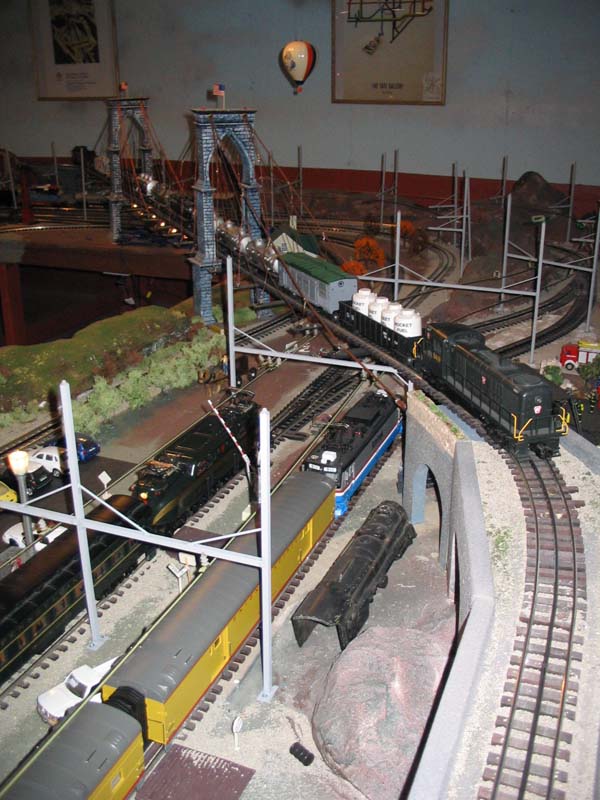
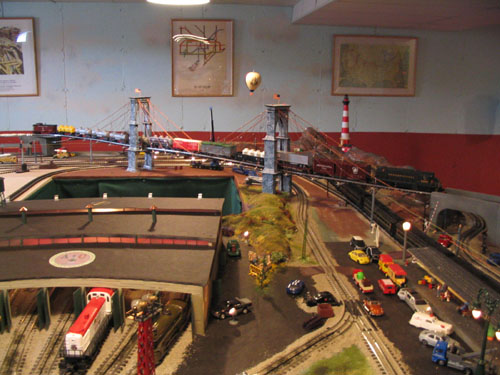
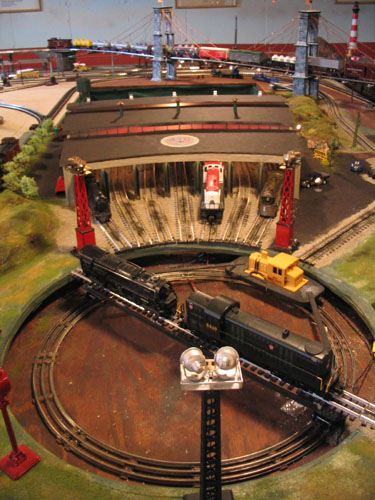
The layout looks largely like this, with a few minor tweaks here and there.
February 2018: In anticipation of the dismantling of the ACRR for our planned move this summer, I've created a series of videos to showcase the layout as it was for the charity open house we held in January to benefit the Allentown Public Library. We had about 55 visitors and a good time was had by all, especially the kids who played scavenger hunt trying to find scenes and items on the layout. The video series is available on YouTube.
November 2017: At long last, my article about the ACRR has appeared in the January 2018 issue of Classic Toy Trains! I've been holding off updating this page because I wasn't sure which images CTT would use to accompany the article. I can now include here those that didn't make the cut.
In January, we'll be holding our second, and last, open house to benefit our local library. It's the last because by mid-2018, this layout will be coming down in preparation for our move to Canada in the summer of 2018. We're actively scouting out a new abode, and a train room is high on the list of priorities!
December 2014: It's been quite some time since the last update on the ACRR. In part, that's because for a while not much work was done and, in part, the tasks of life have taken precedence over updating this web page.
During the past year, I got to work on several areas that had been neglected for a while. There now are no more holes in the layout; all surface areas have been covered in some way or other.
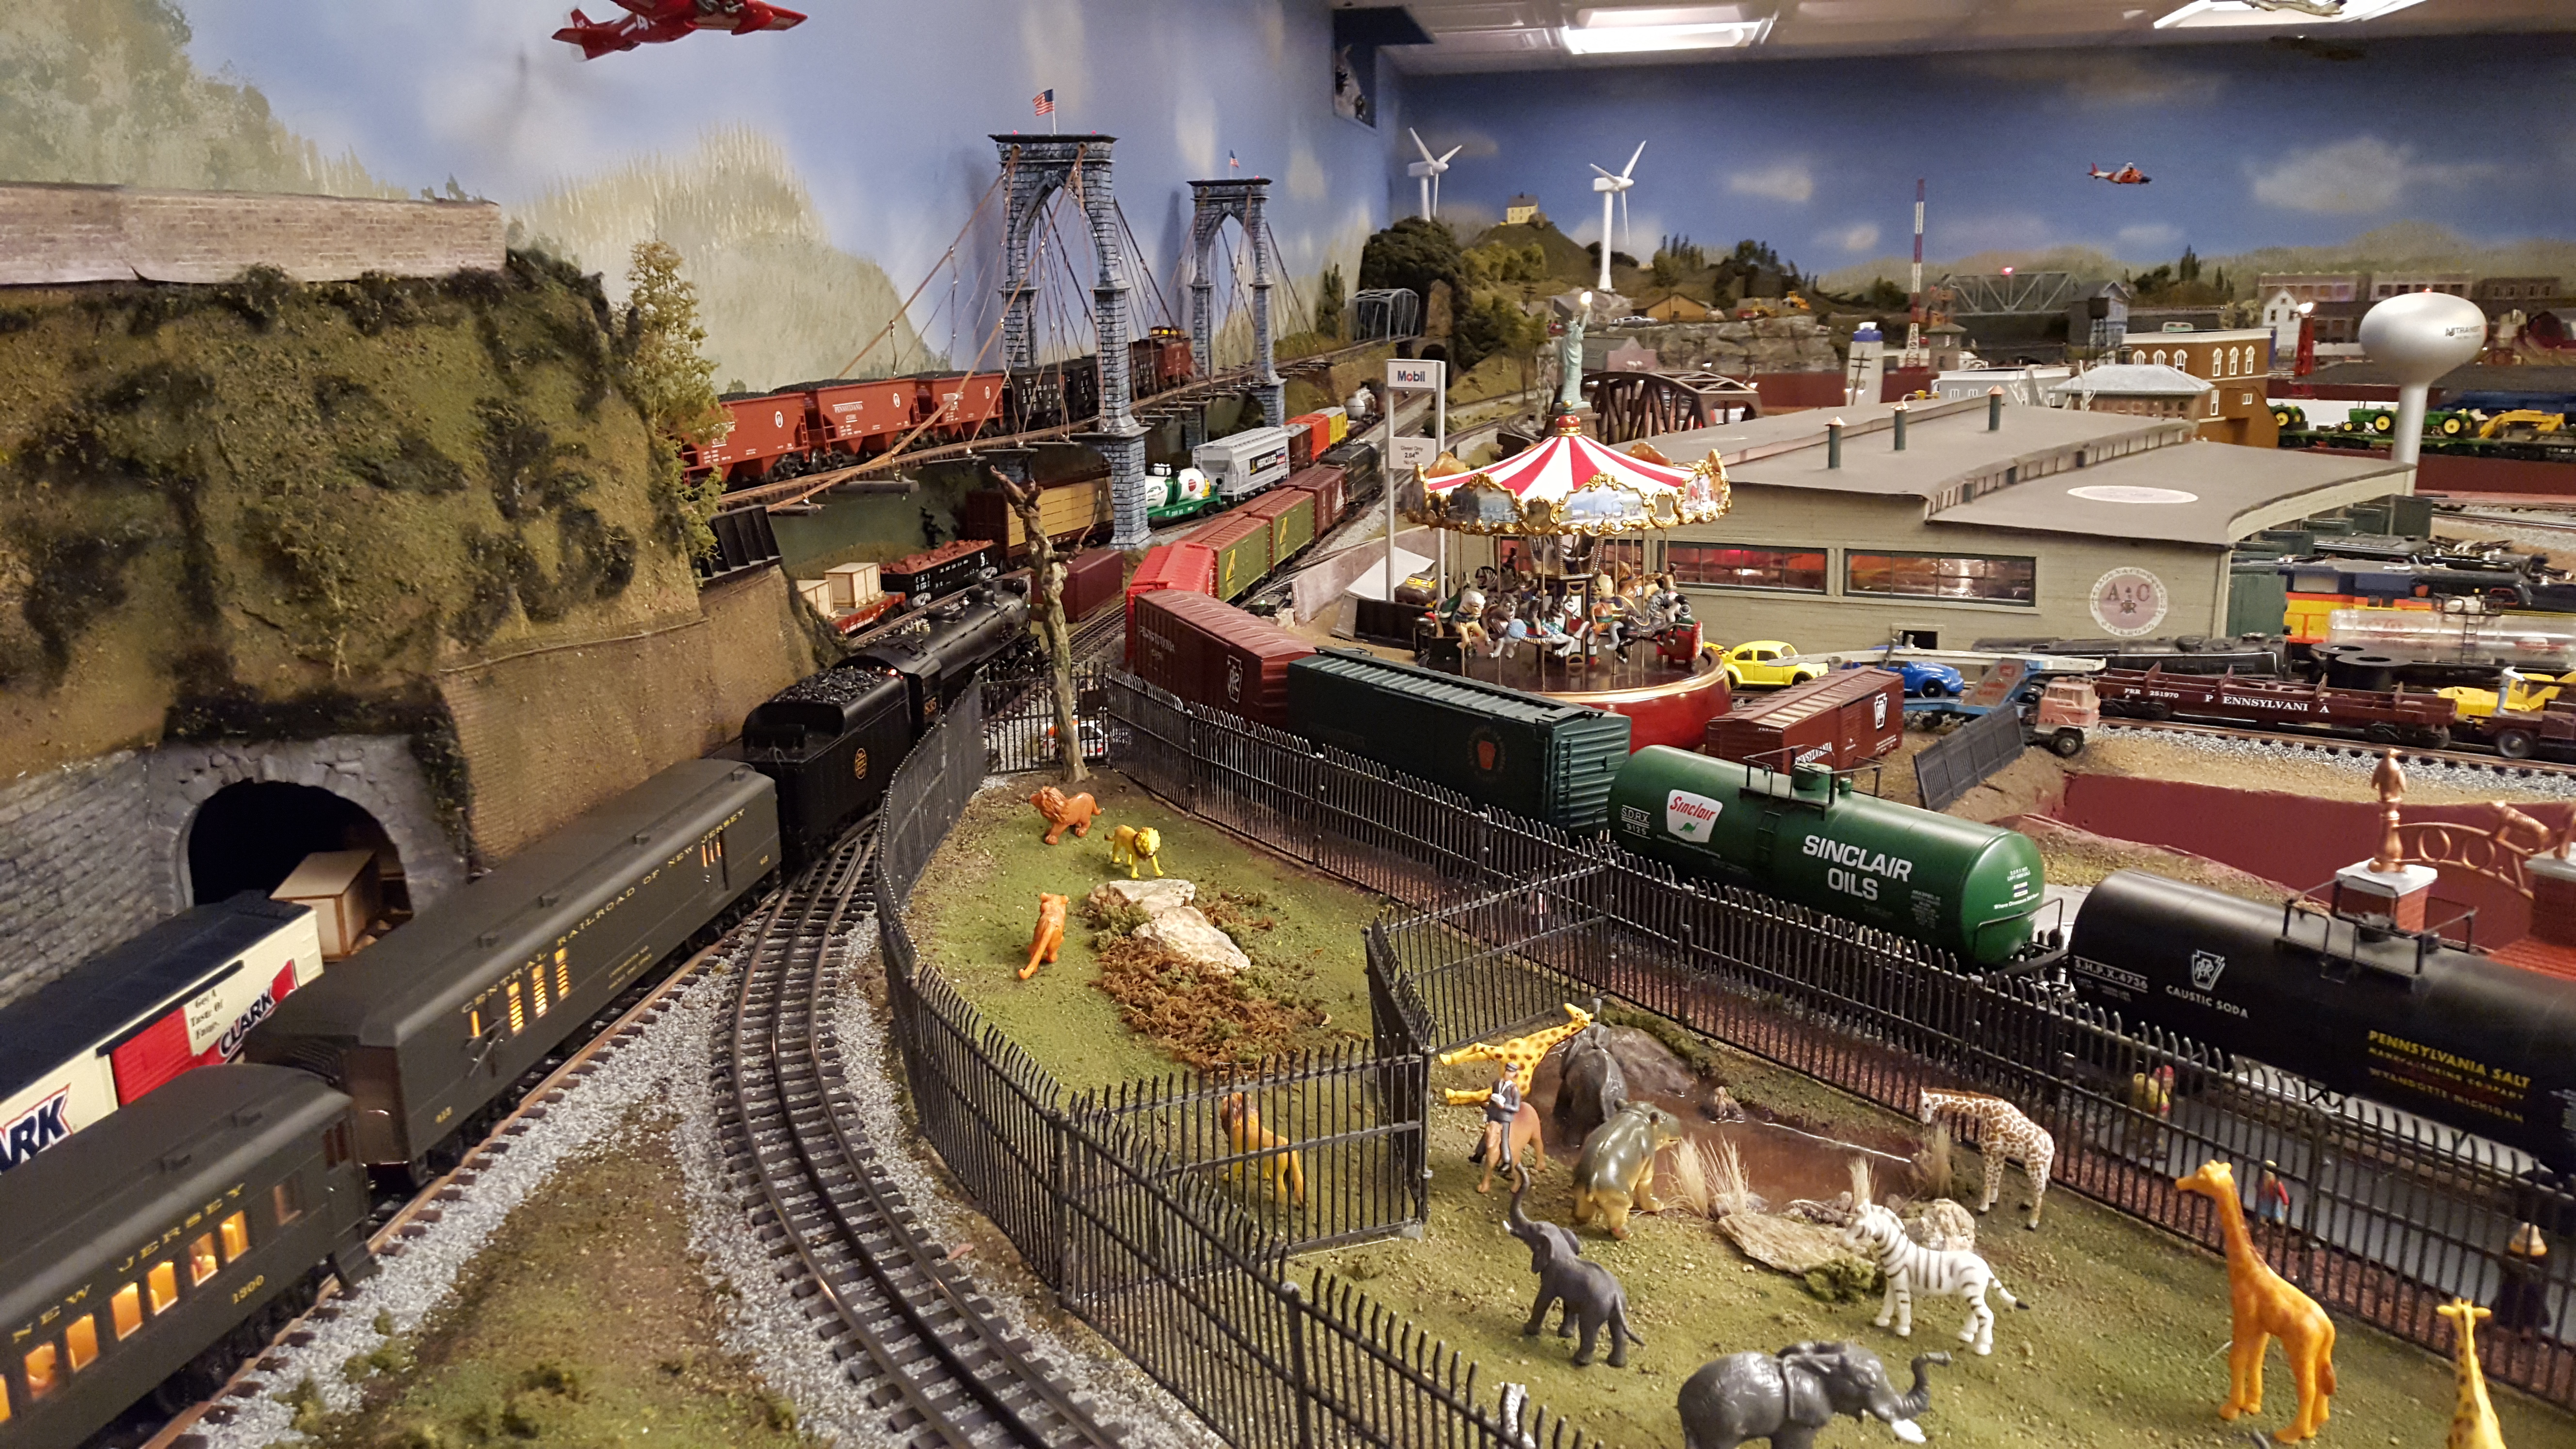
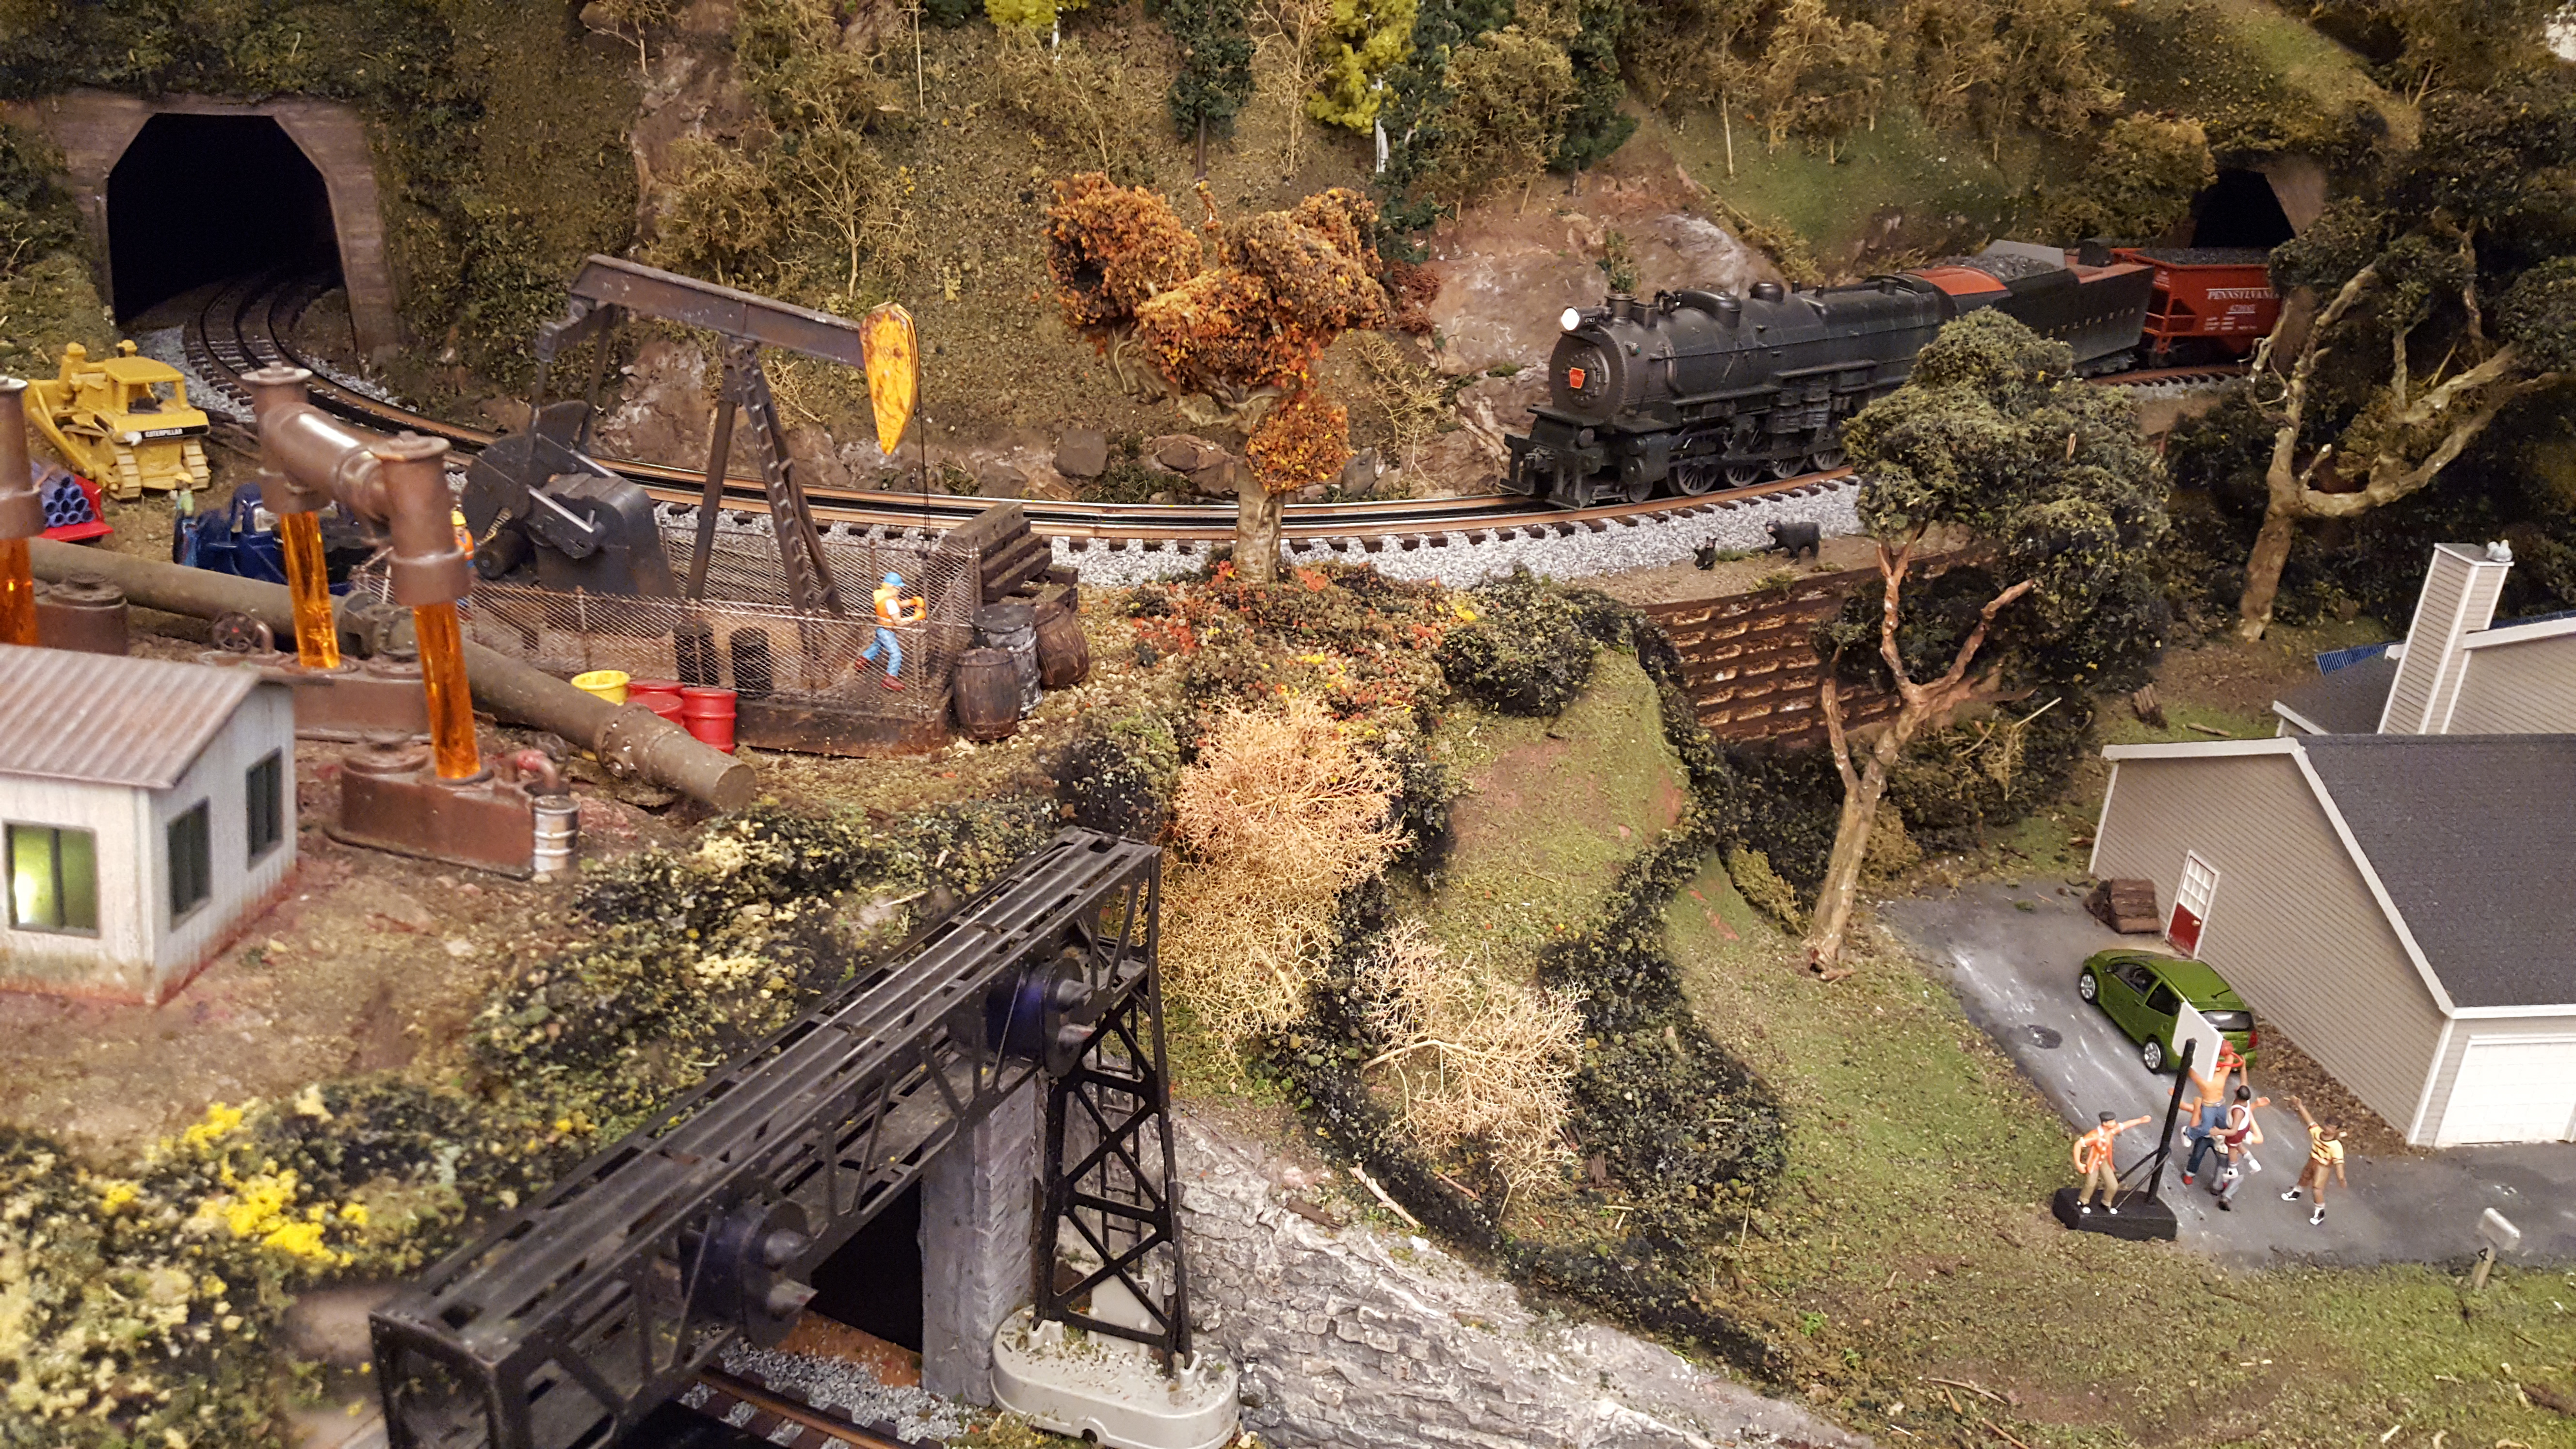
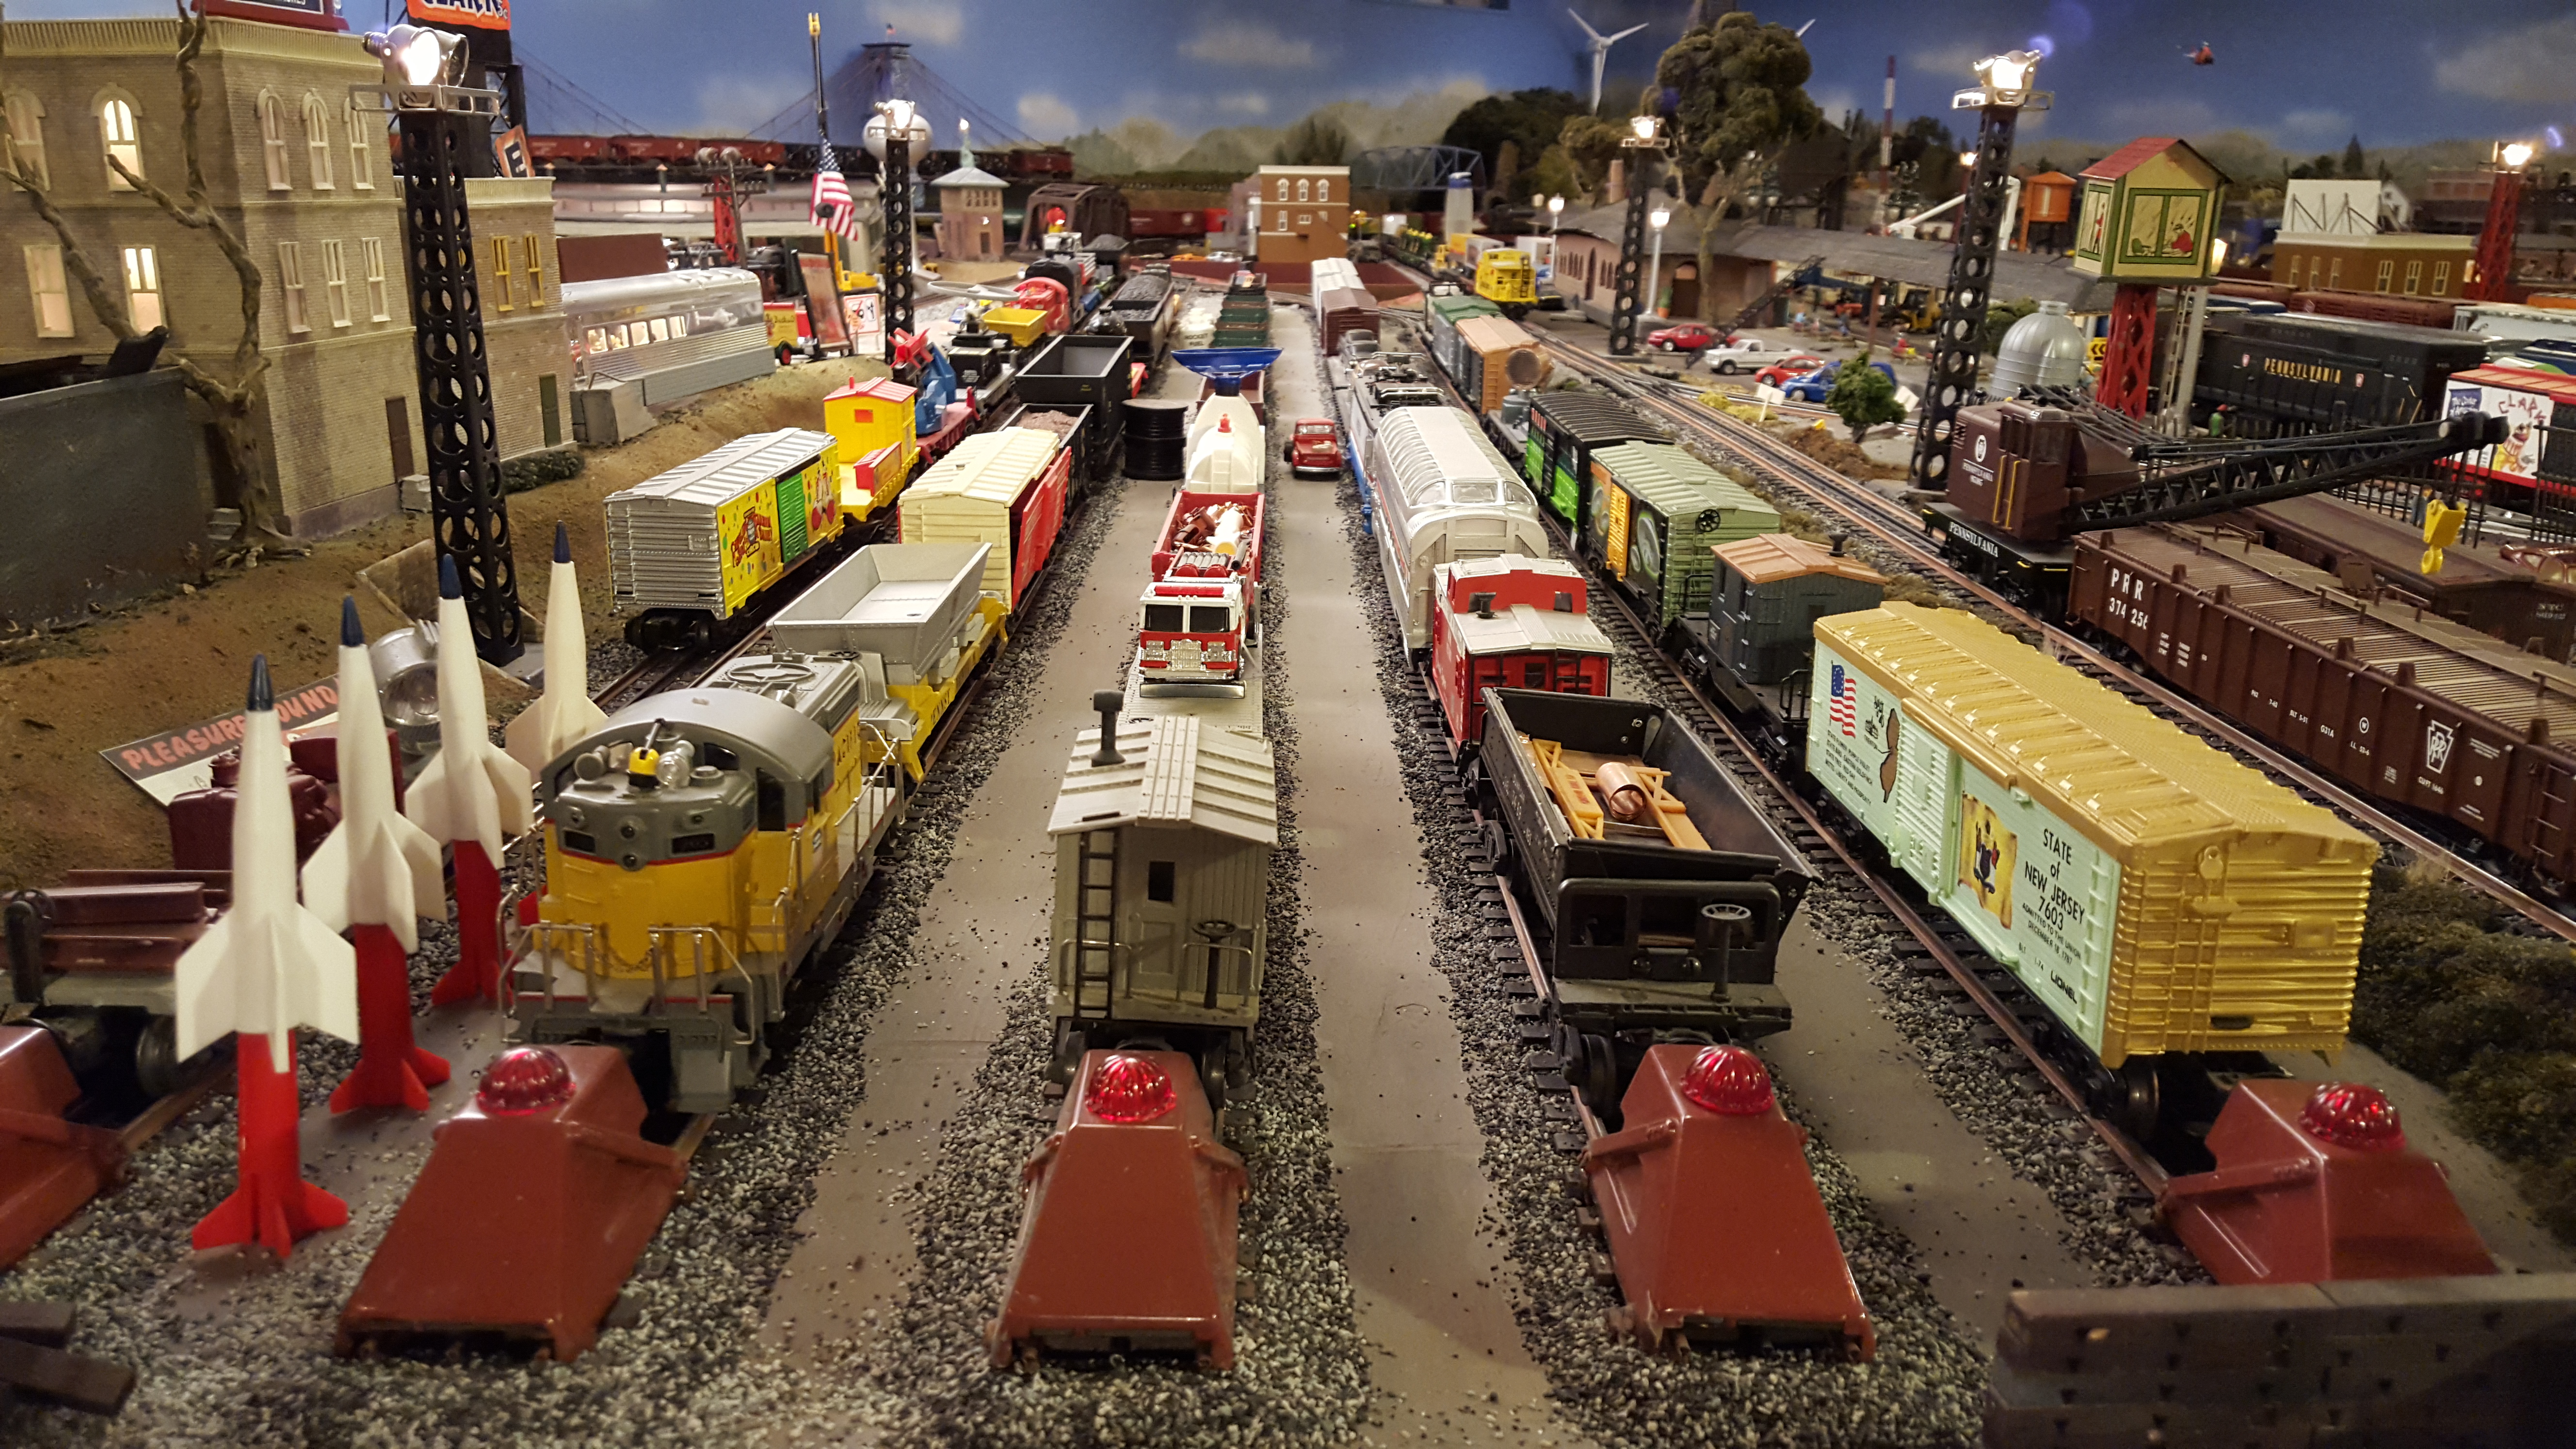
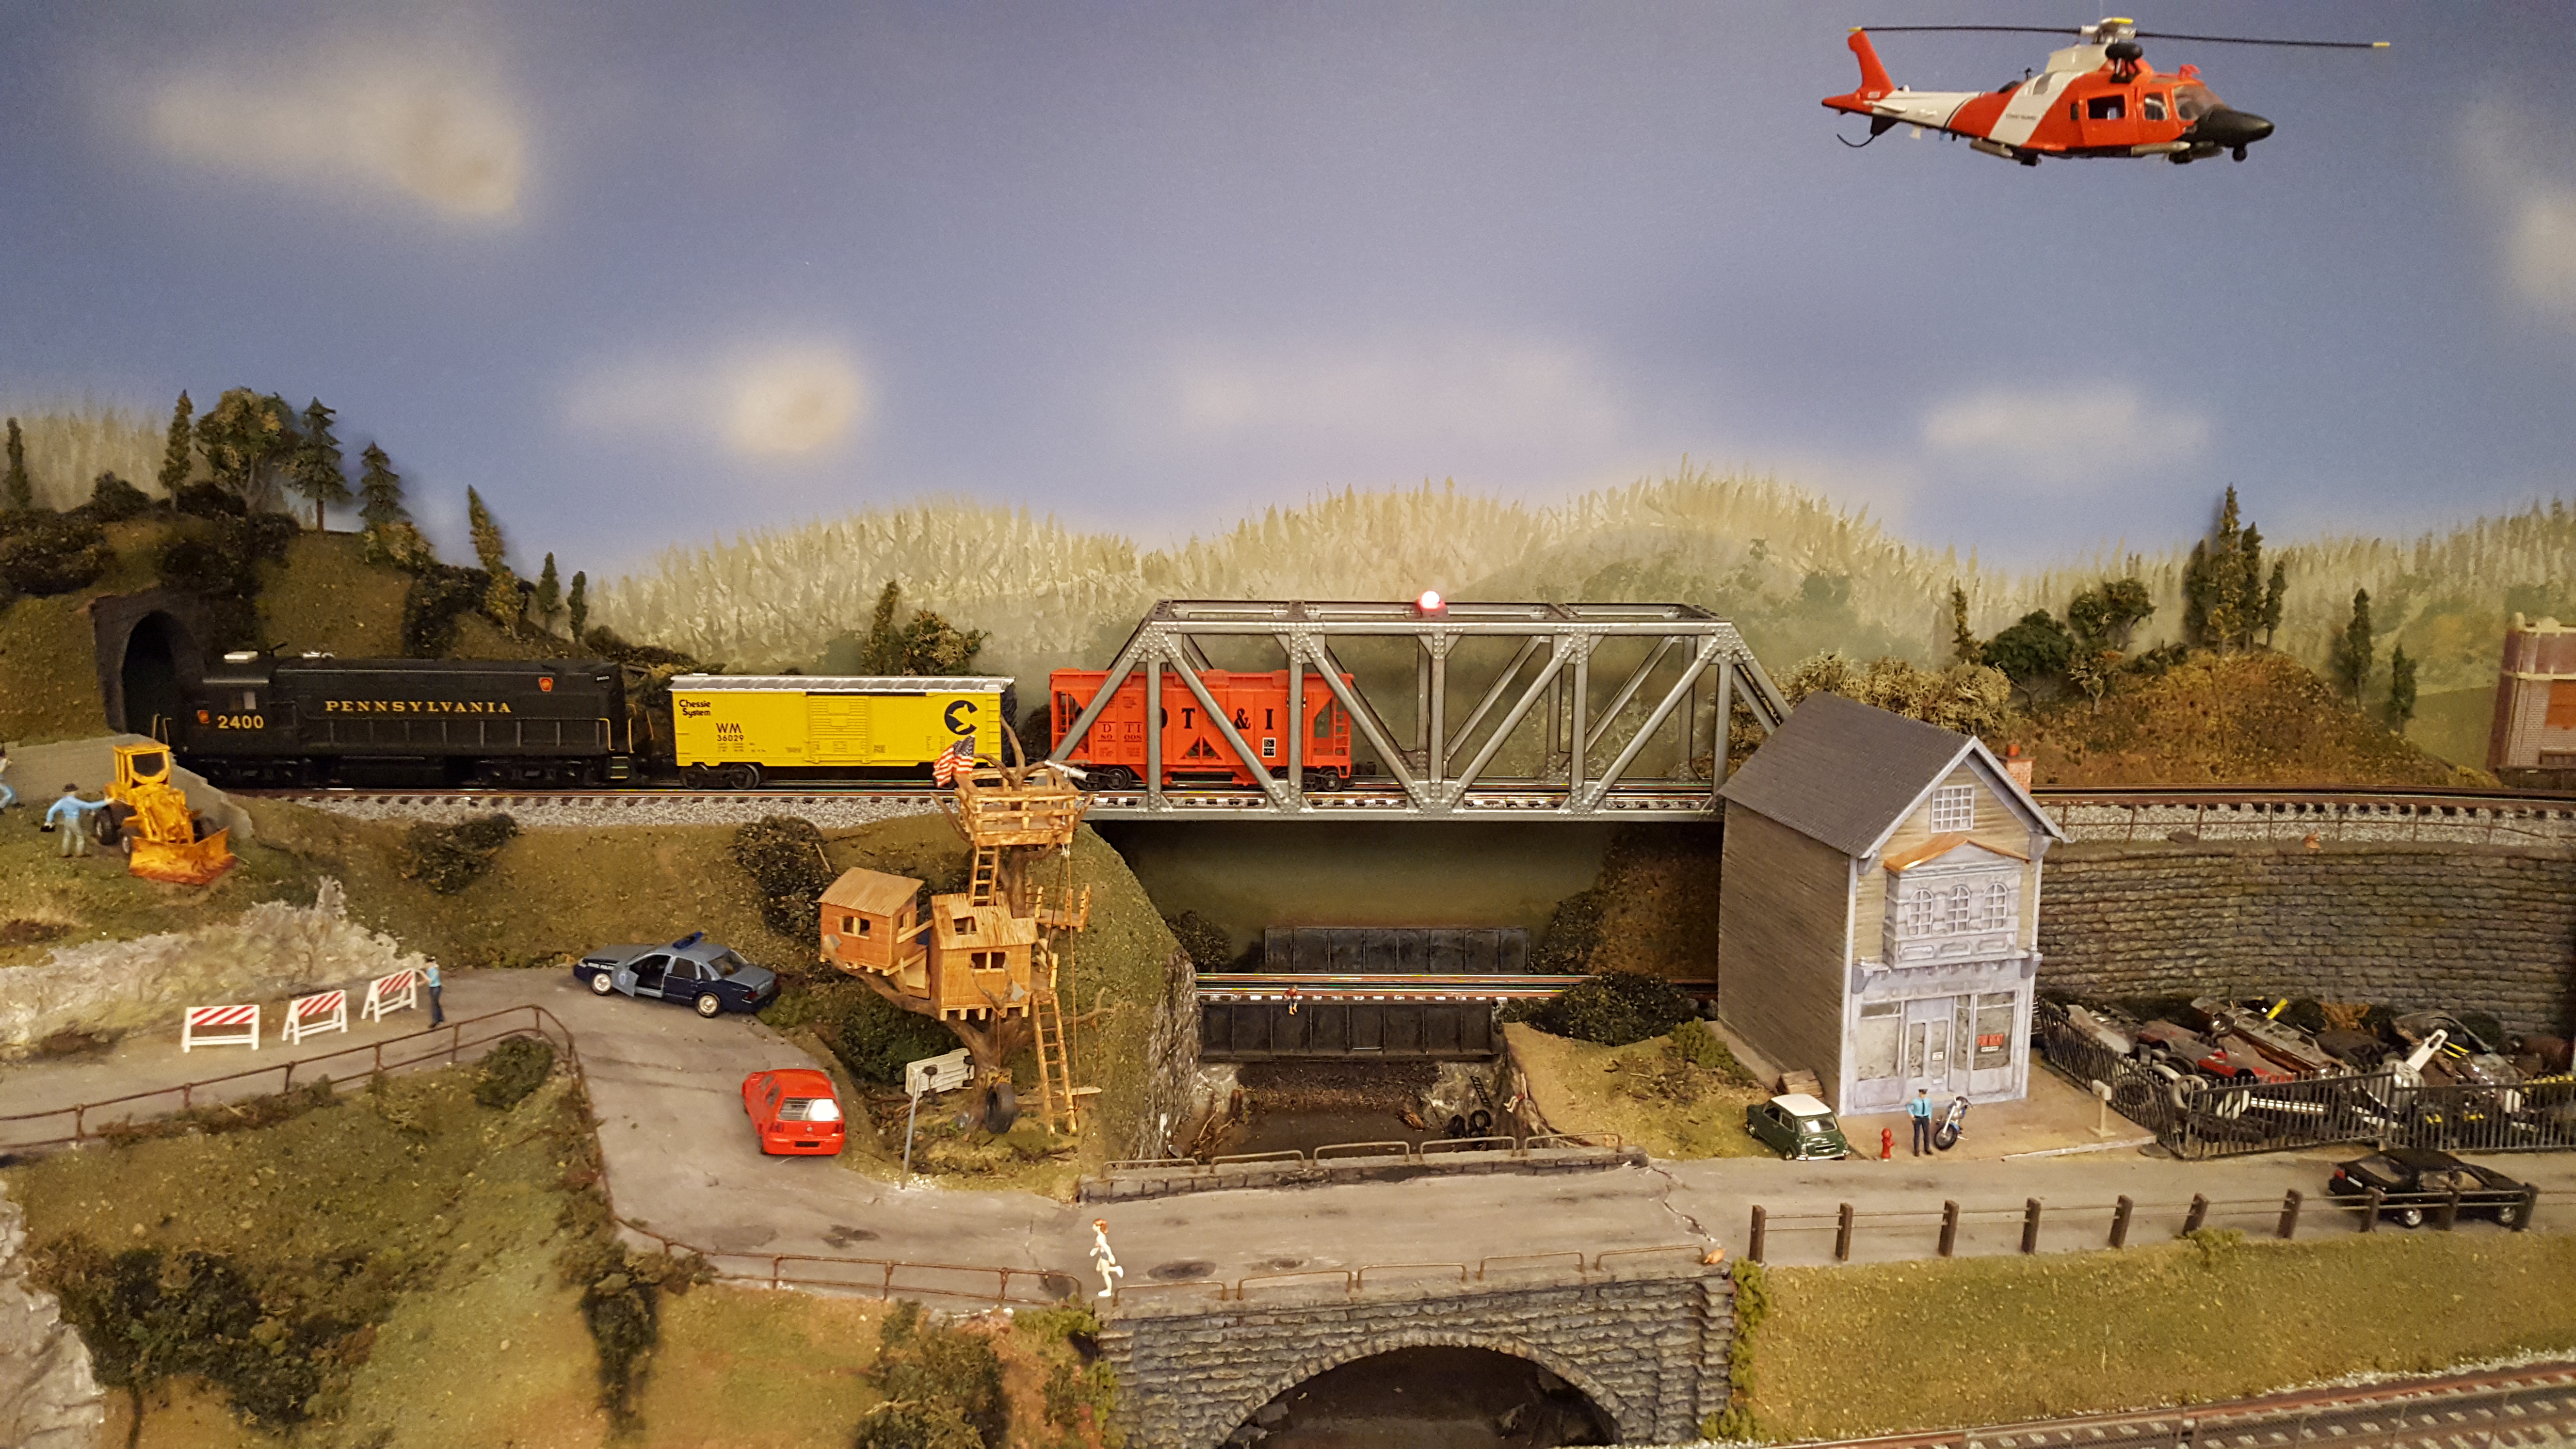
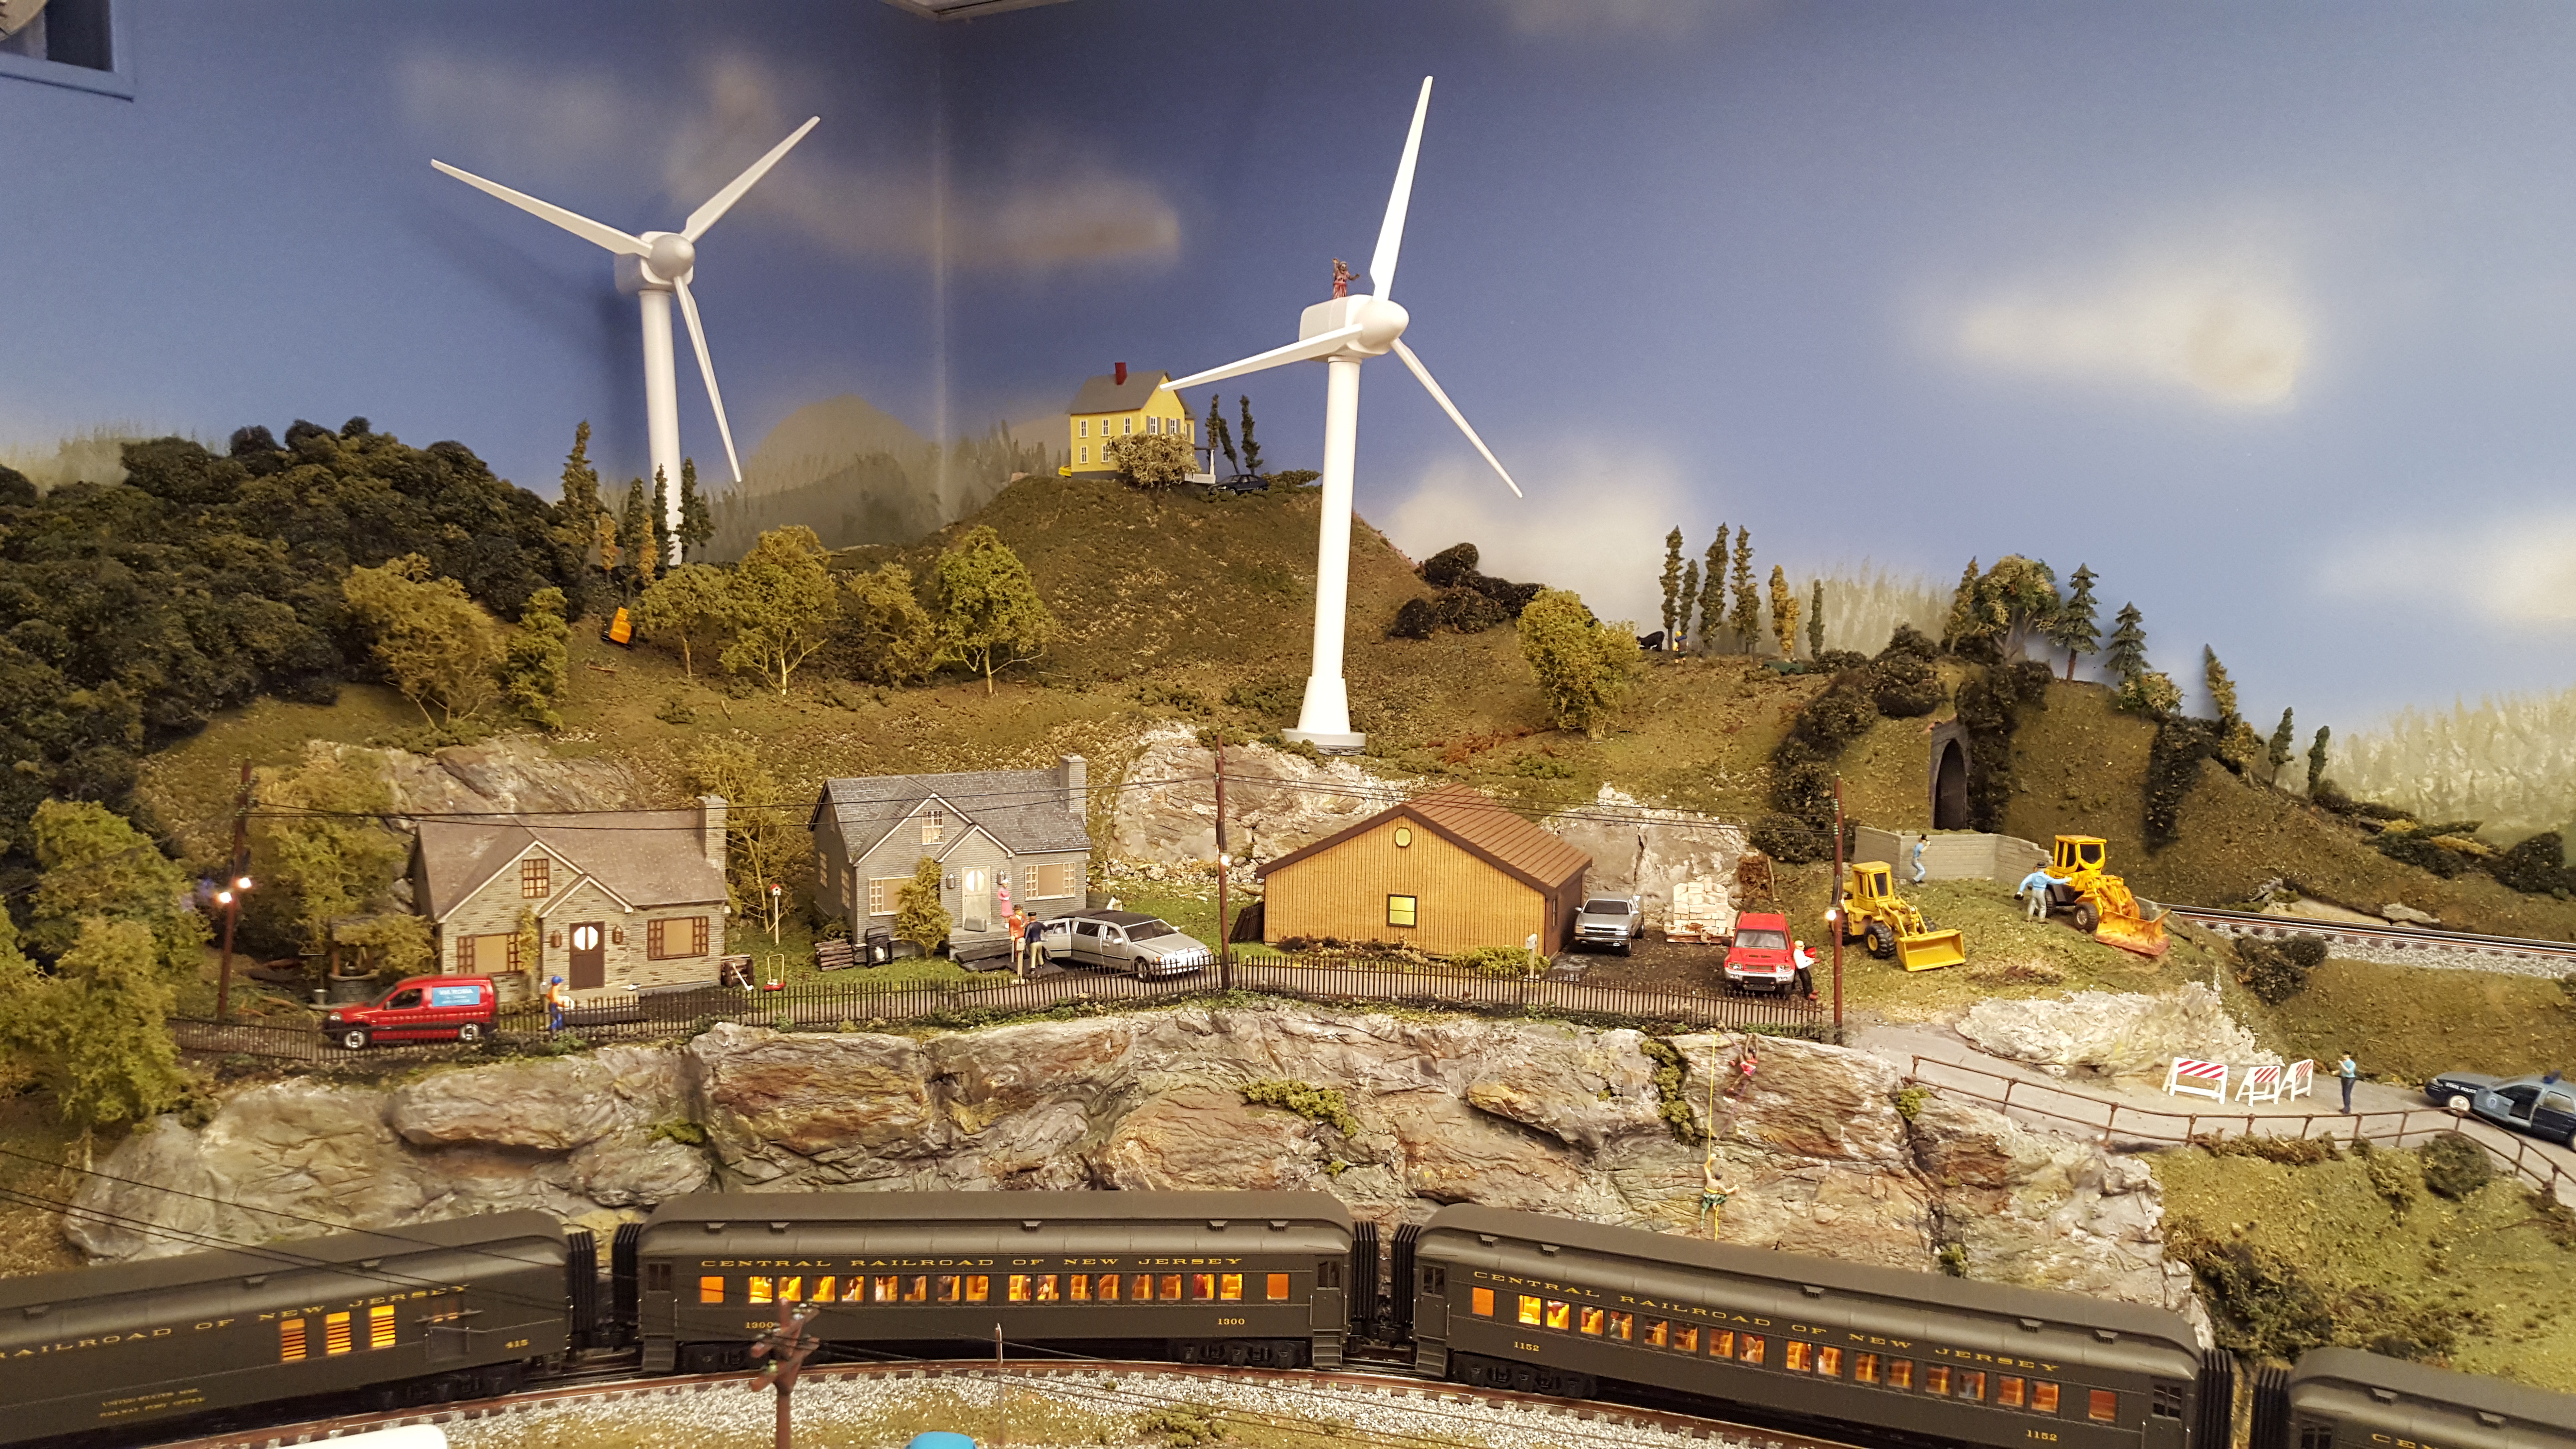
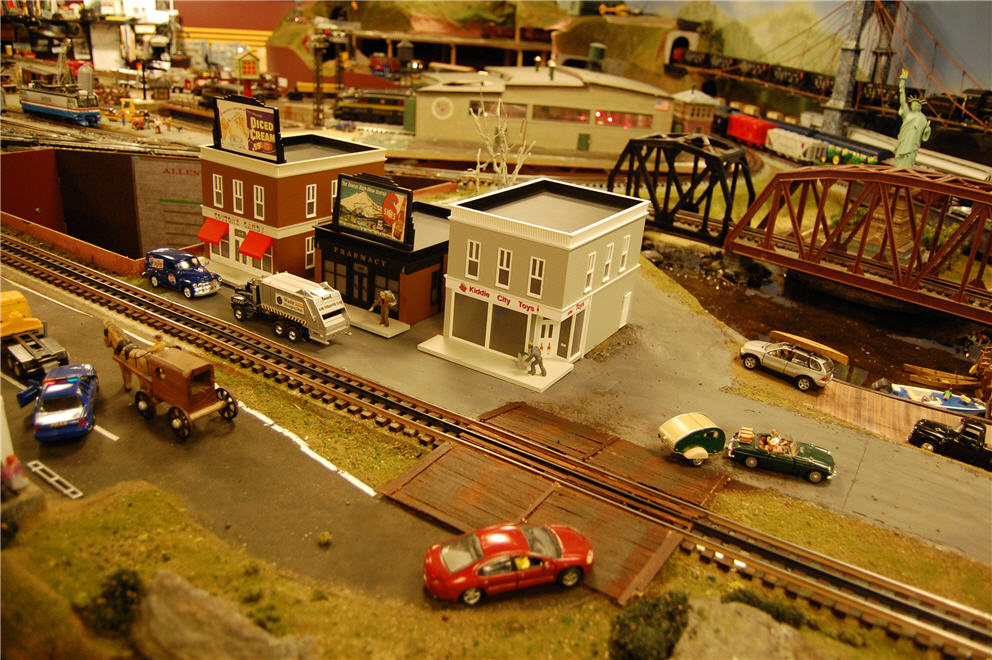
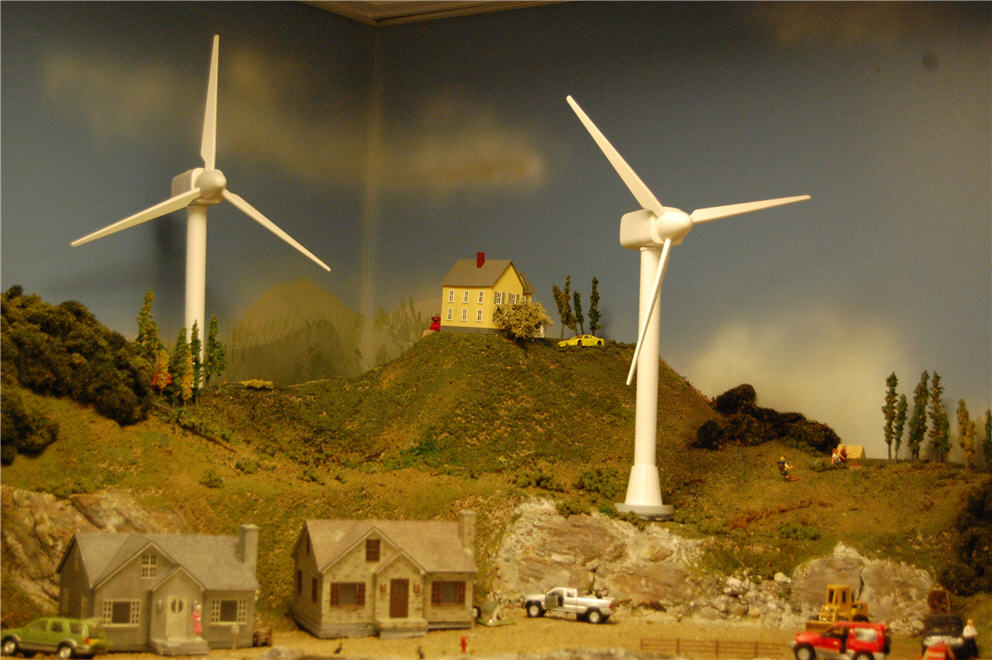
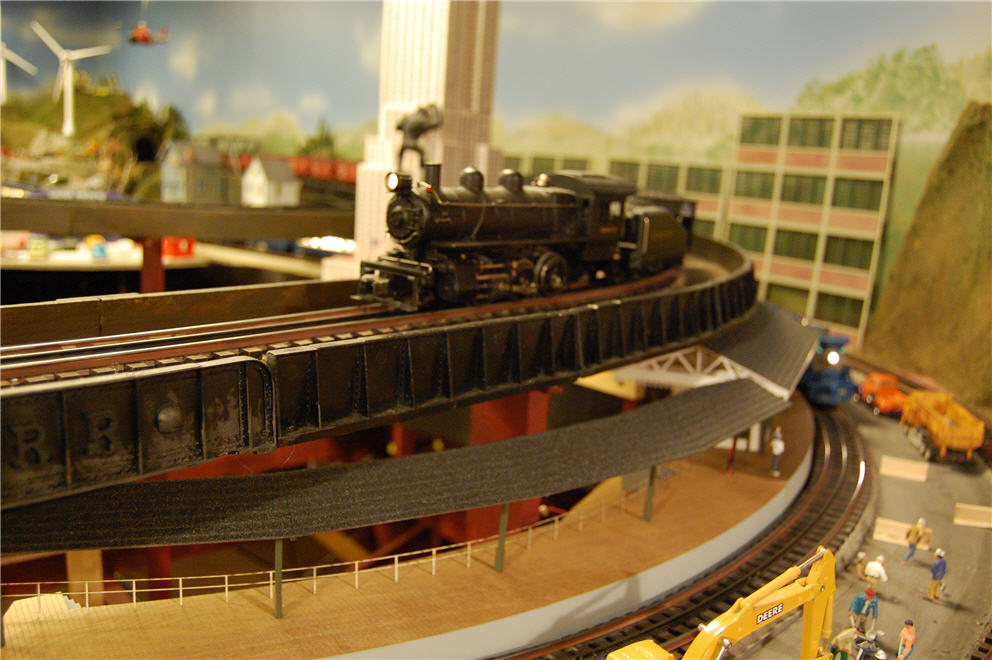
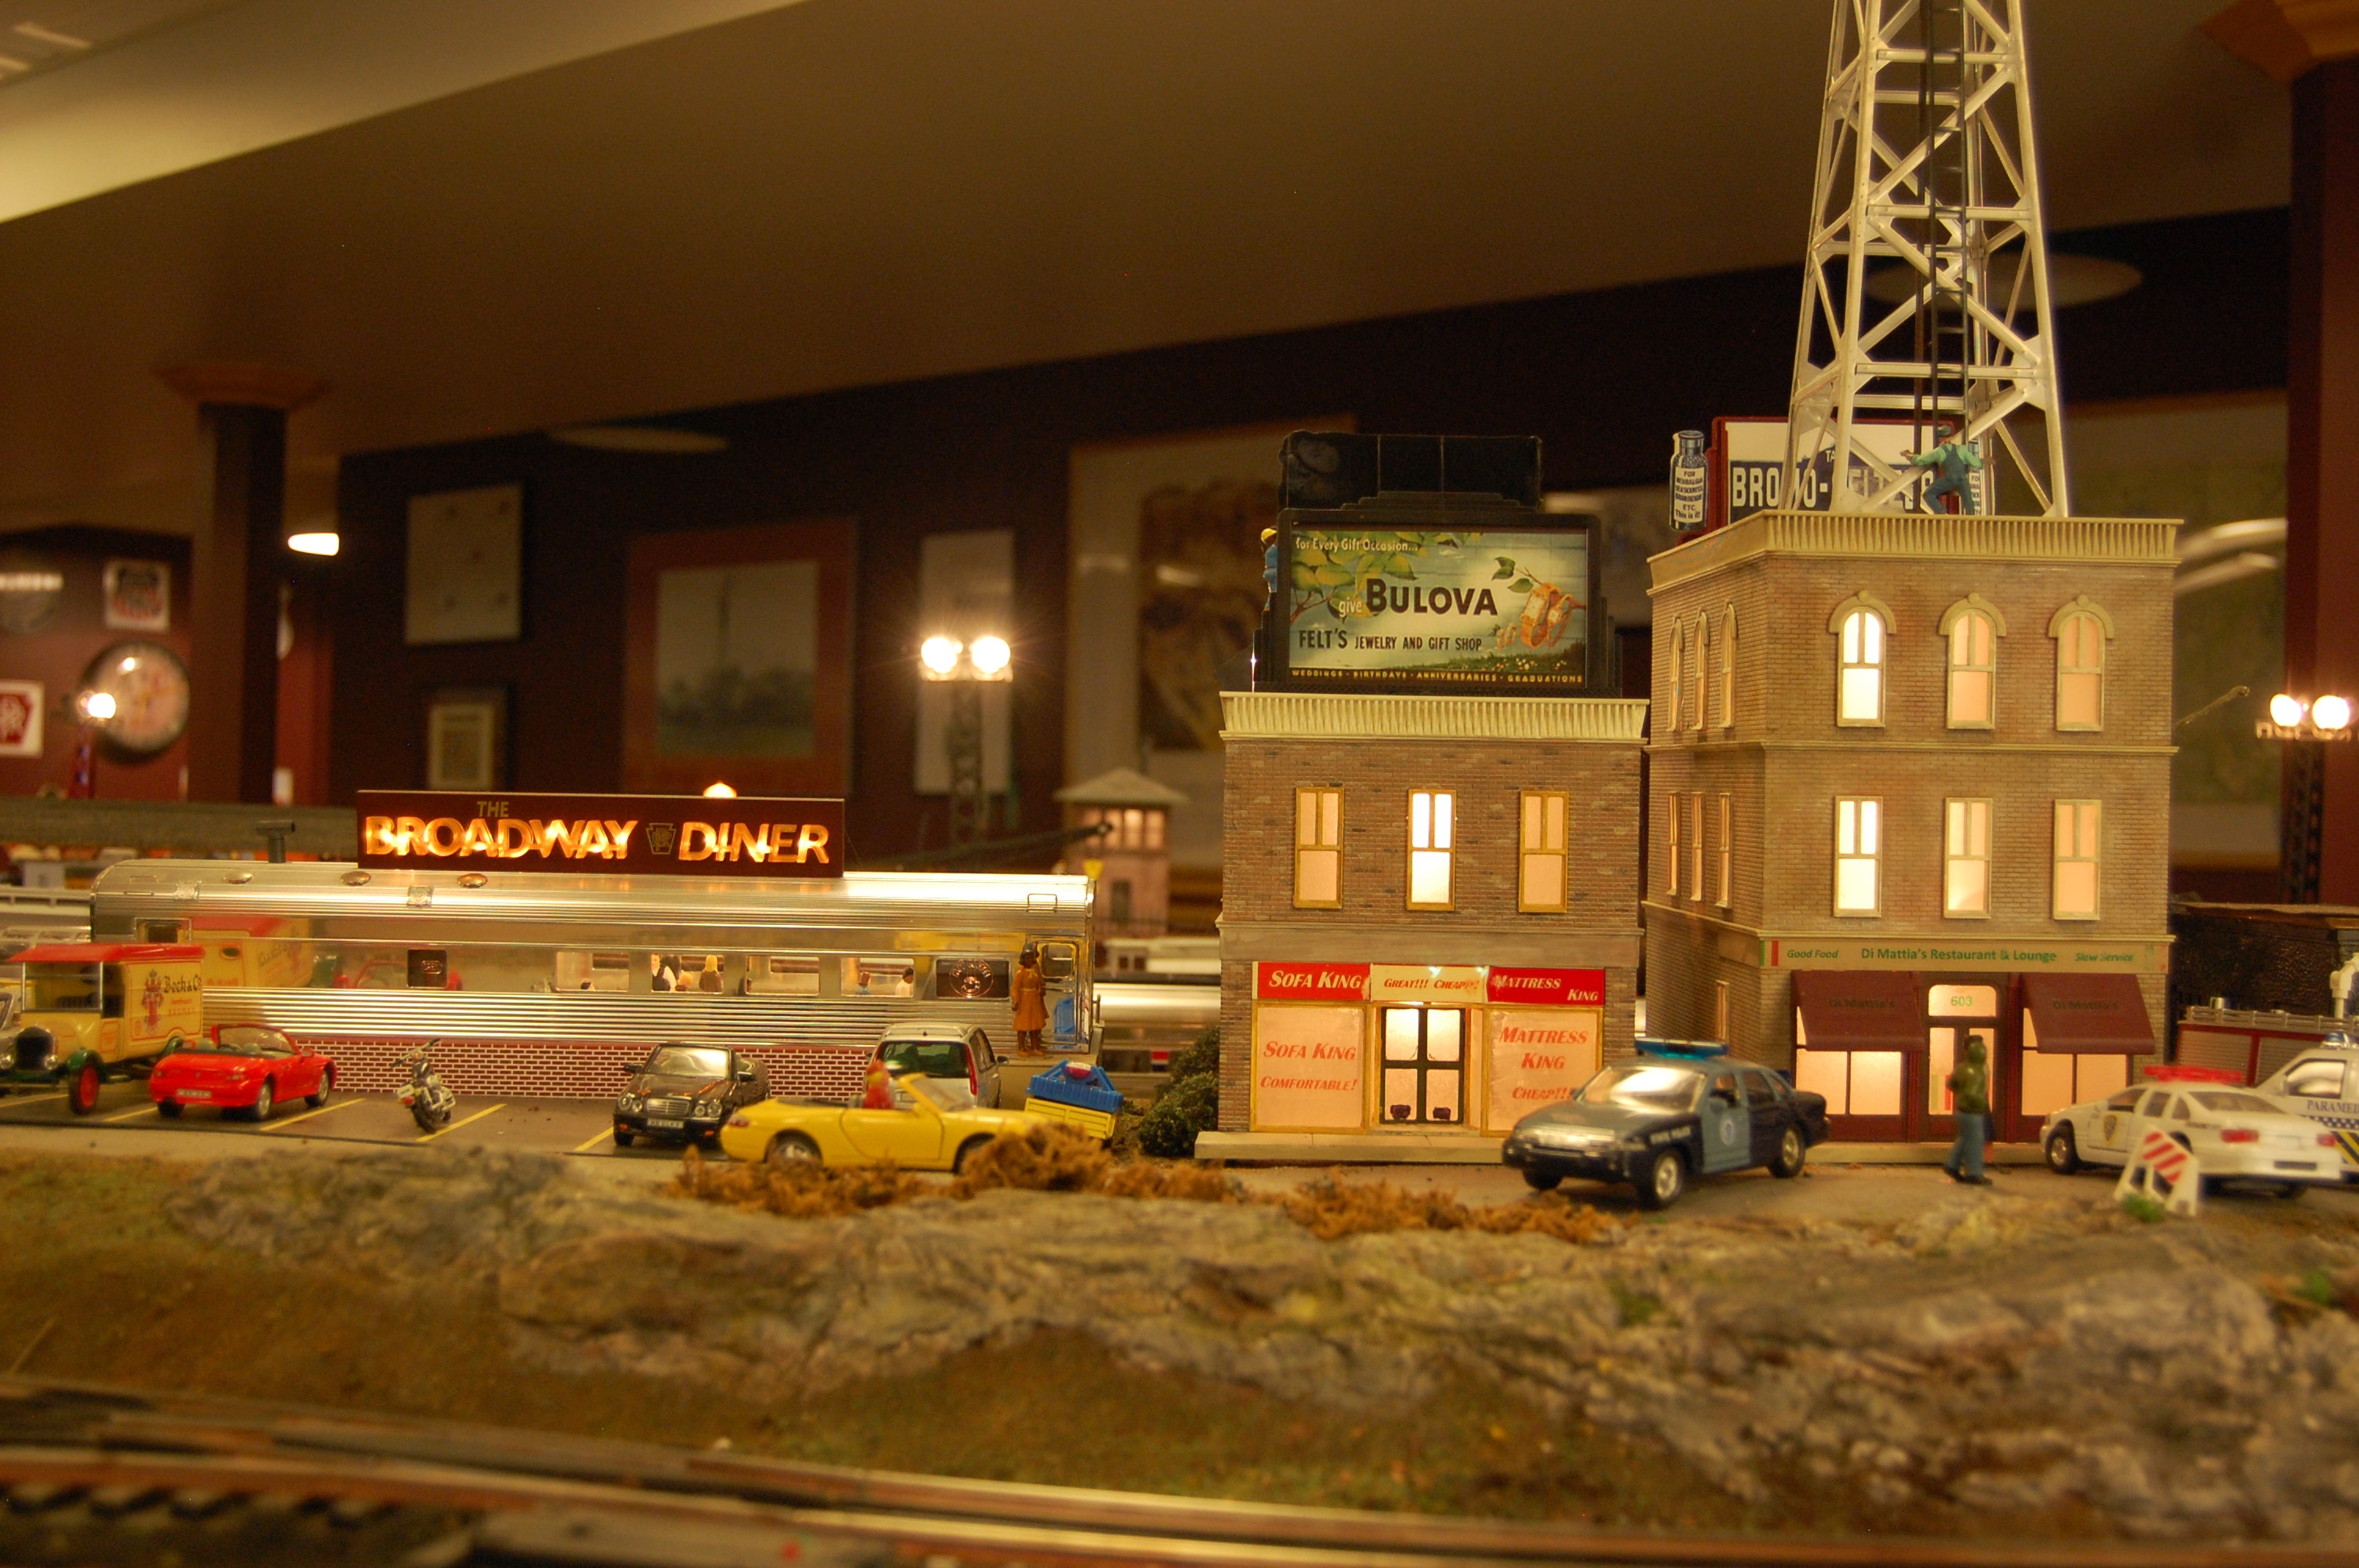
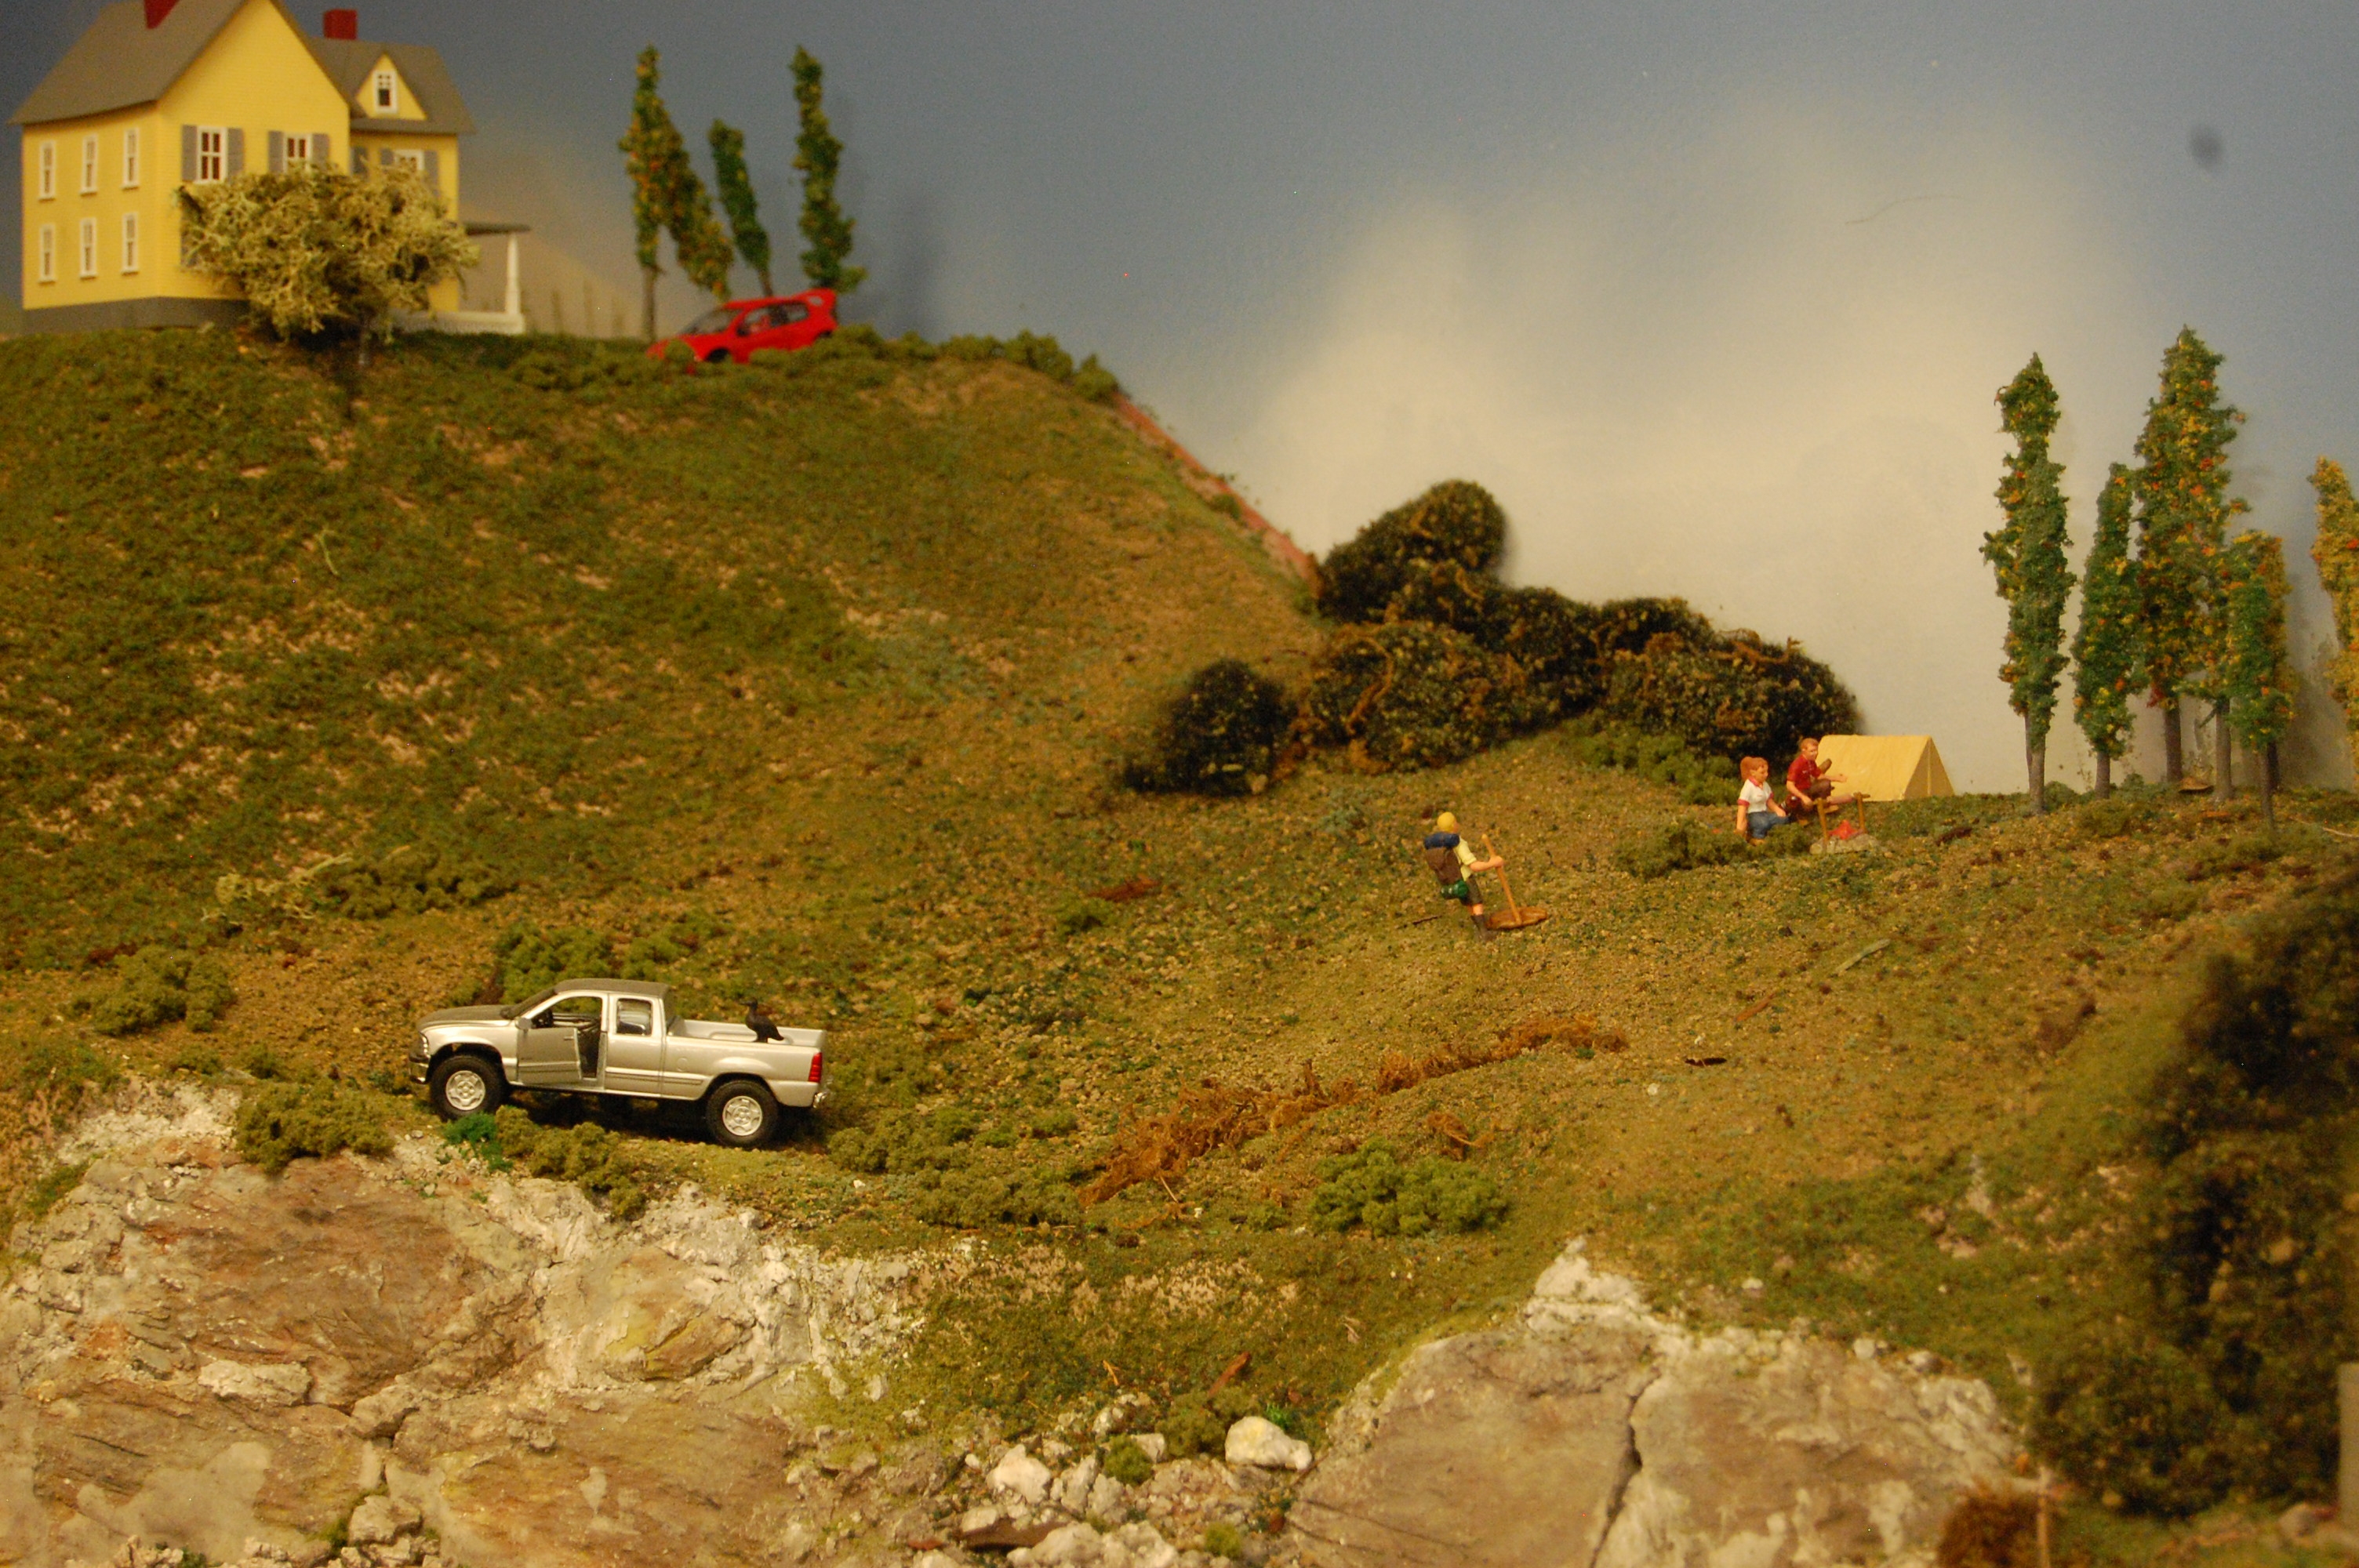
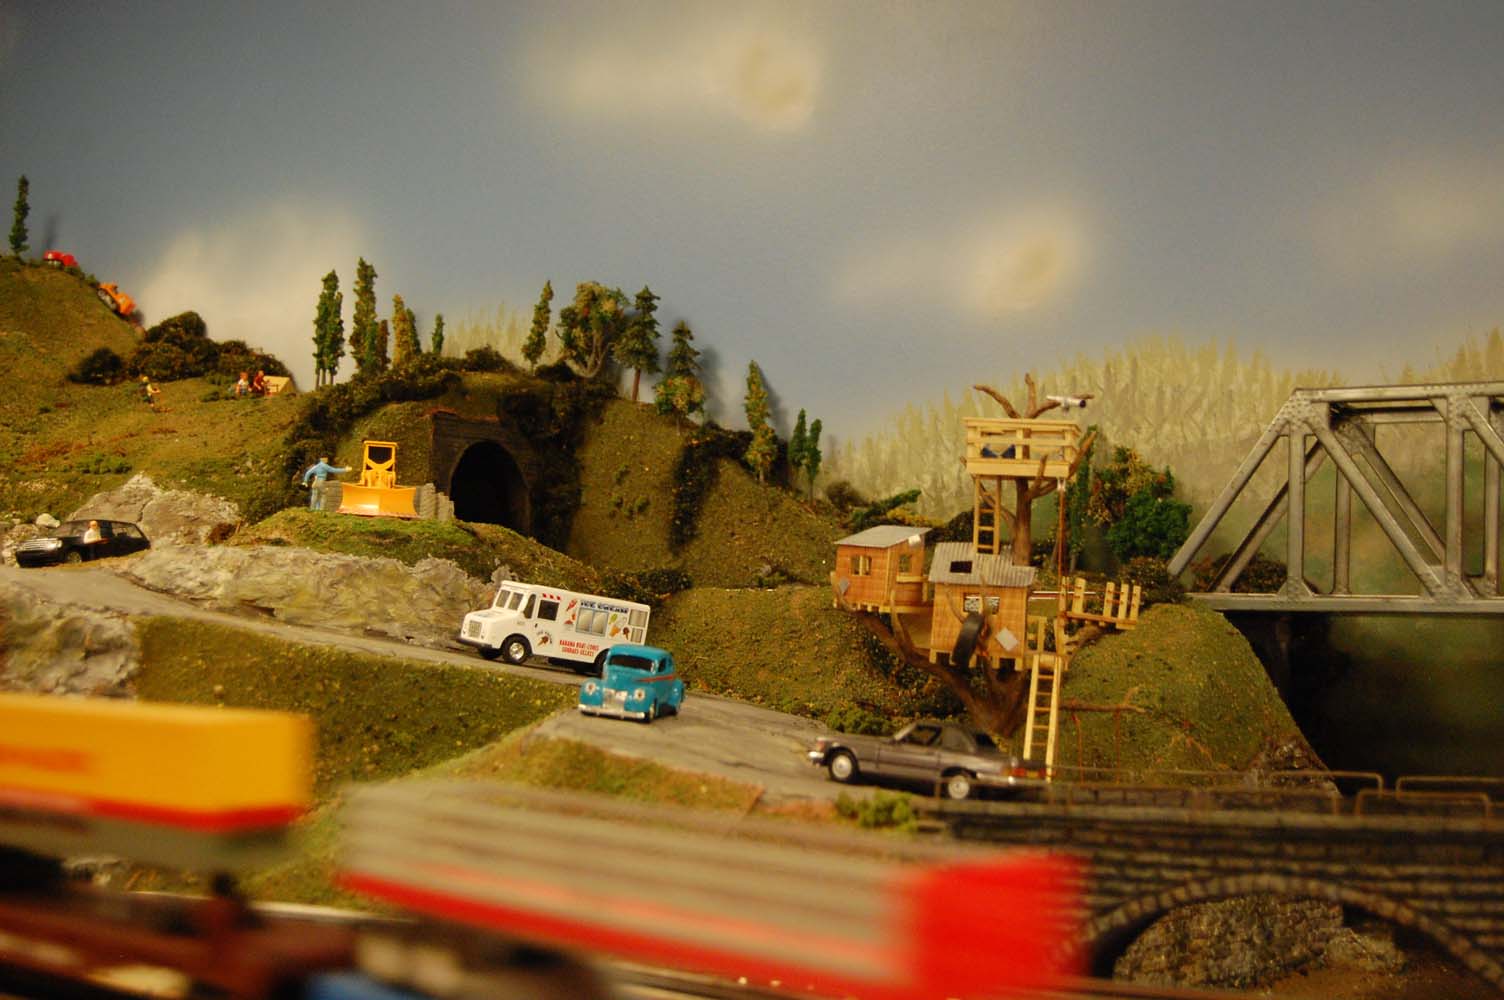
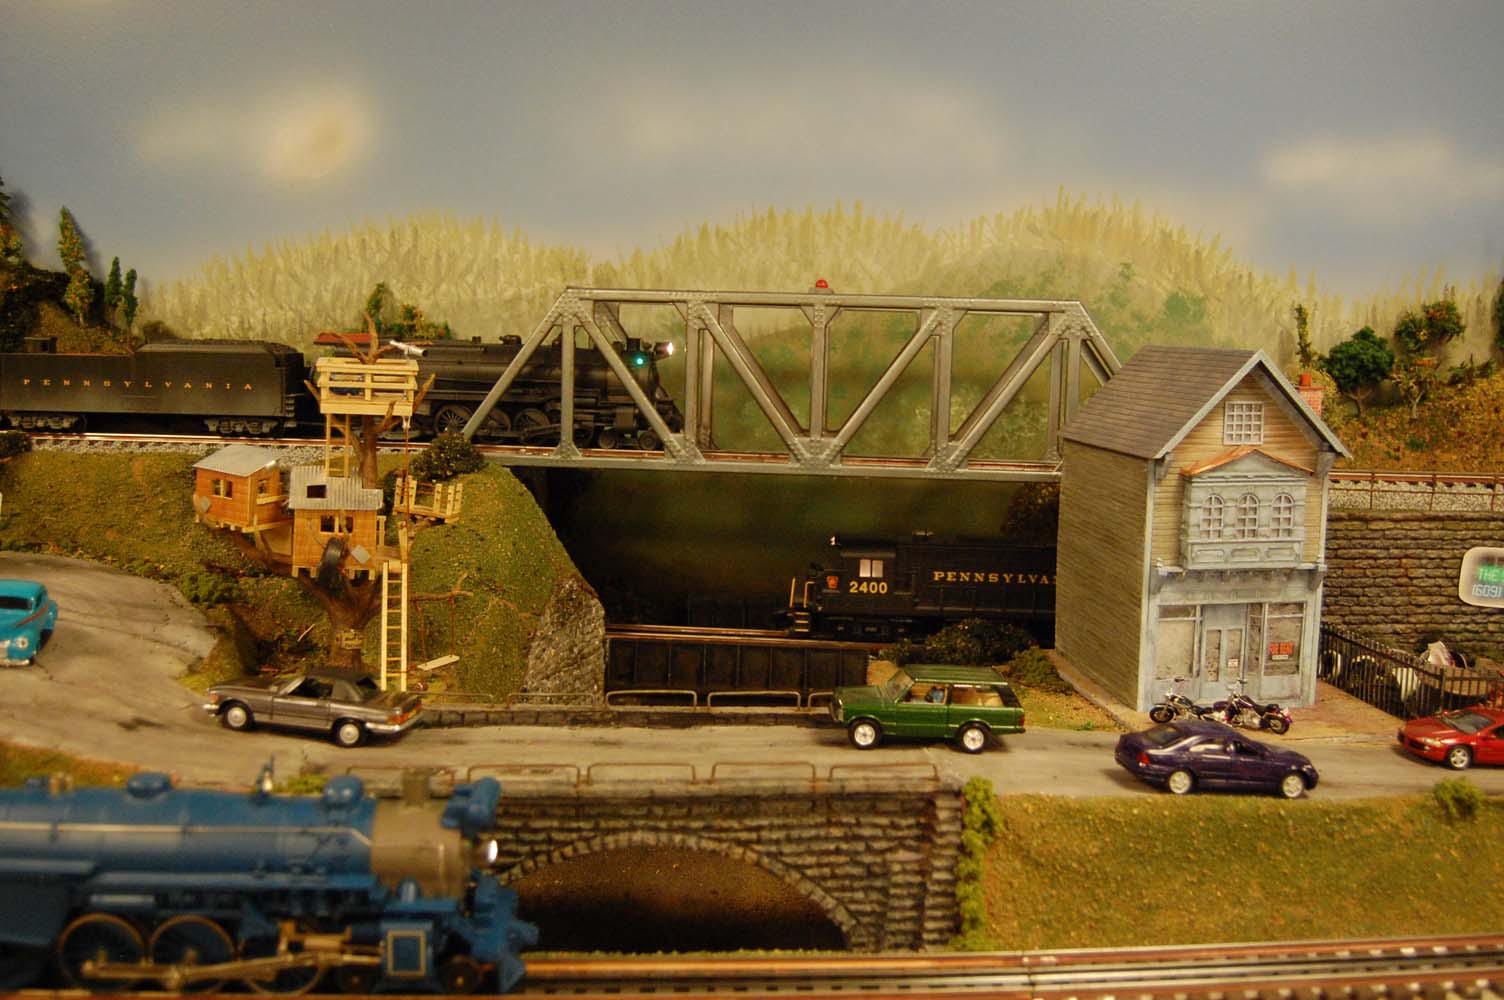
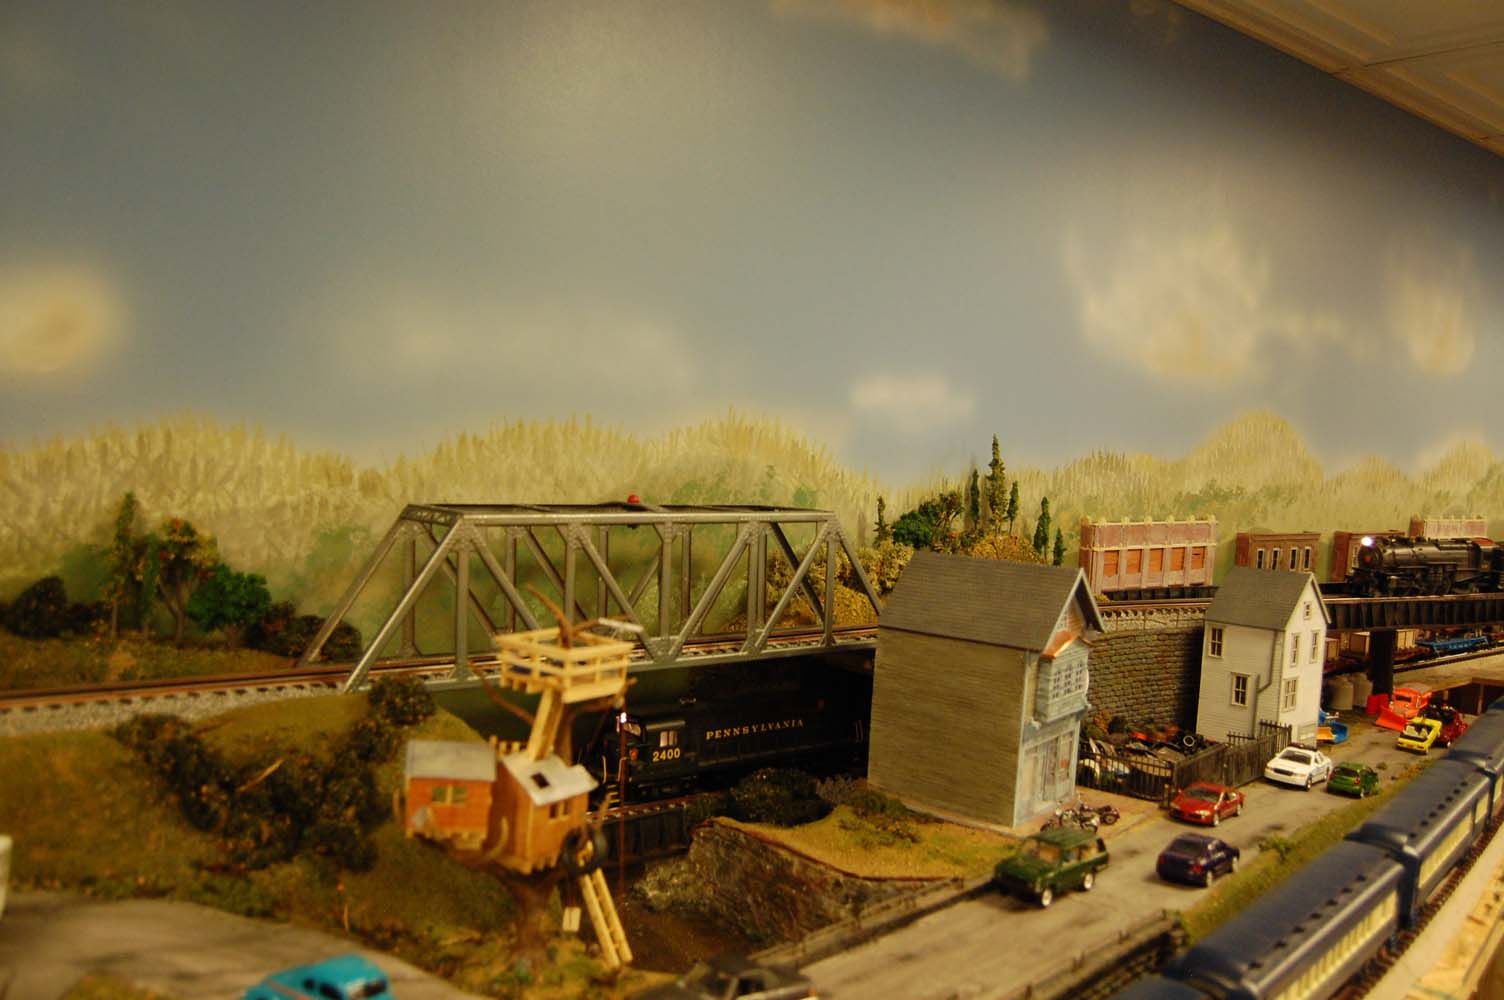
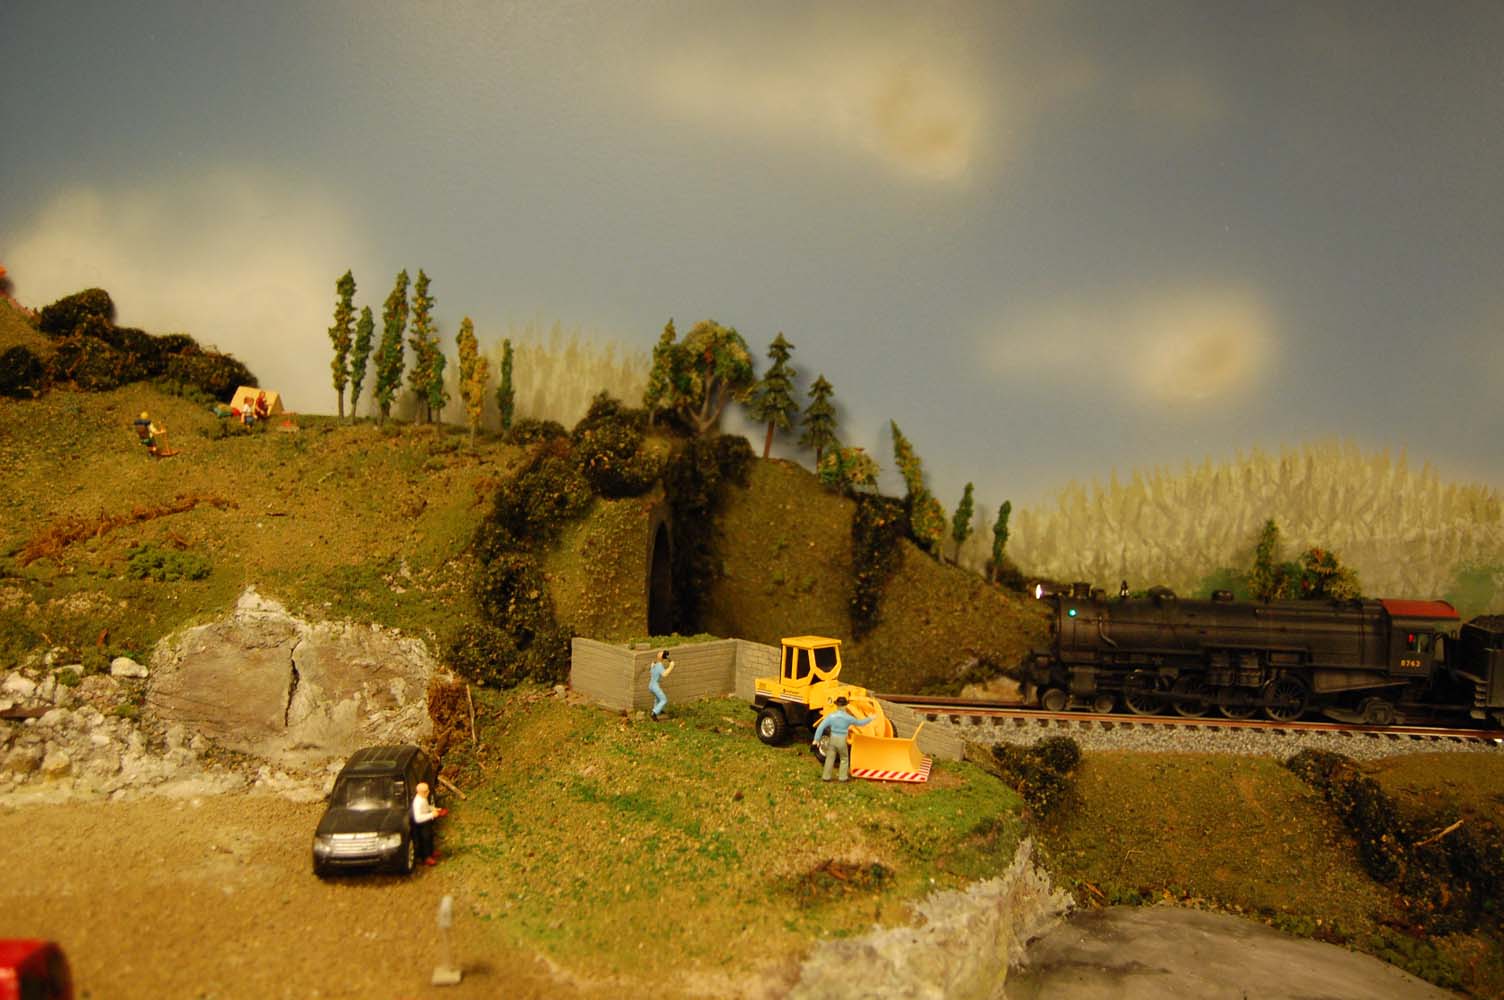
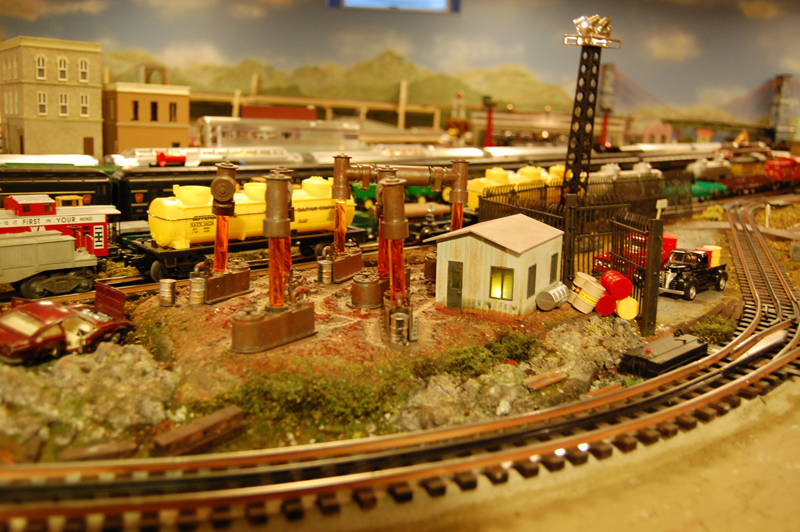
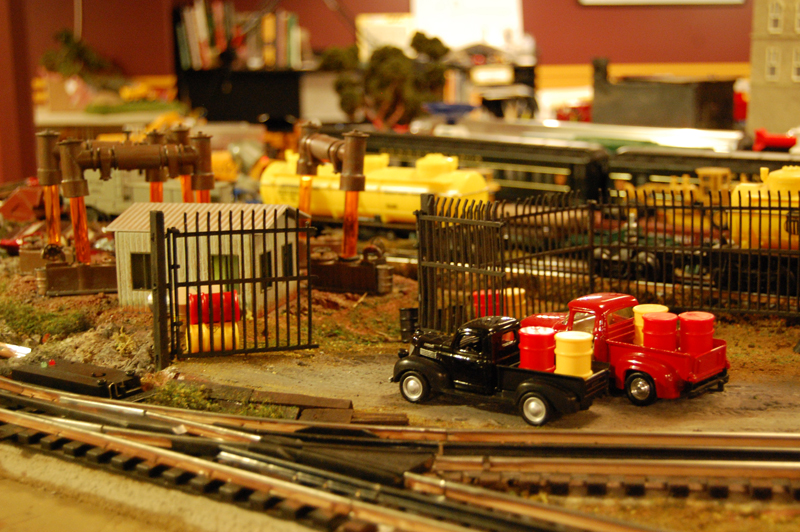
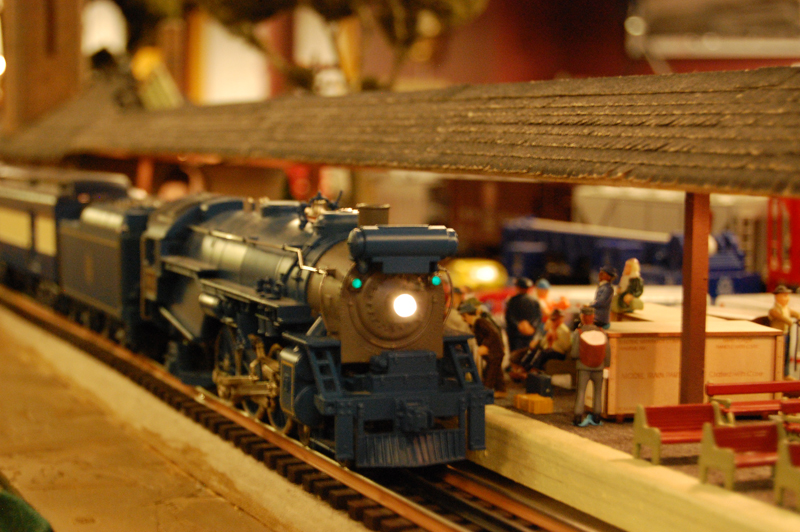
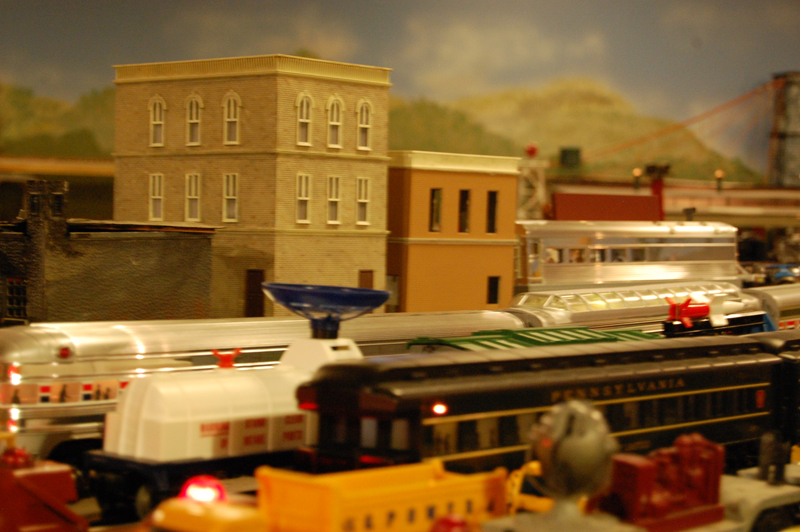
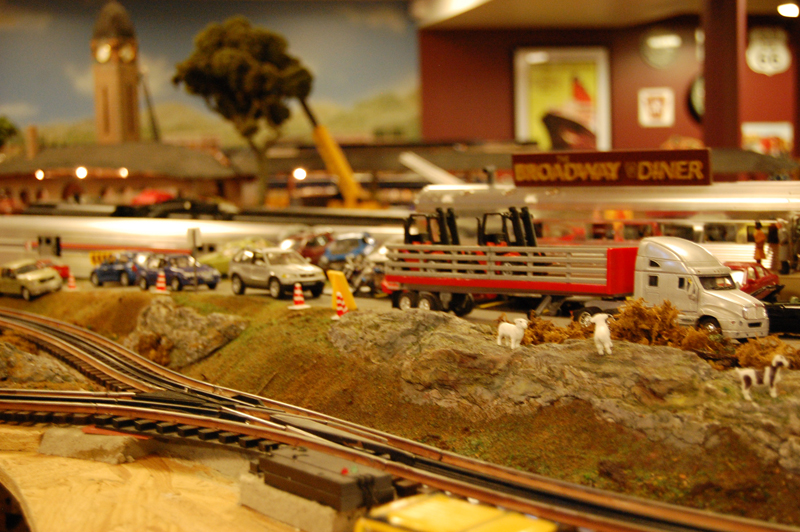
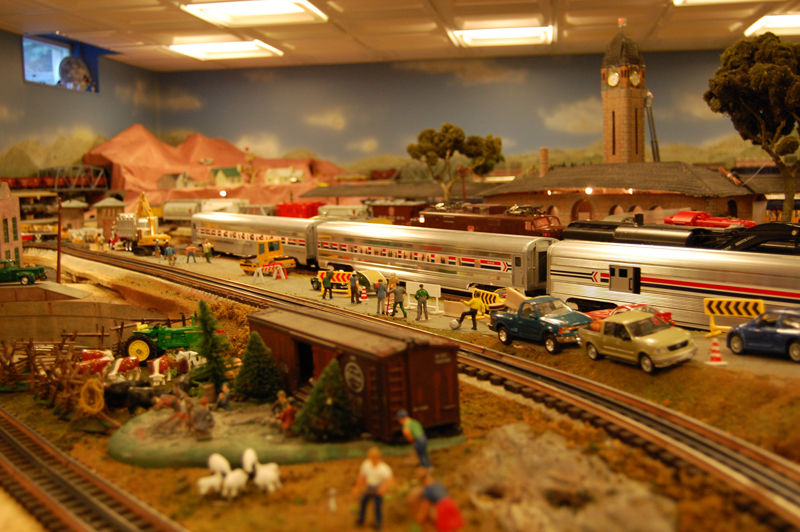
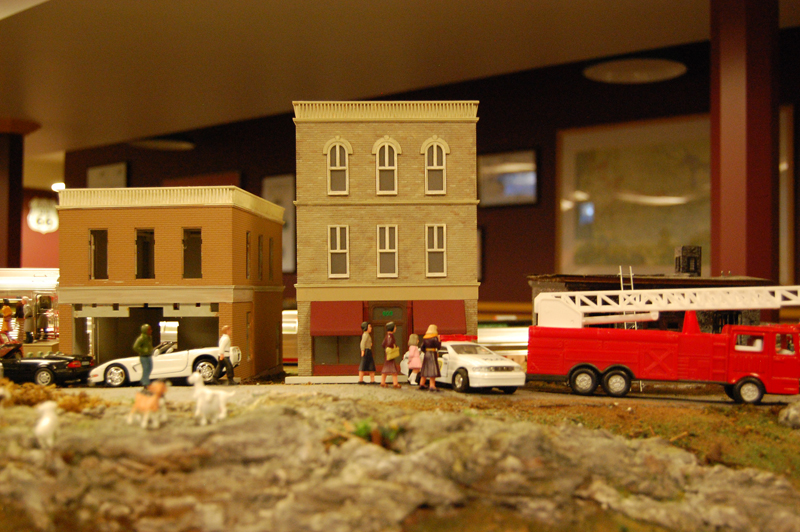
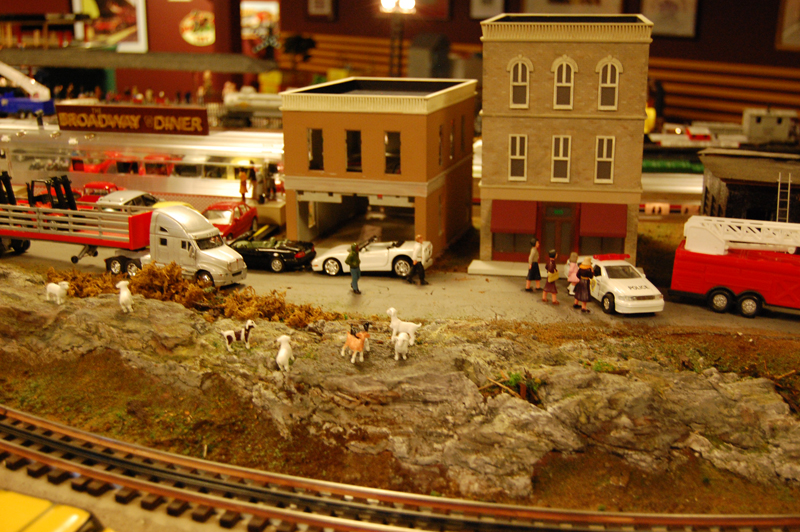
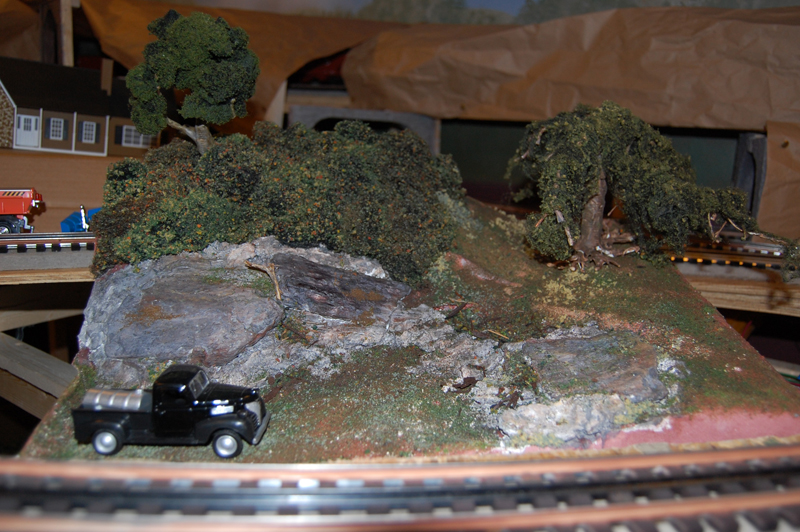
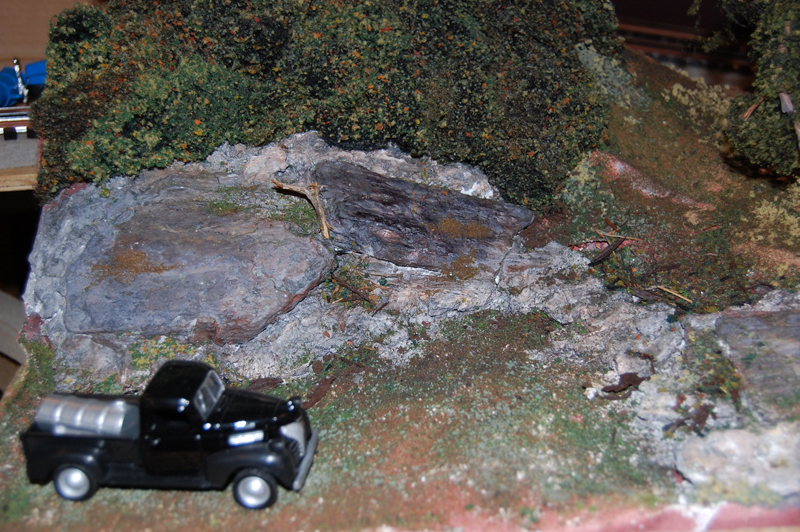
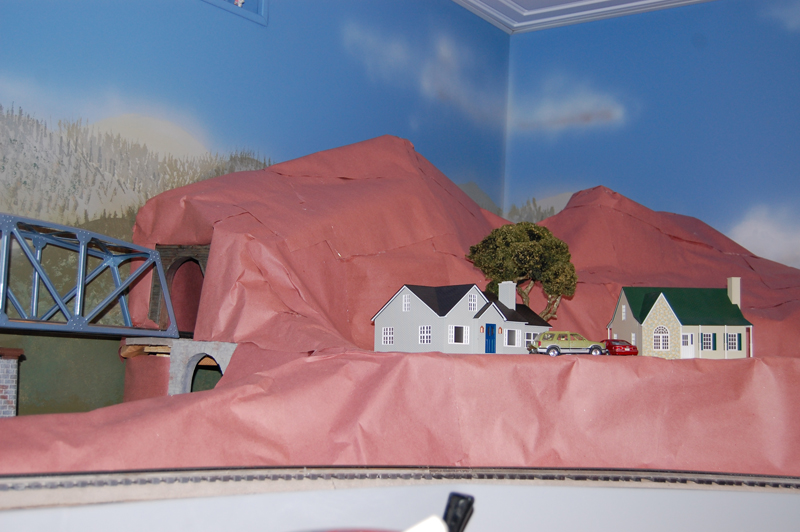
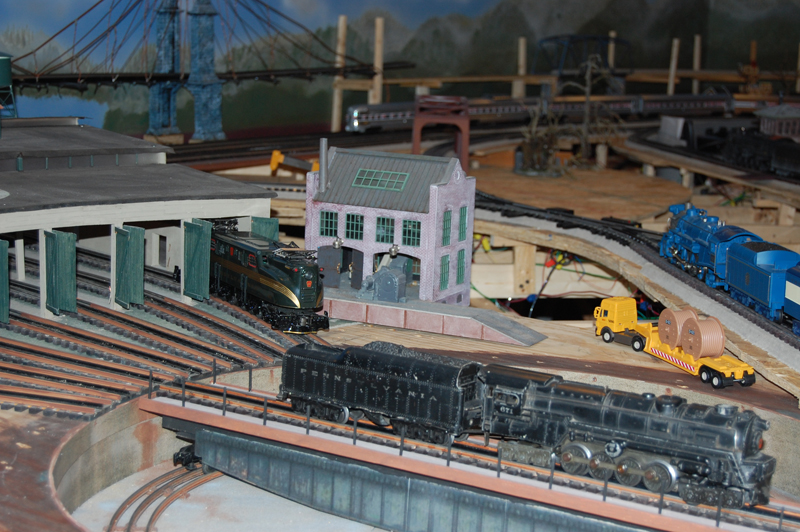
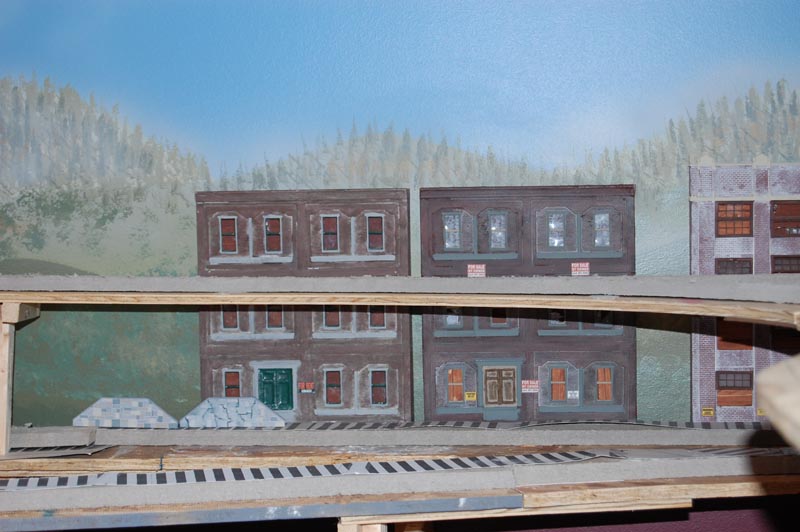
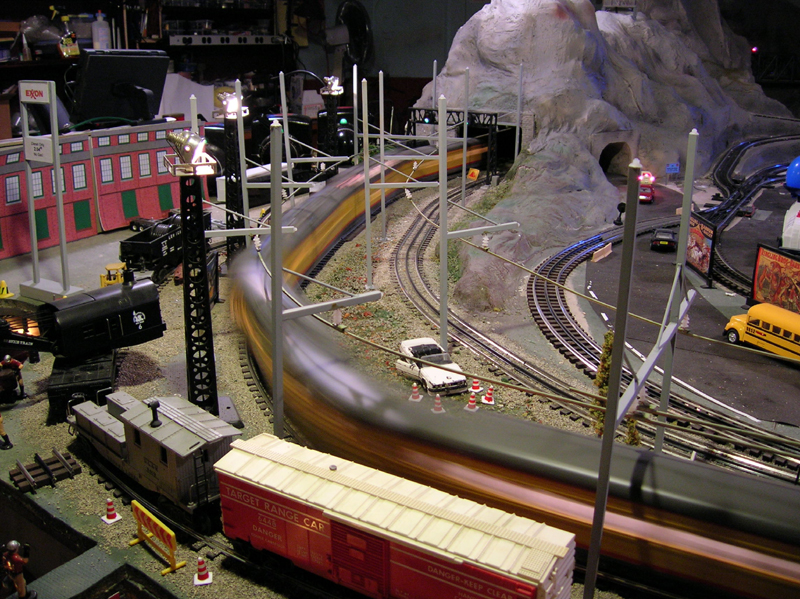
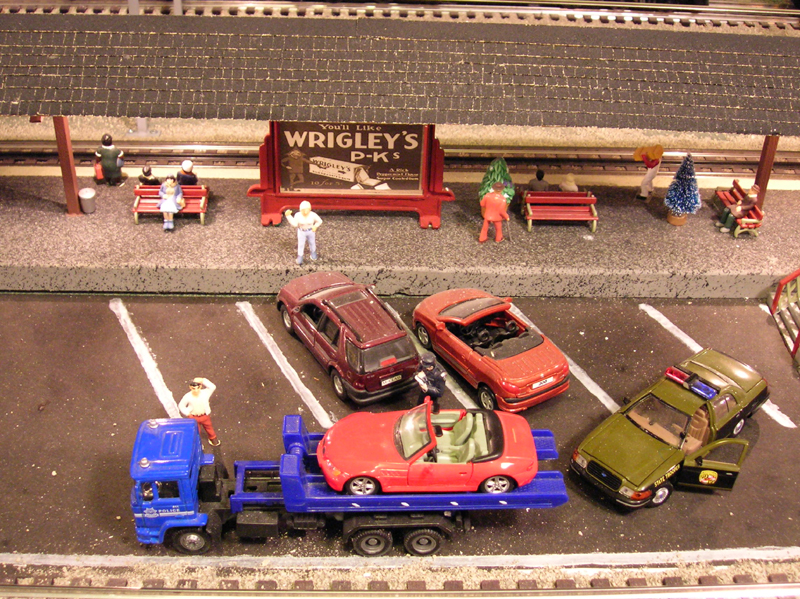
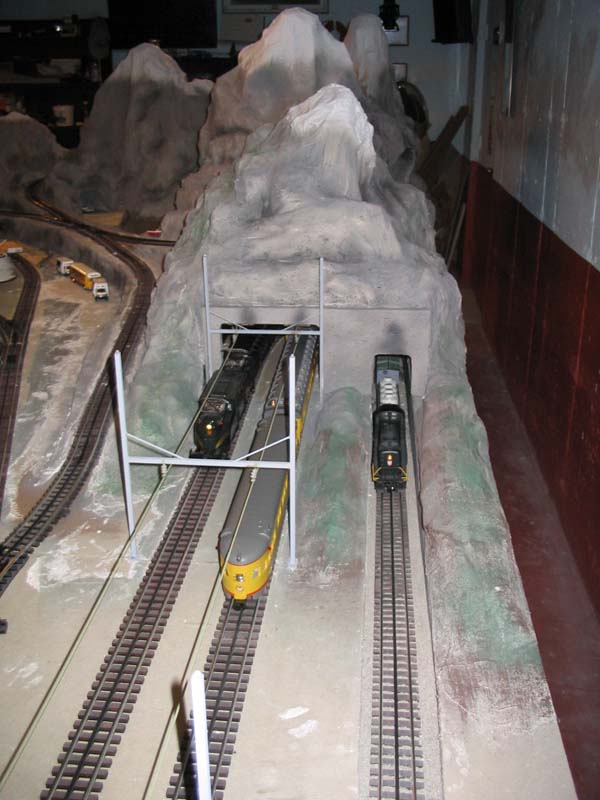
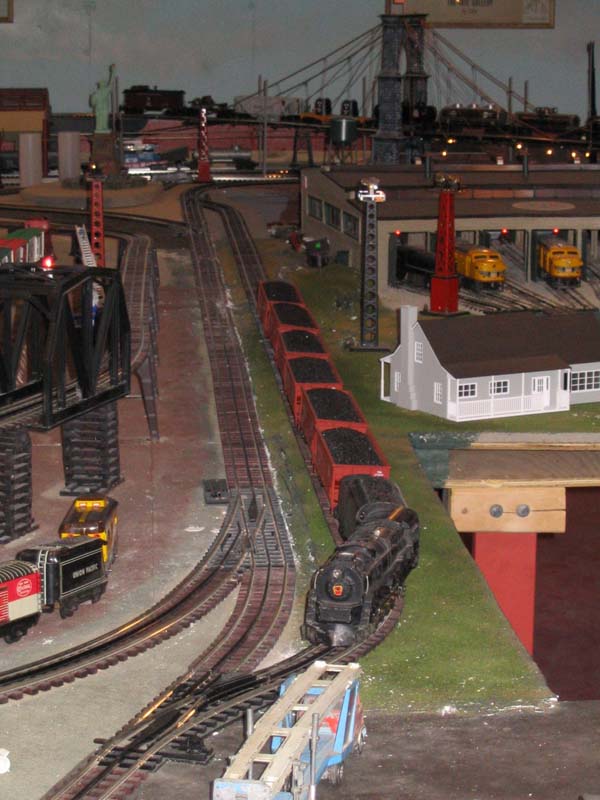
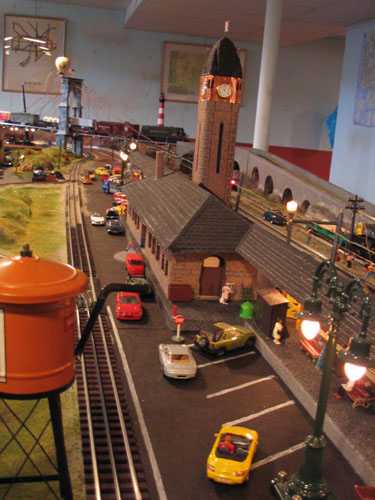
The city area has been populated with buildings and people, and the relatively bare mountain at the other end now has a decent forest, rock formations and the like. The side of the mountain now has an oil production facility, with a pipeline disappearing into the mountain. We're take an "all-of-the-above" approach to energy on the ACRR, with coal trains, solar panels and wind turbines along with oil production.
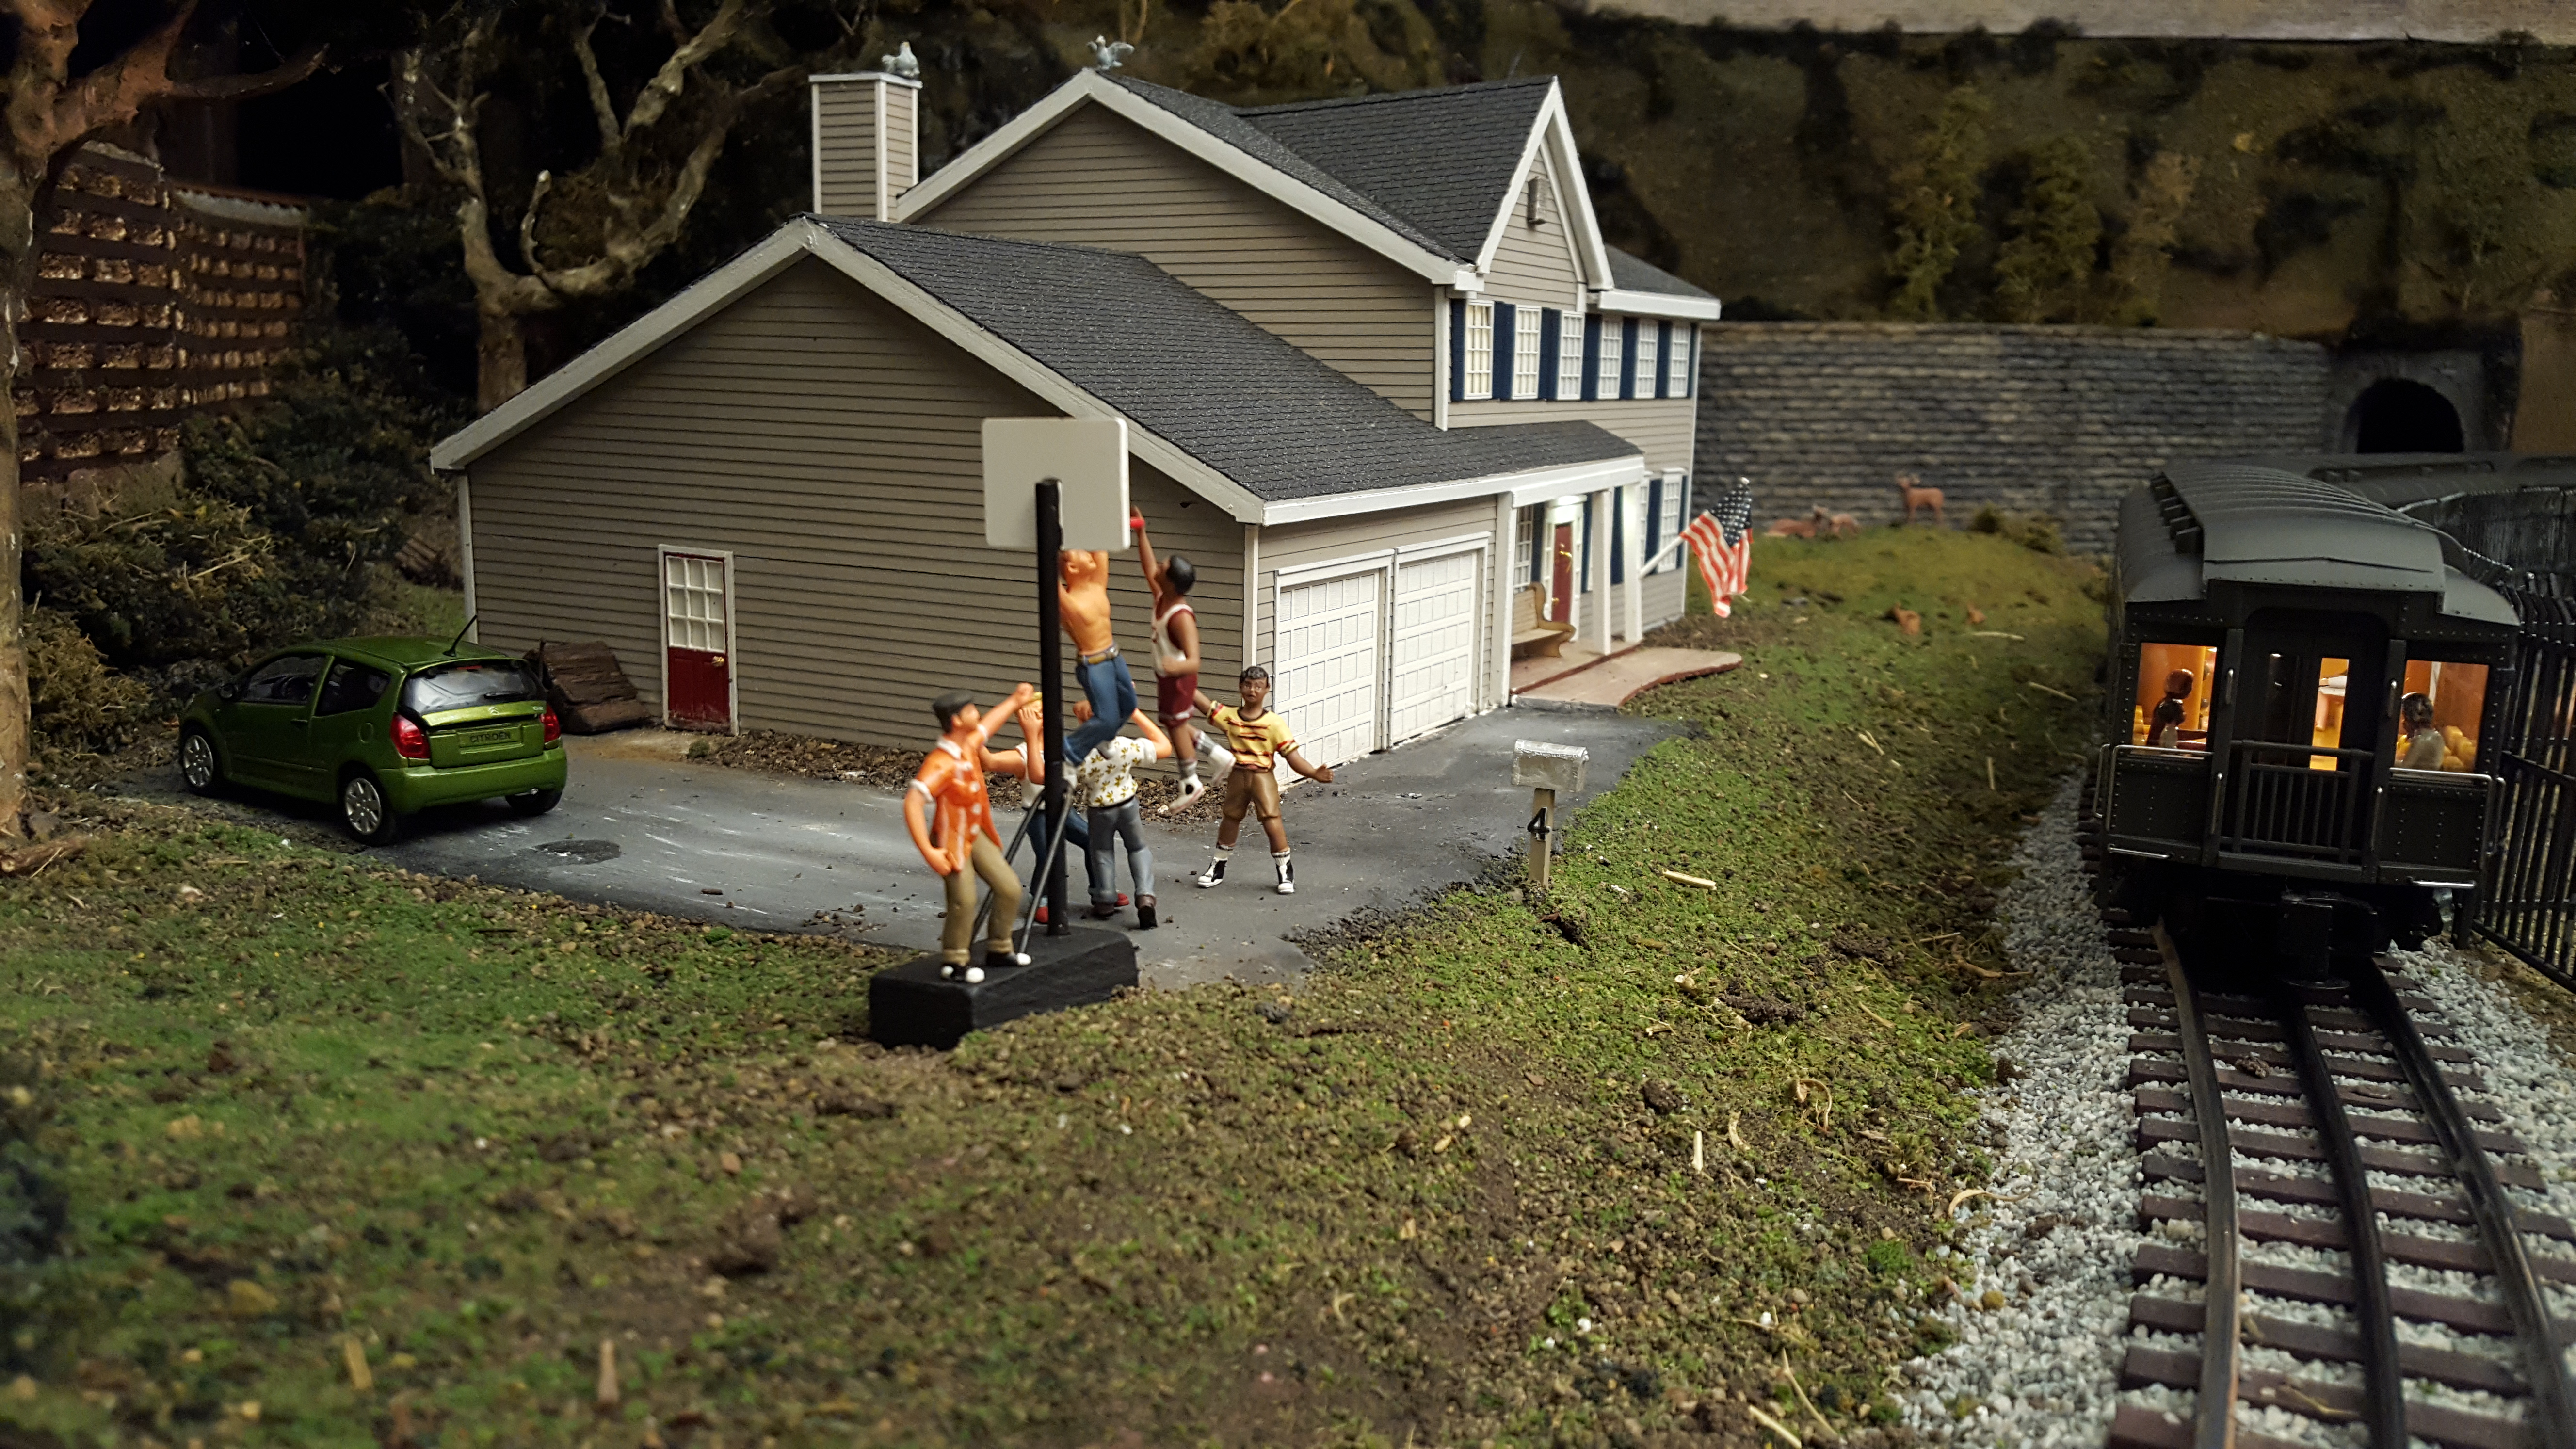
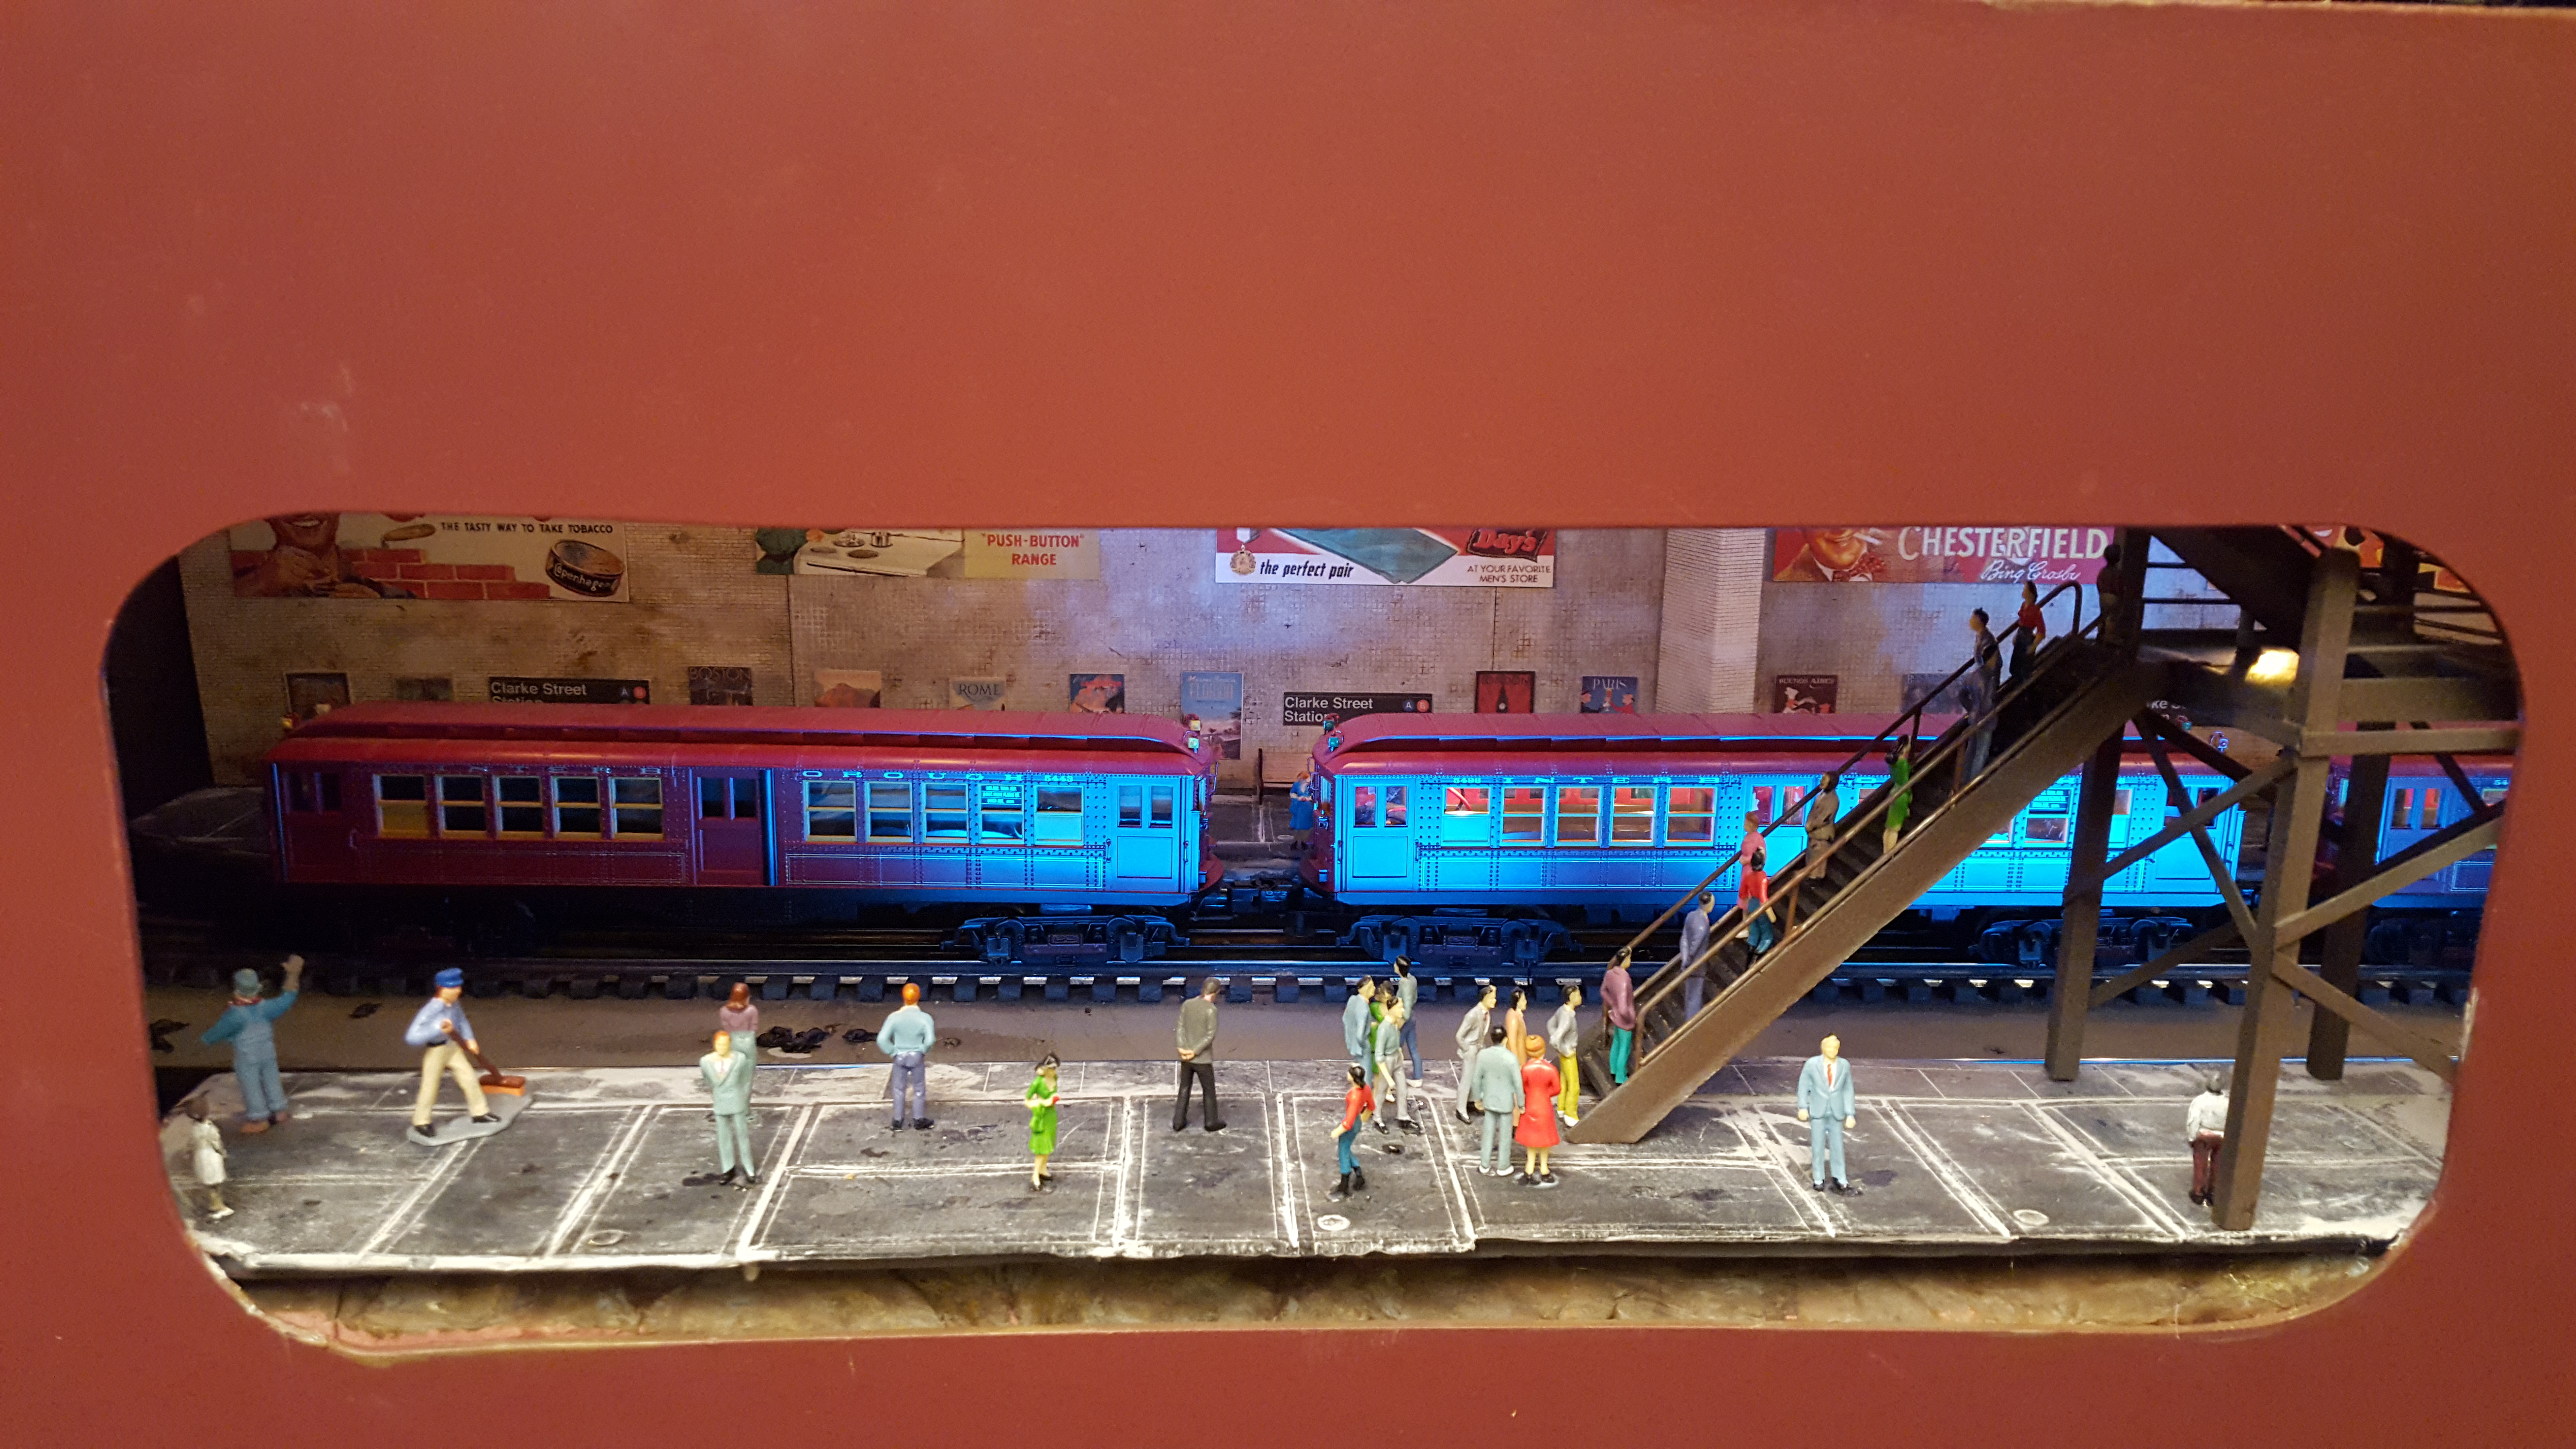
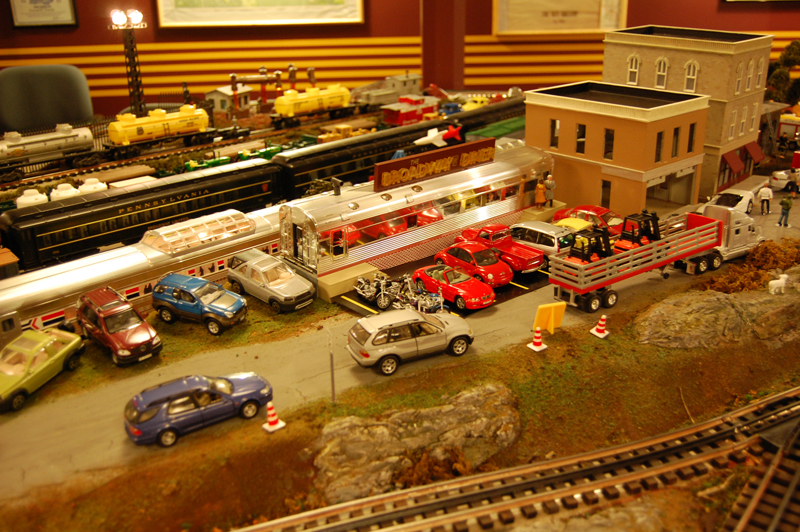
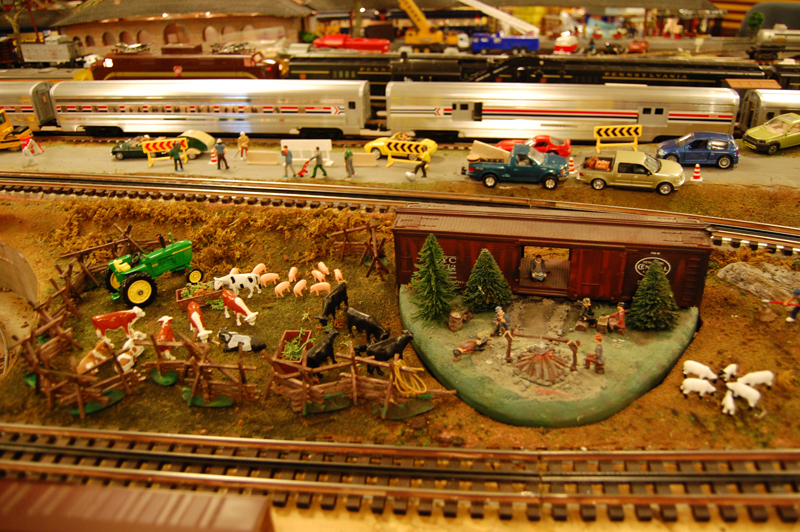
Since the last update, we've also added a trolley in the city, a farm, a sandlot baseball field, enhancements to the drive in and a lot more.
In January 2015, we're holding a charity open house to benefit our local library which receives minimal outside funding. That has spurred quite a bit of development on the layout.
January 2012: We've added some videos of the layout, including some vintage trains belonging to my buddy Brian. The files are fairly large and are a first stab at video taken with my new HTC Evo Design phone. I am sure there is software to reduce the file size; I just need to investigate the best option.
Video 1 (HD - 55 MB)
December 2011: Just prior to ClarkeFest in late September, I added push buttons for an animation of a boy flying a kite and an animated K-Line dump truck I had installed a while ago. I also finally added a button for the Broadway Diner sound card and installed one to turn on some additional lights in the main station area.
While at York, I purchased the remaining Ross switches I needed to replace the original yard ladder; that's complete minus ballasting. I also picked up a set of Lionel wind turbines, which I have now installed, also activated by push buttons, on two different hills/mountains. I think they look pretty neat when tucked just over the ridge of a hill. I need to reduce the voltage a bit to make them rotate a little more realistically.
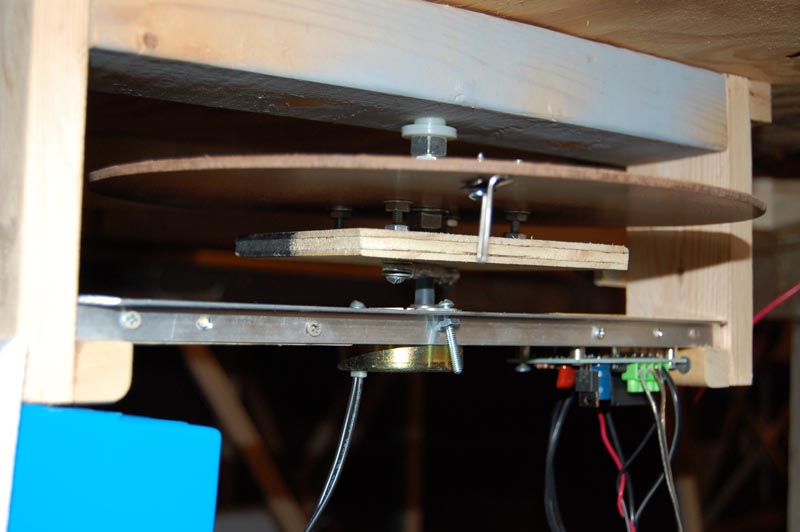
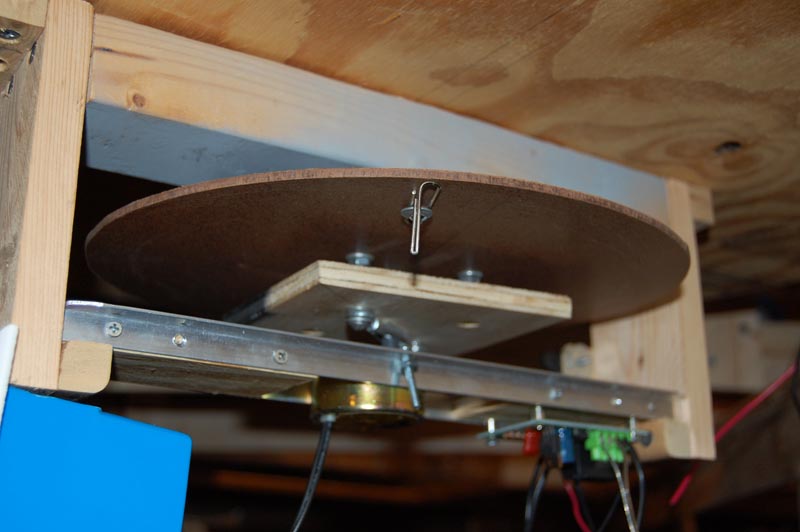
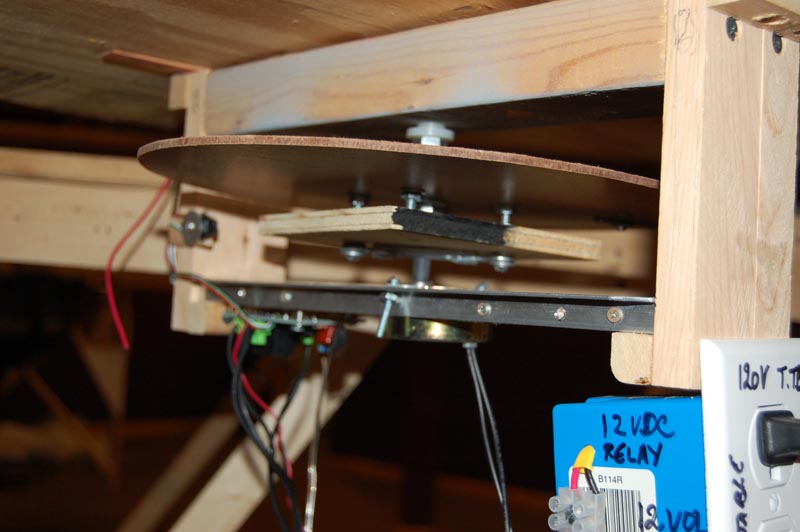
And last but not least in the button brigade, I installed a Walthers oil derrick. It runs on DC, so I used a small bridge rectifier and a 5v voltage regulator, which makes it run at just the right speed.
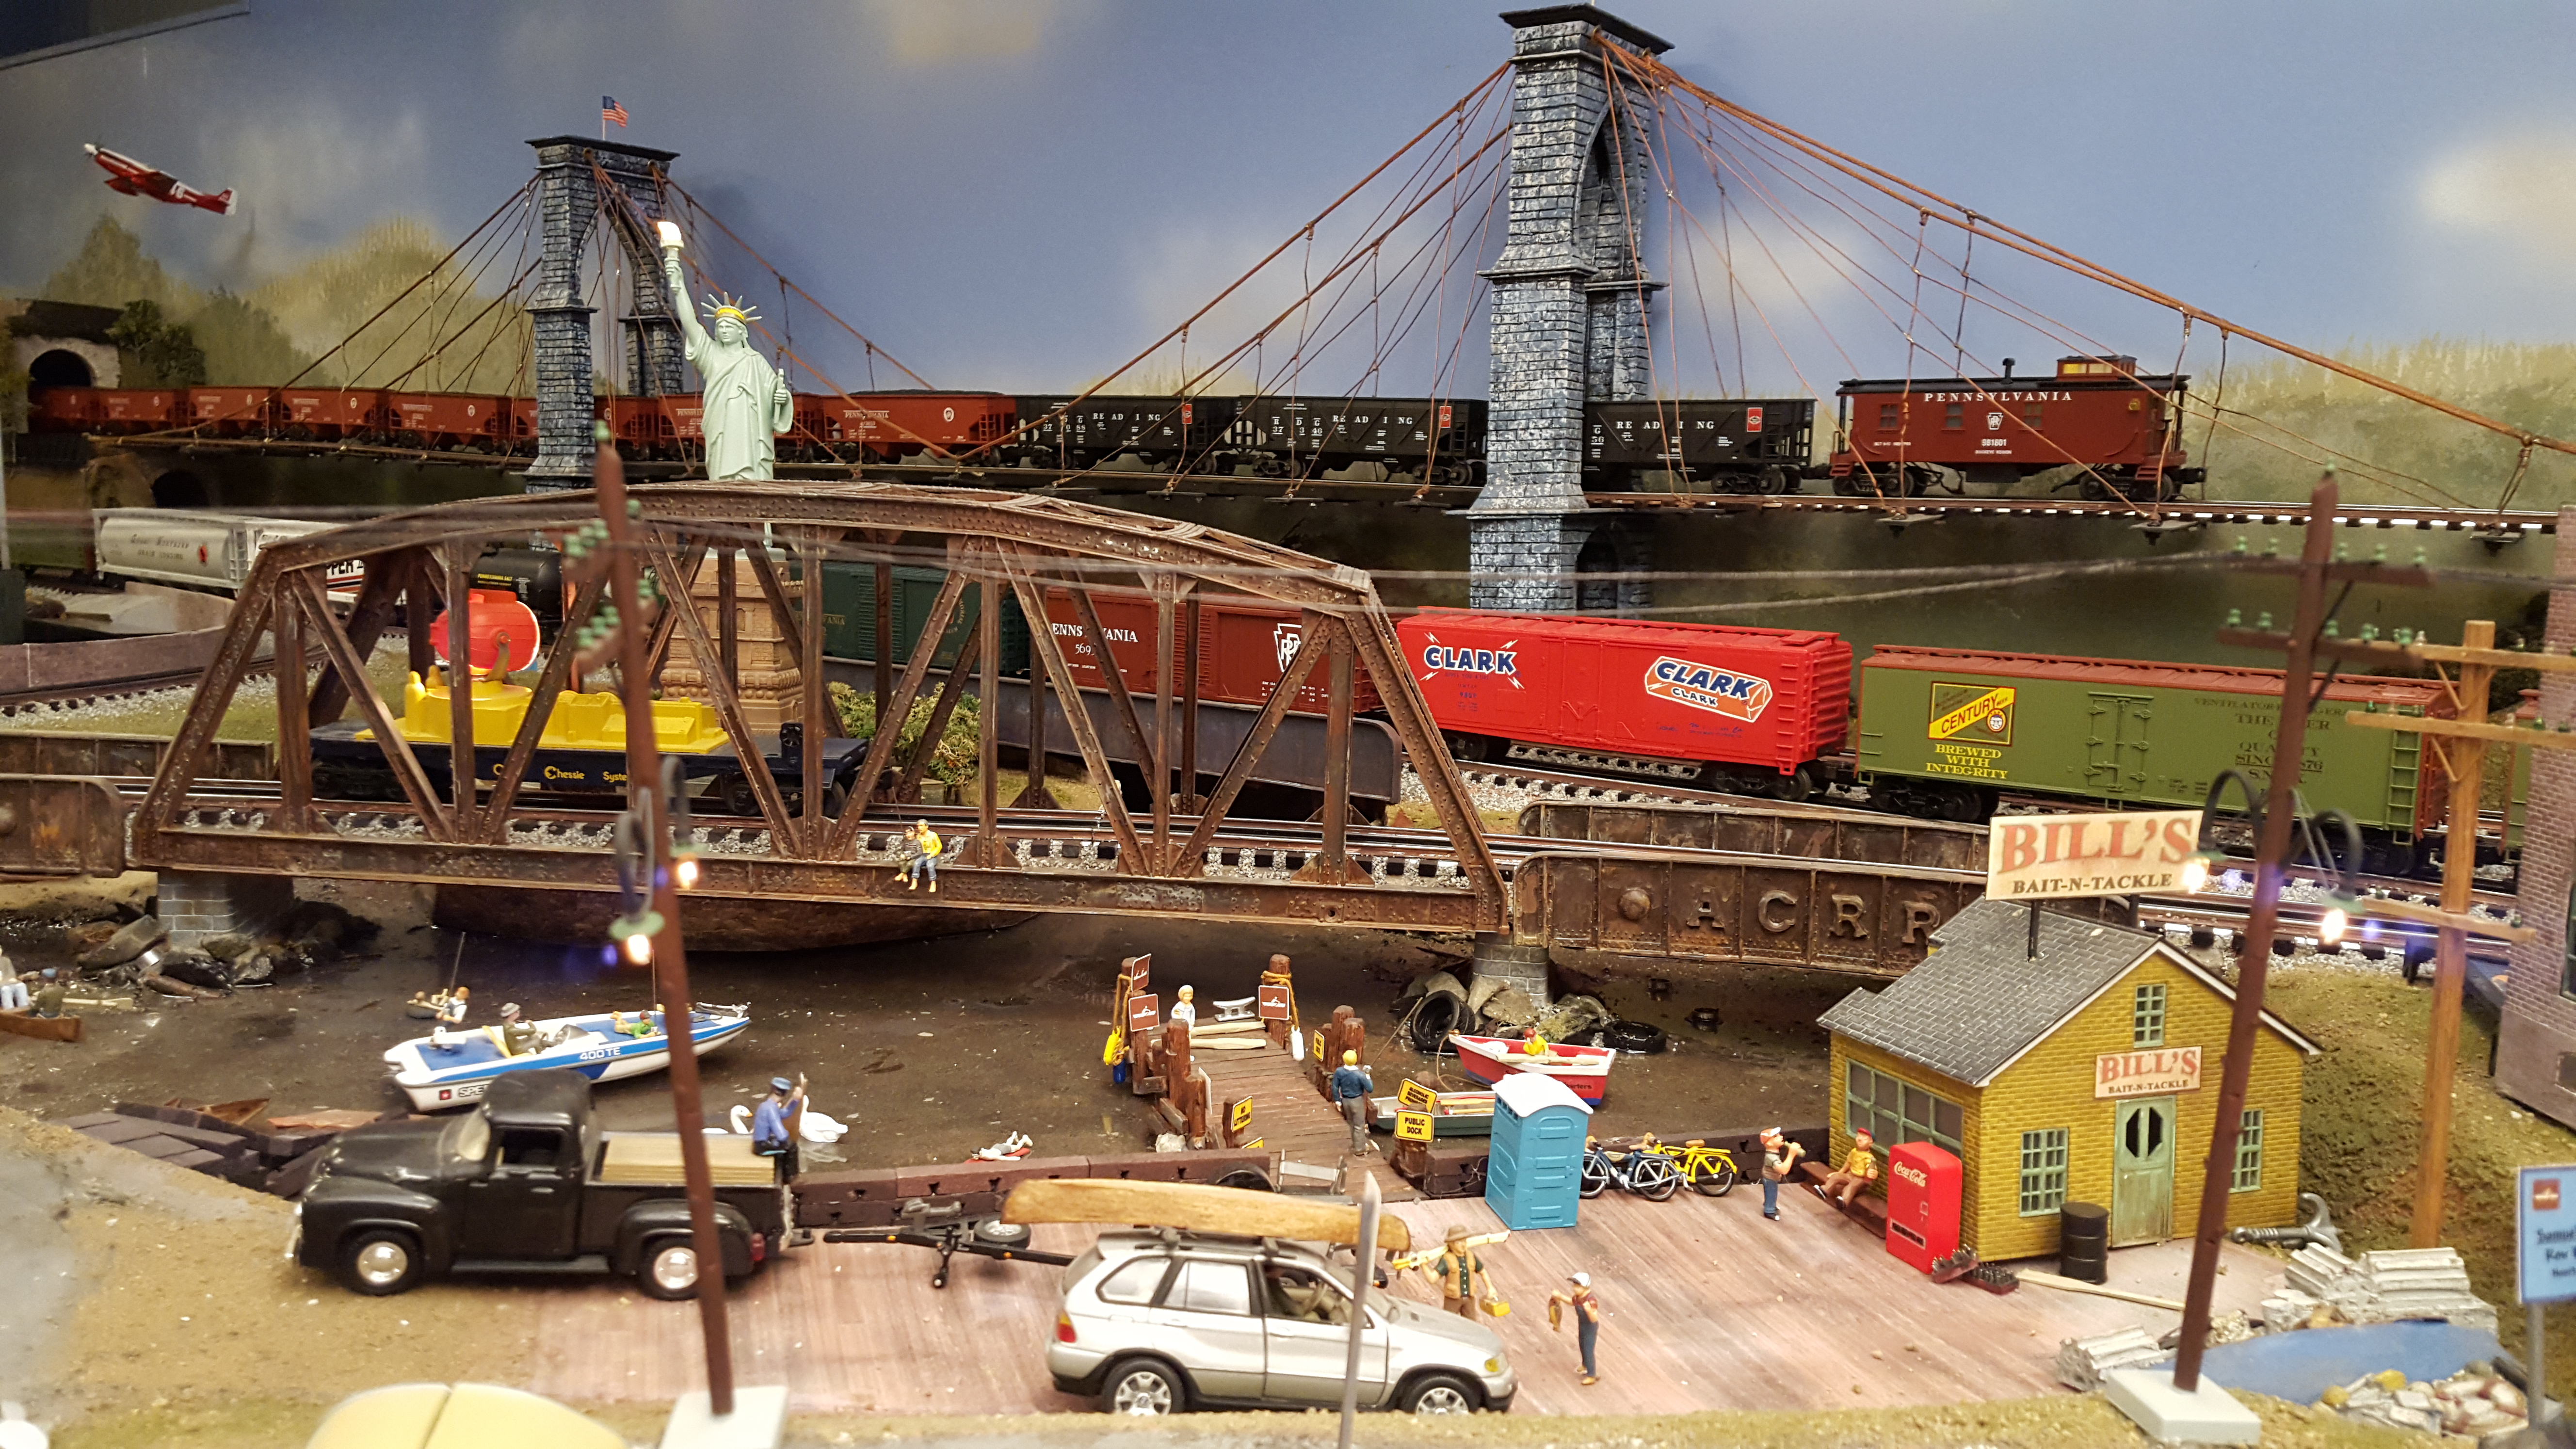
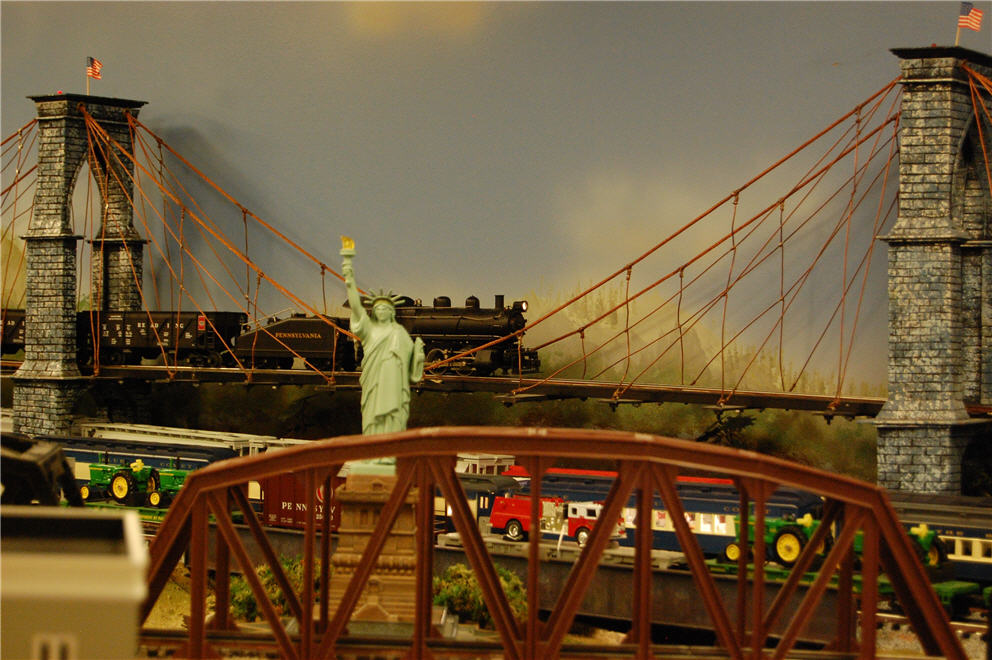
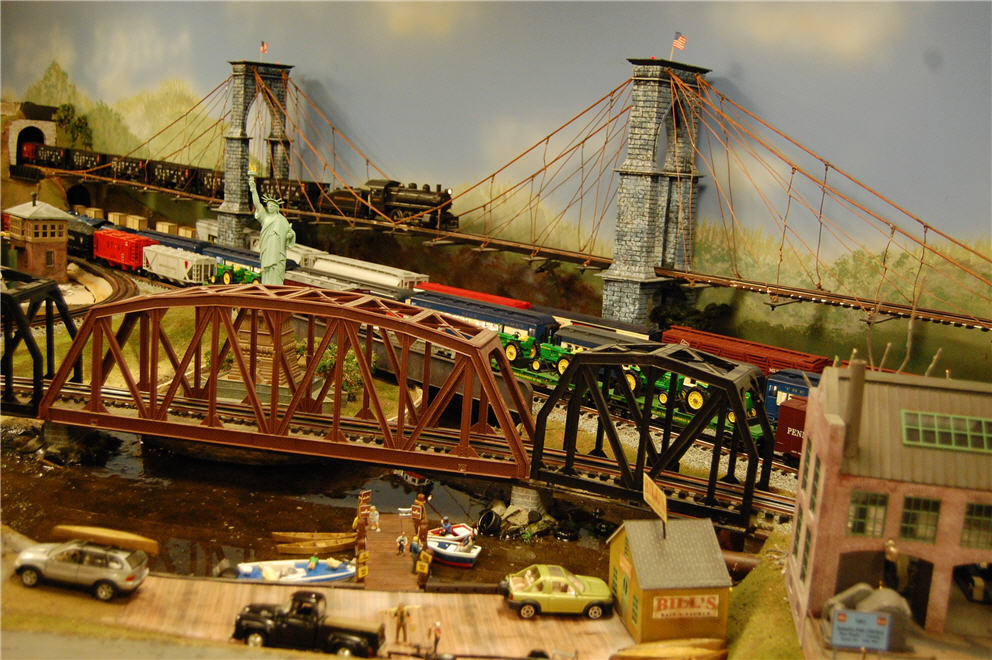
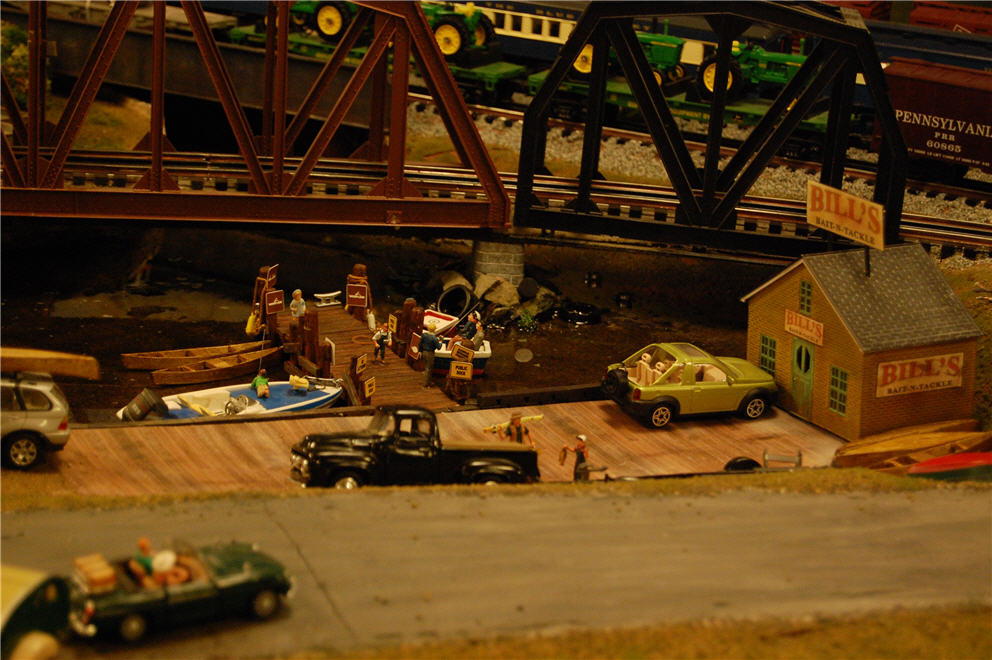
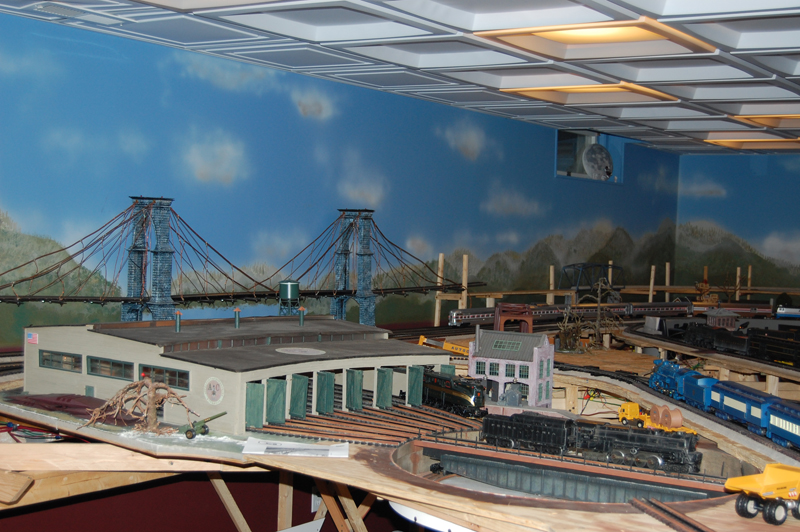
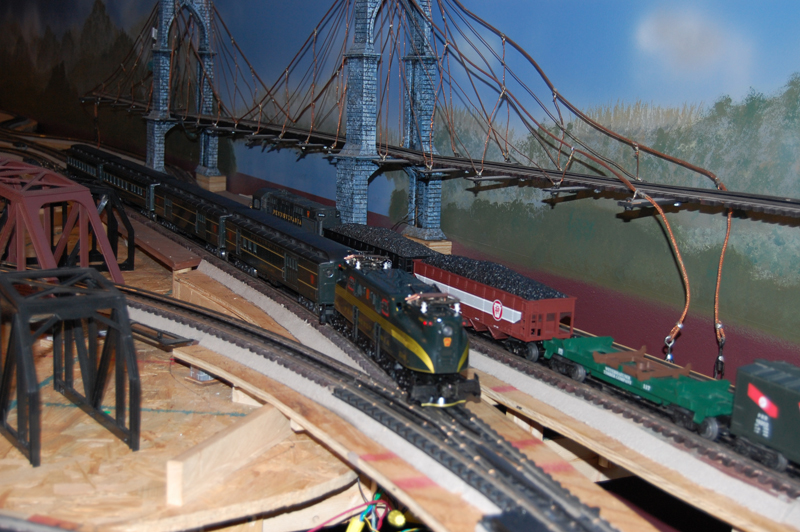
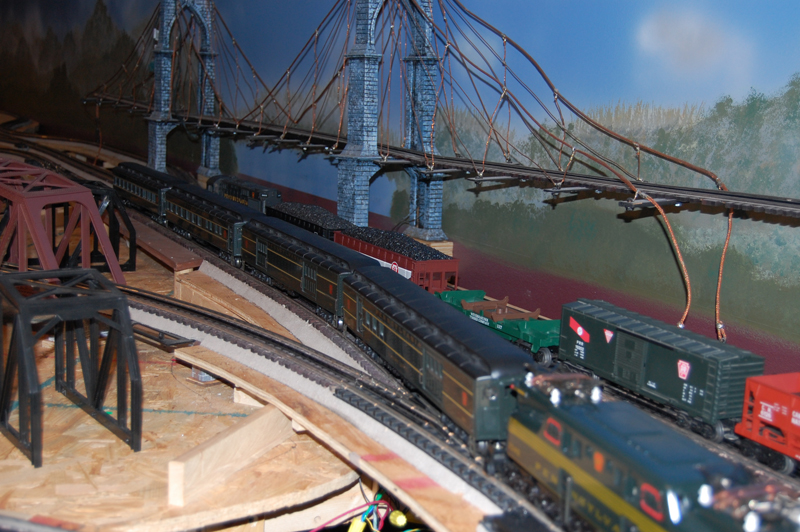
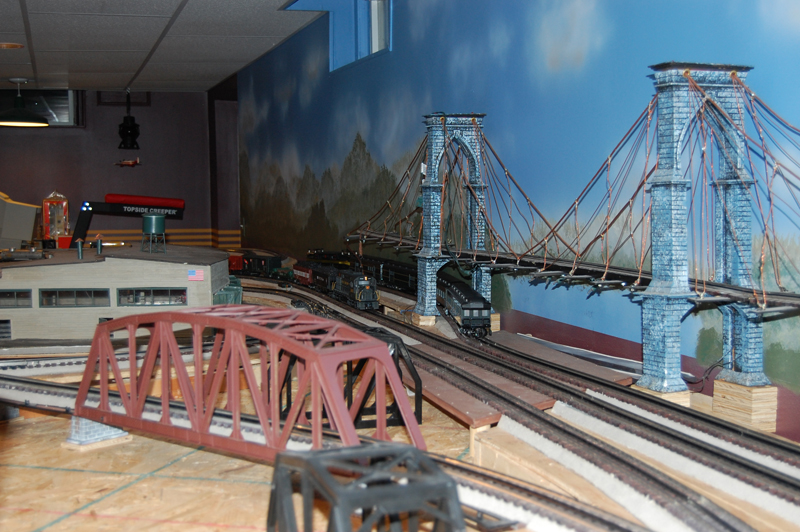
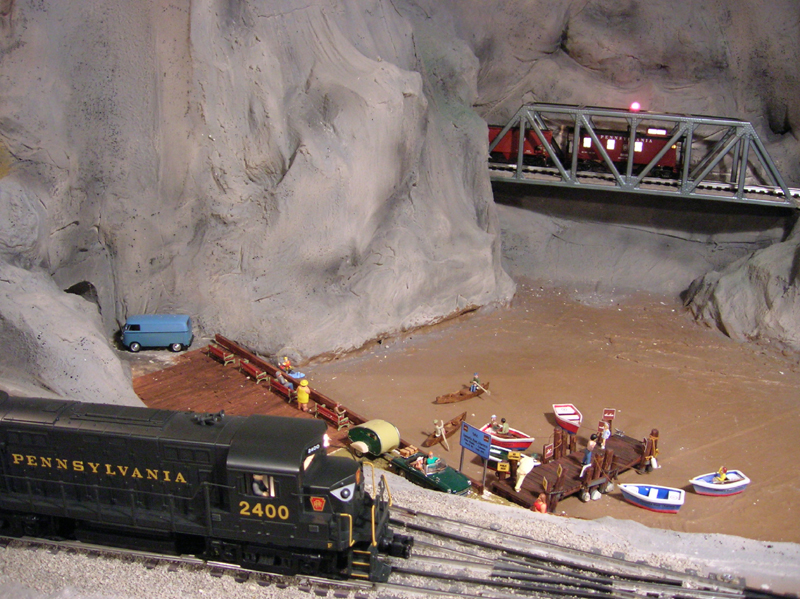
The "lake" with the Statue of Liberty in the middle of it is pretty much done, with the Magic Water poured. It's very realistic and looks great, but a lot of Magic Water does not go very far. Check out the photos of the jetty with the folks fishing.
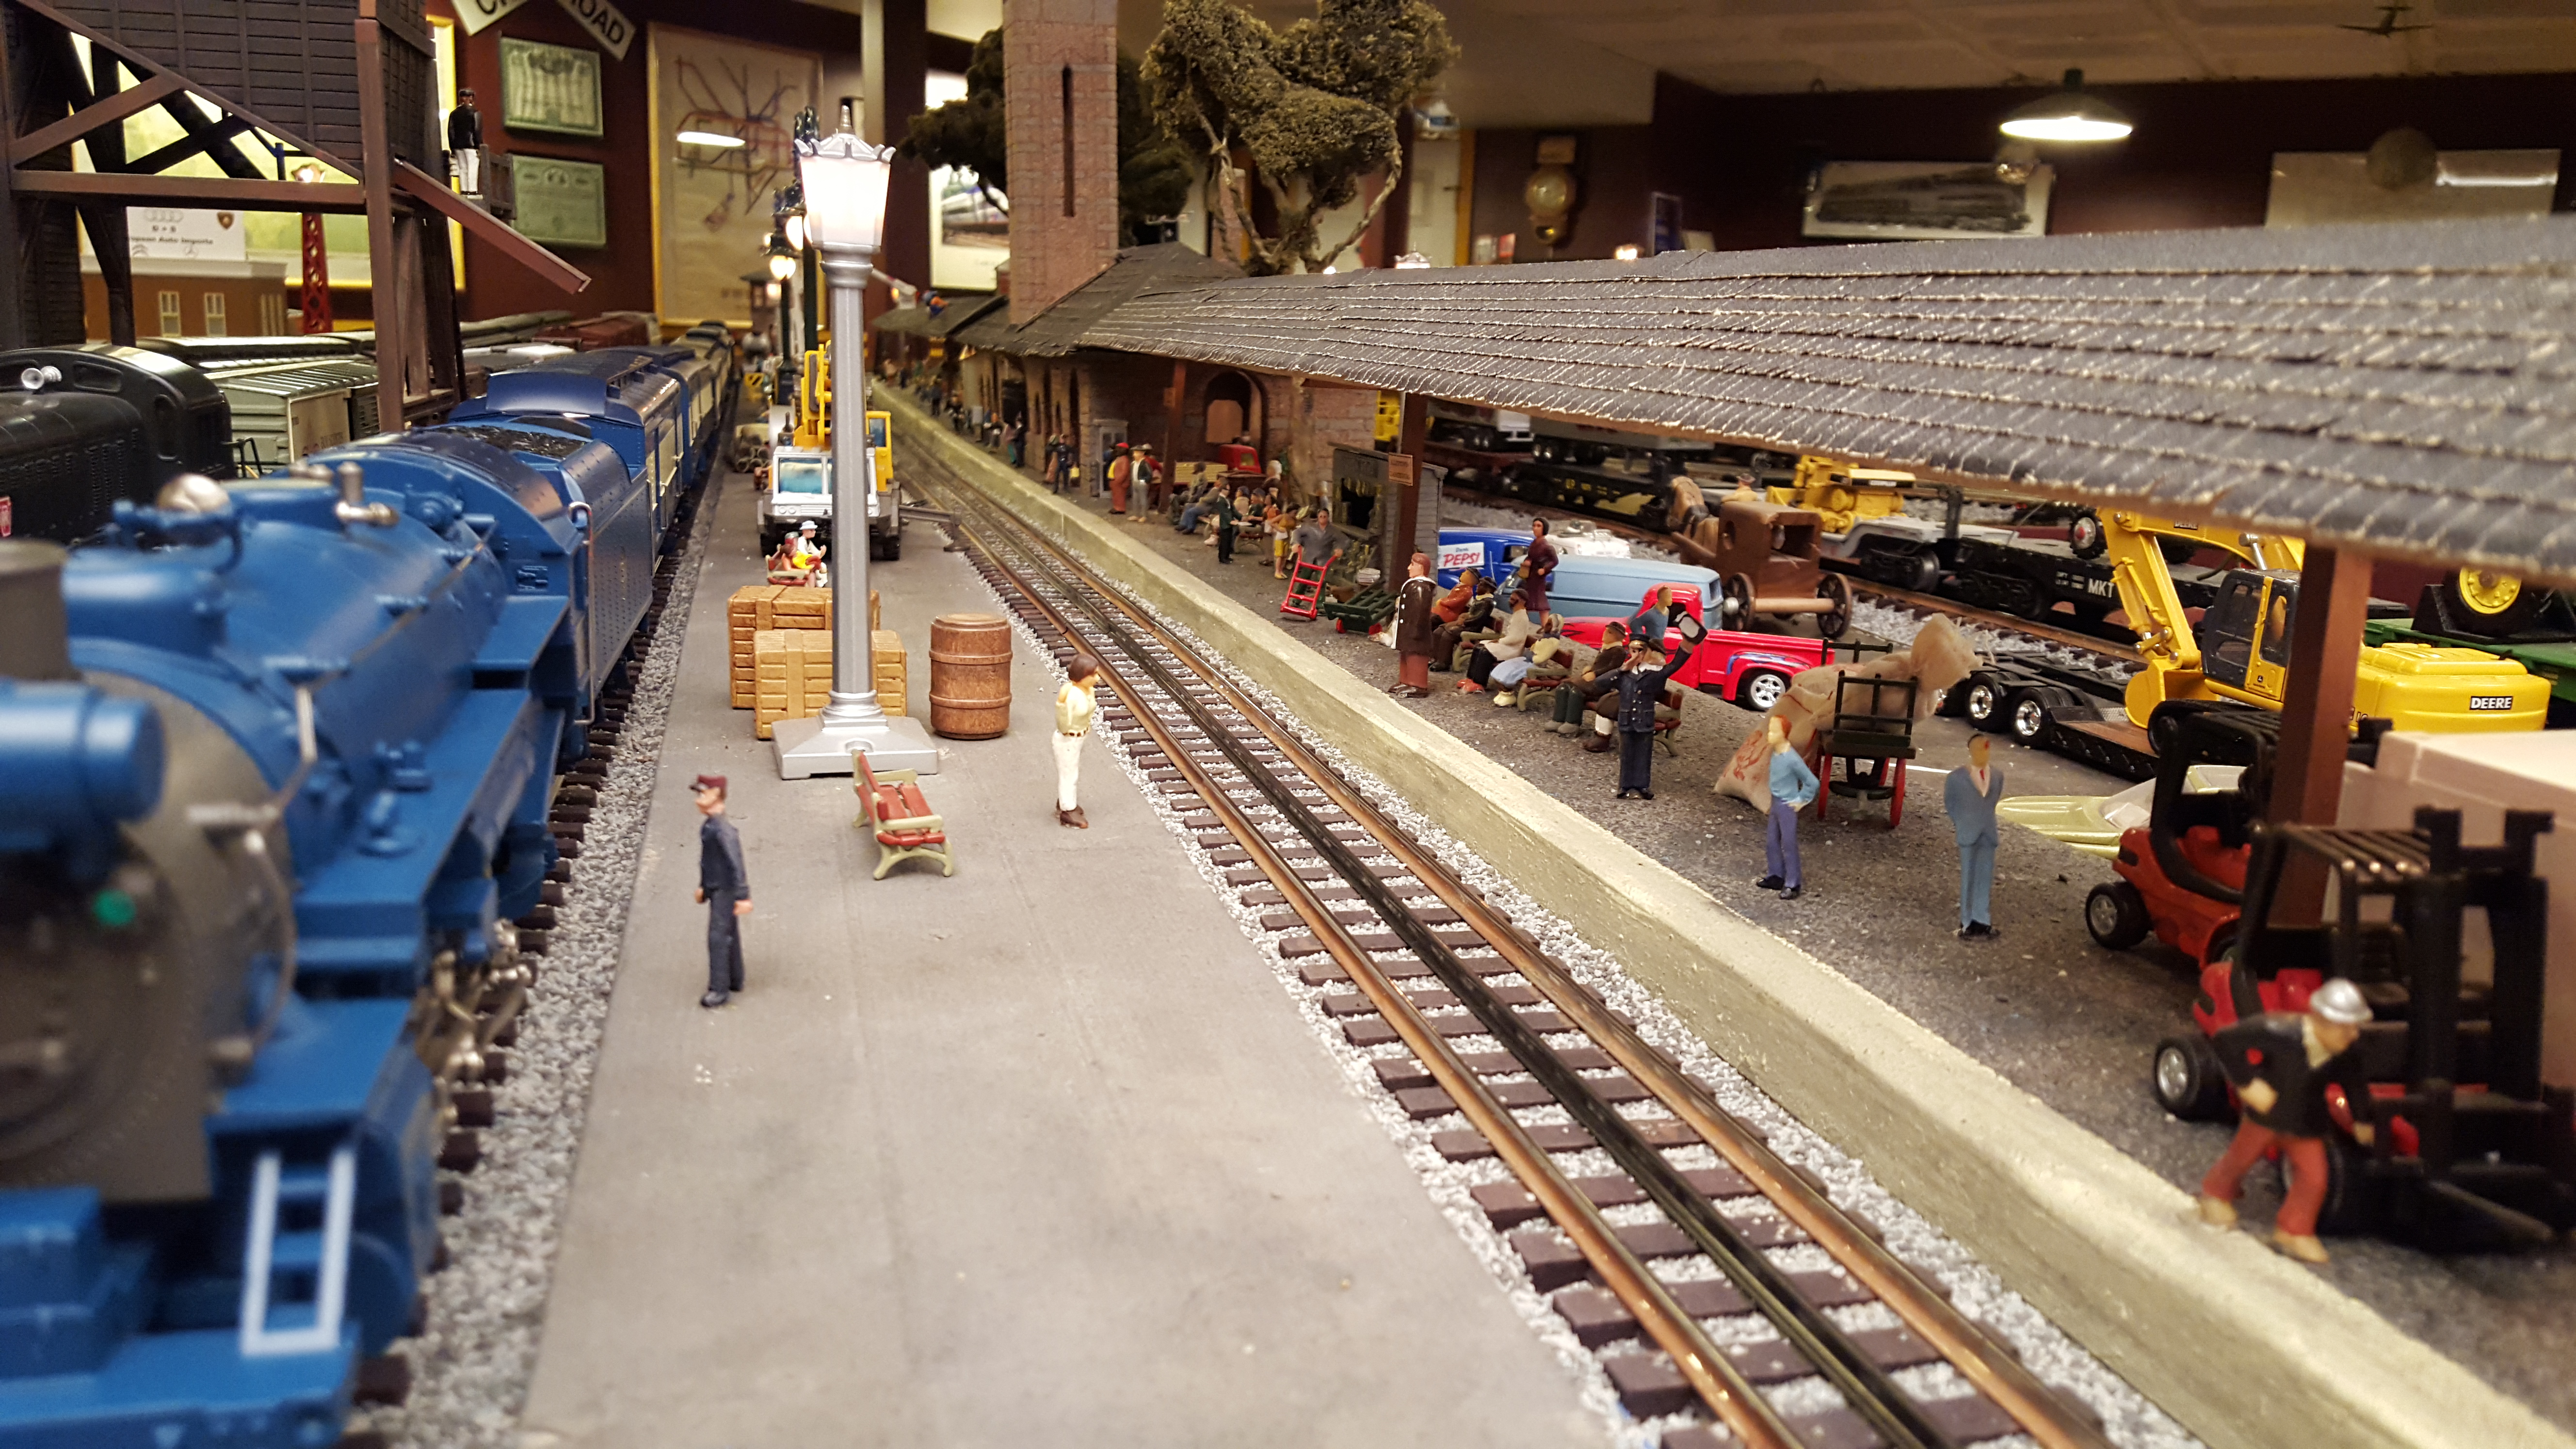
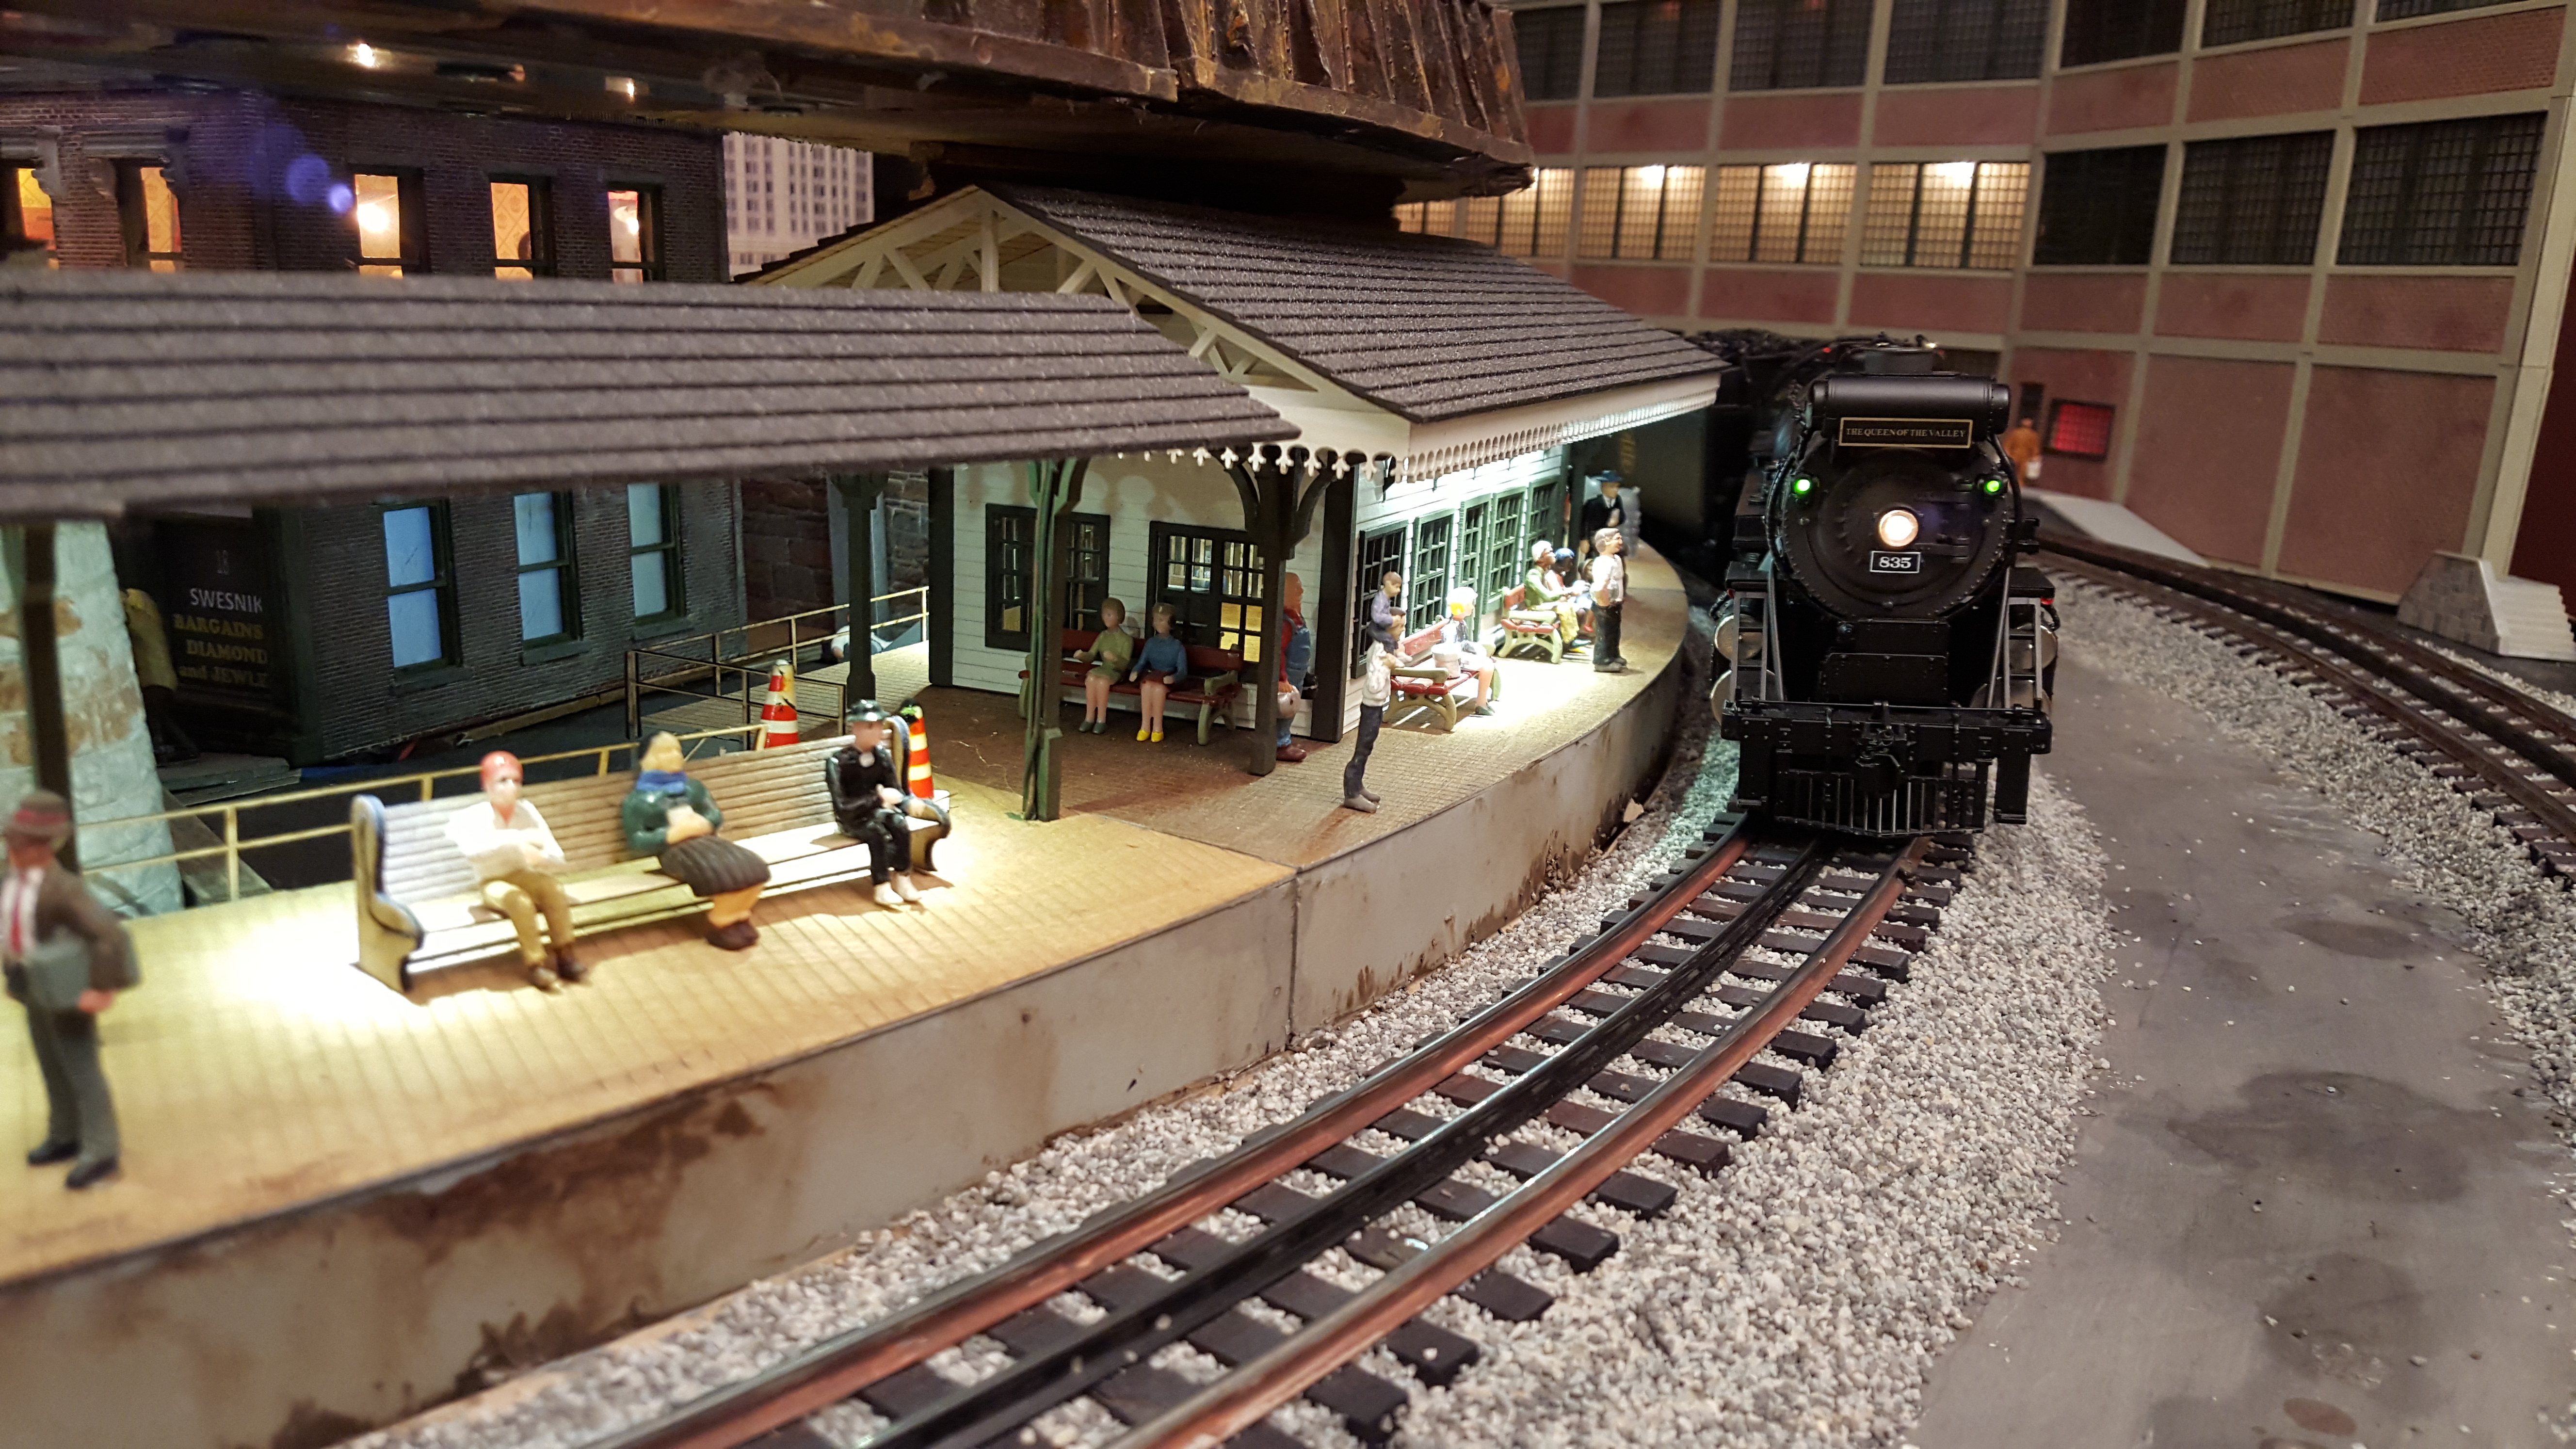
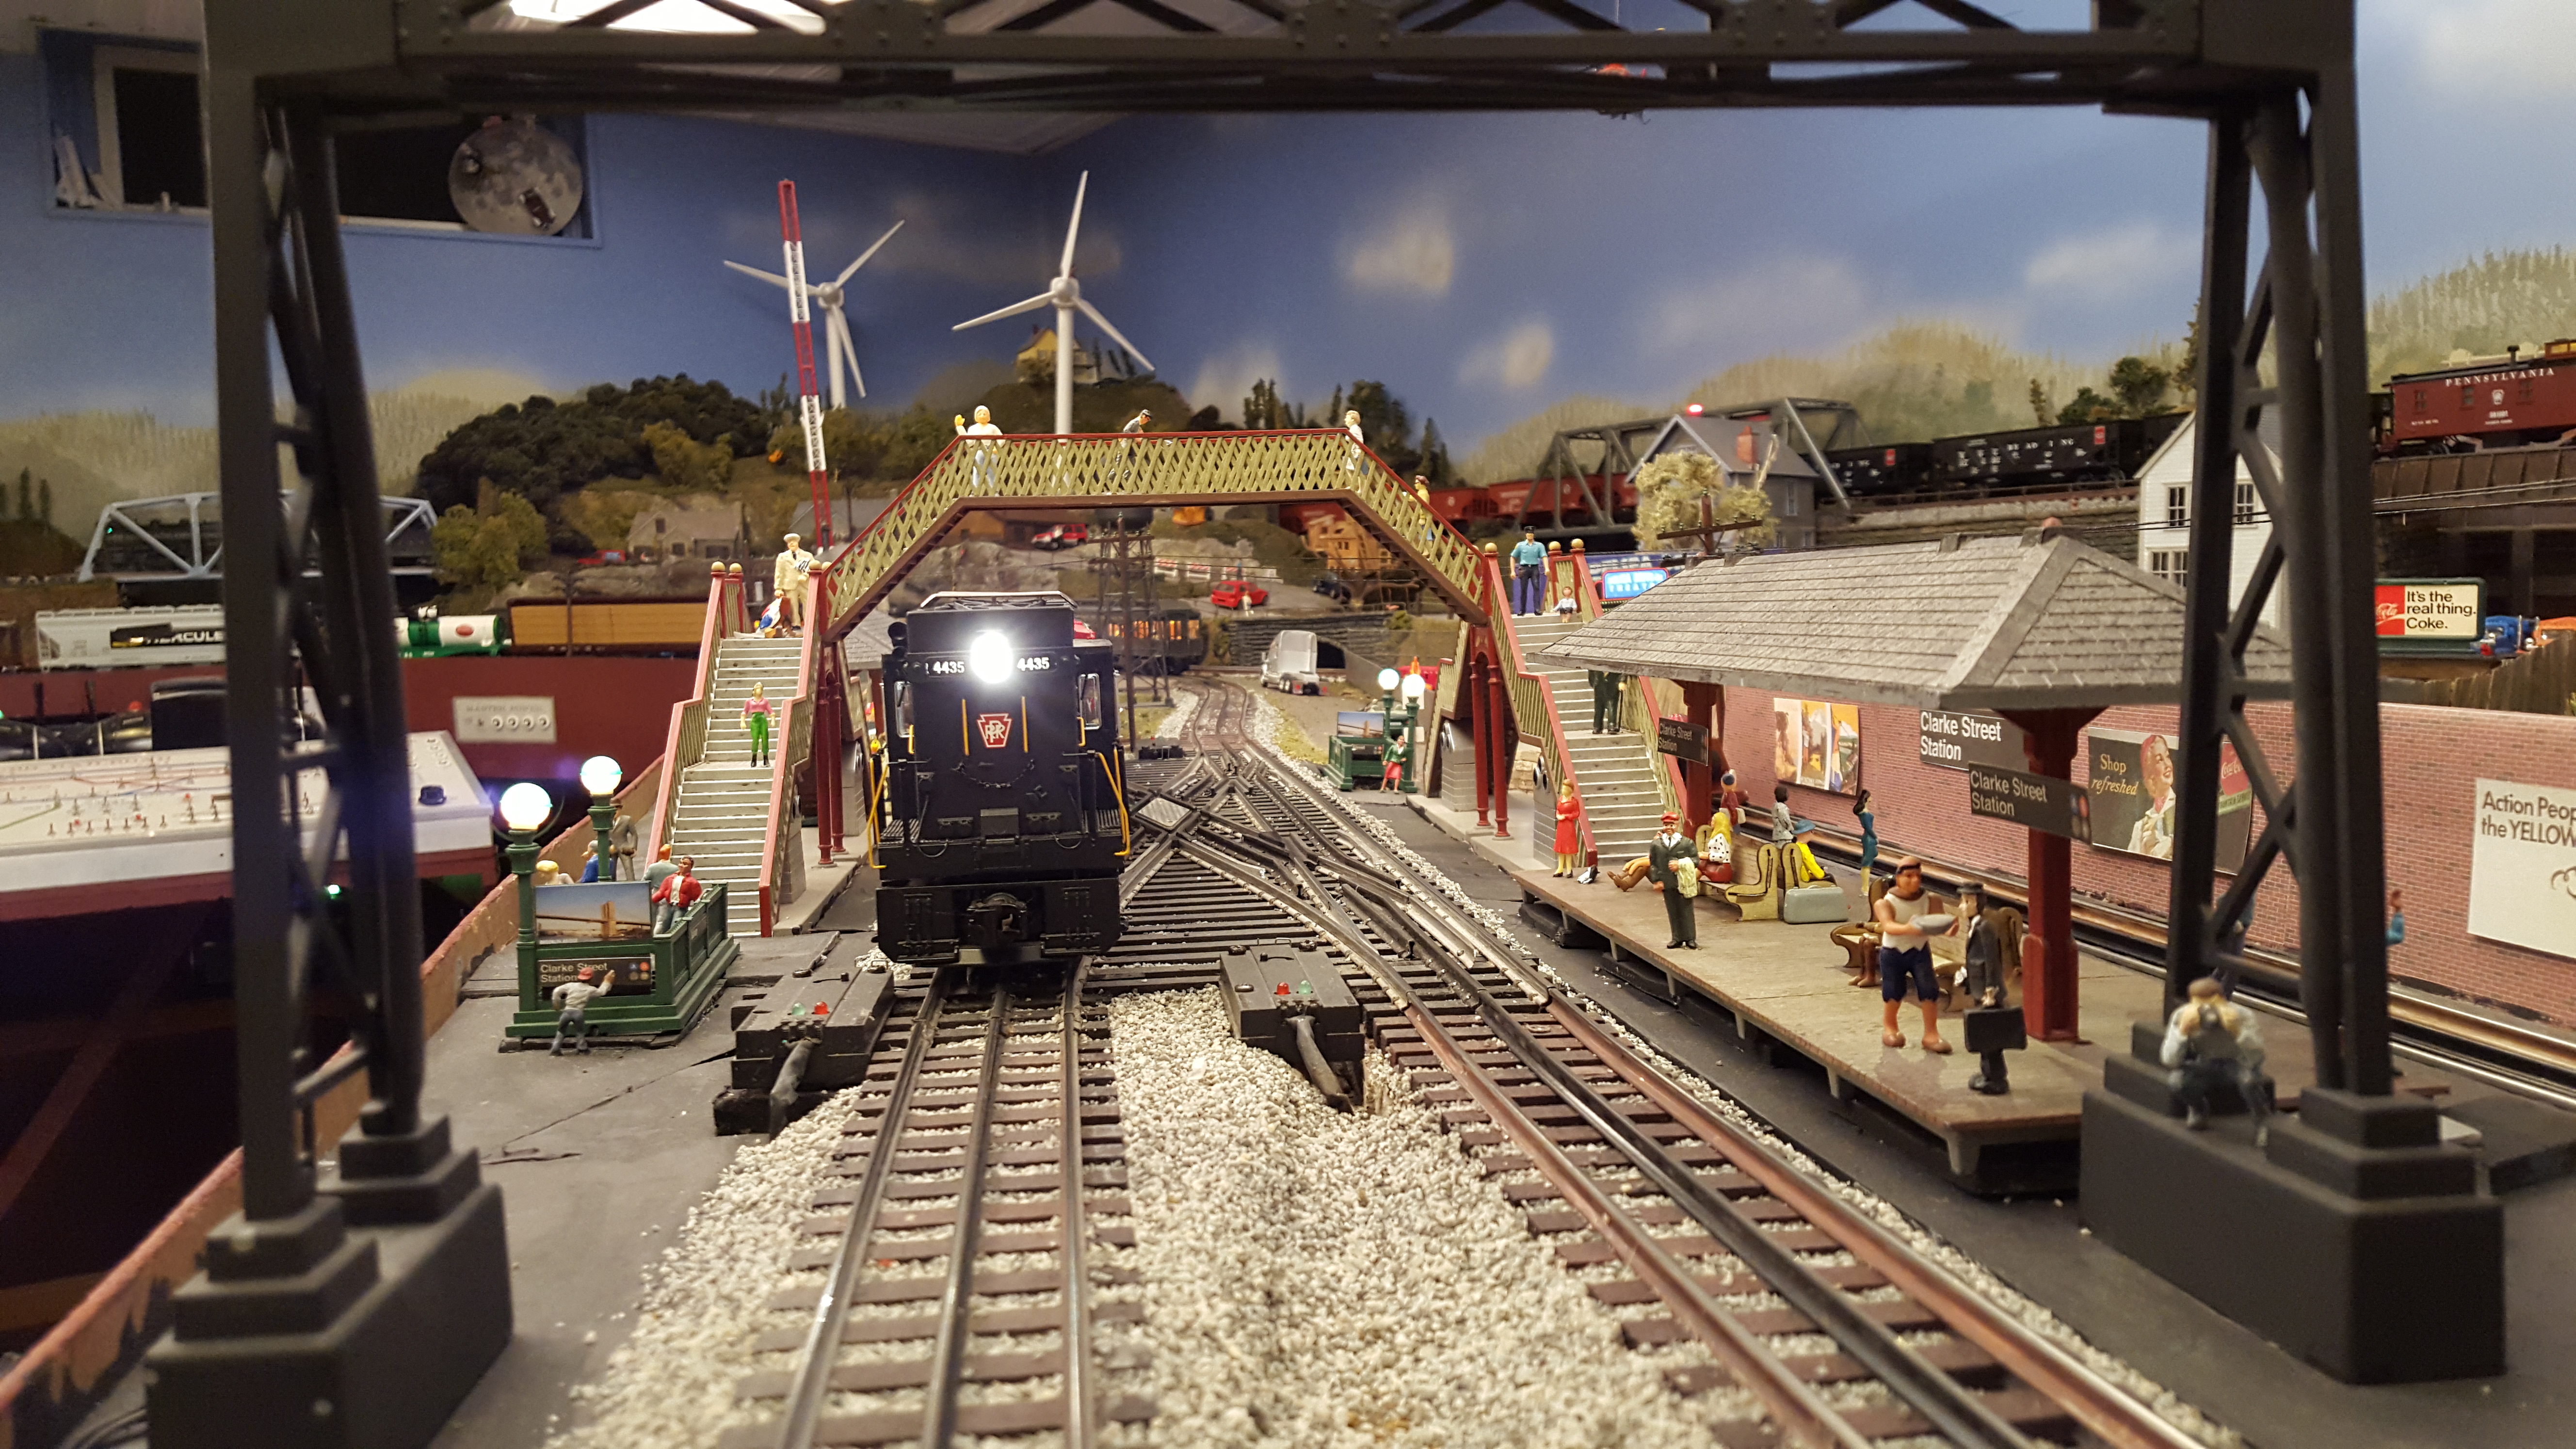
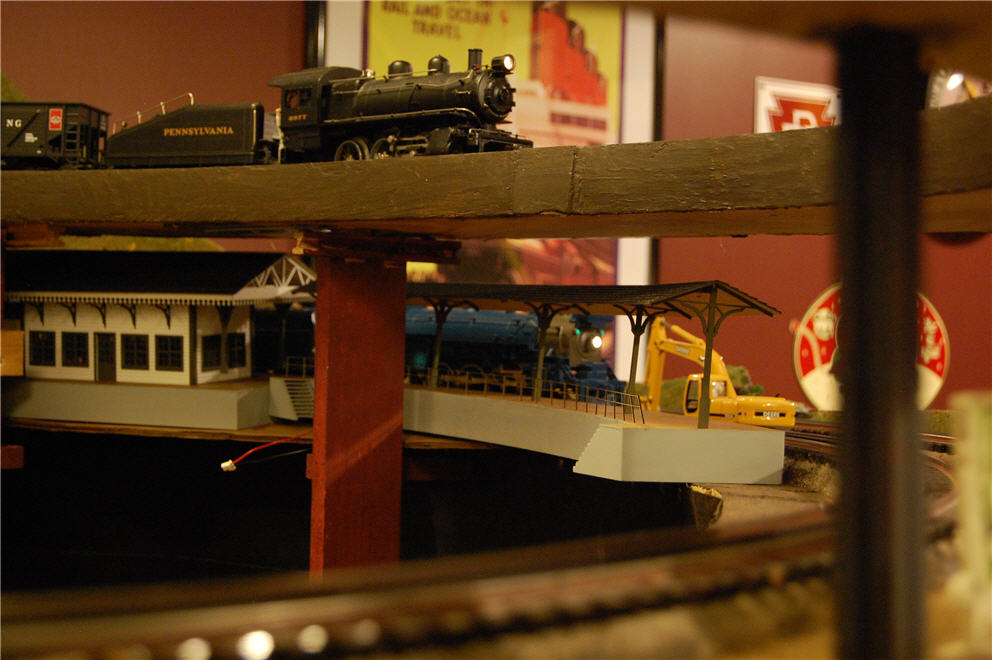
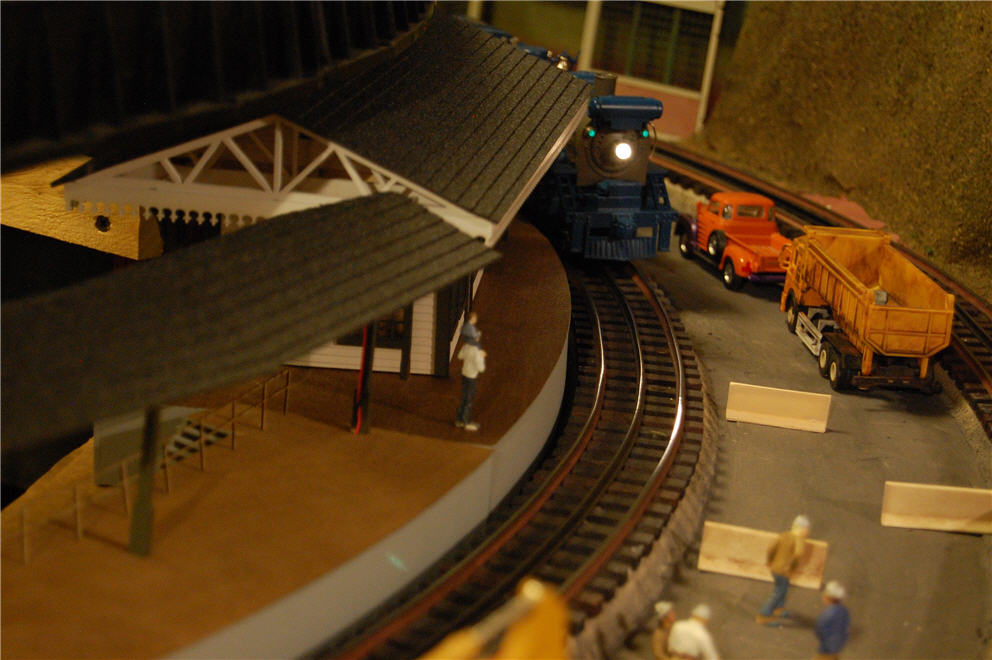
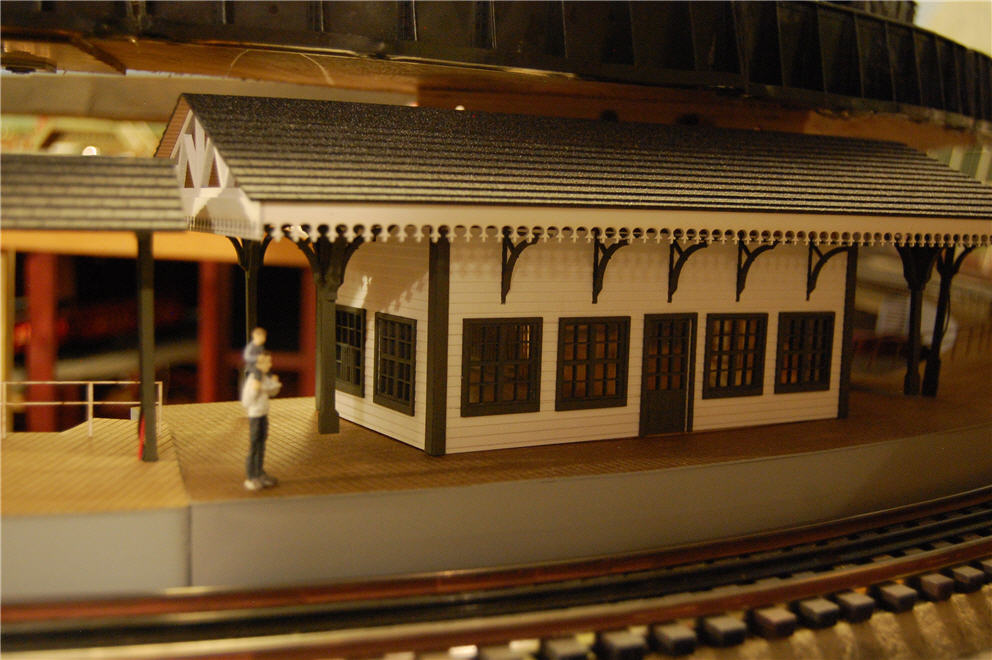
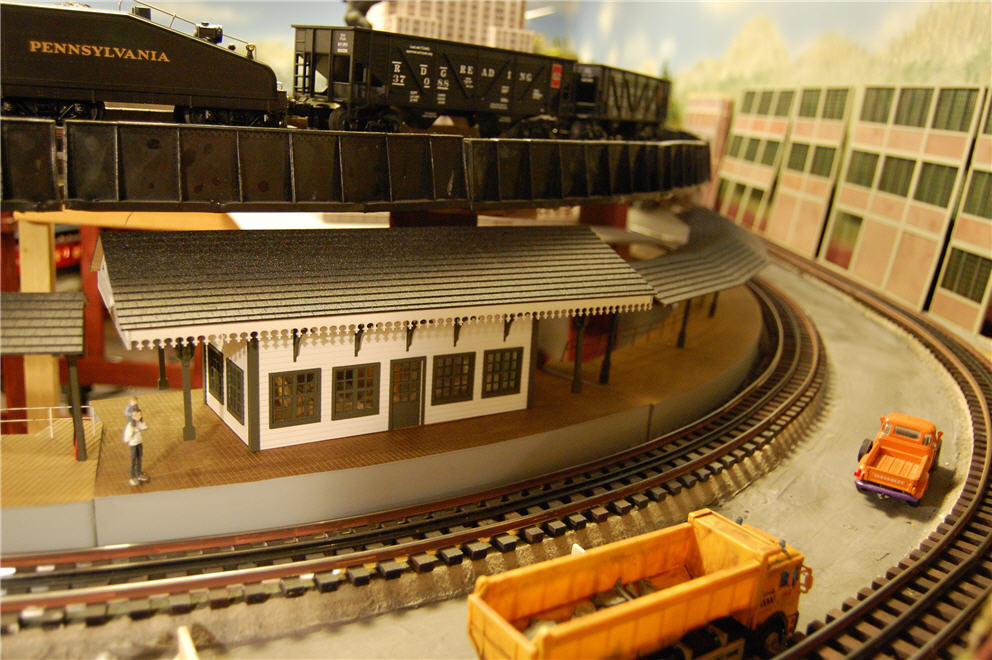
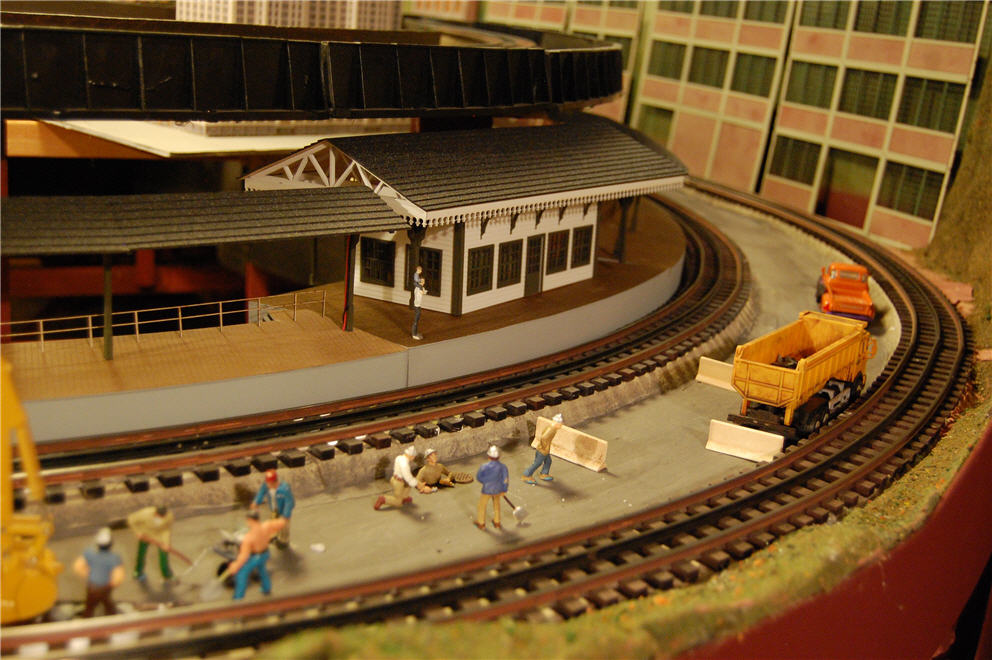
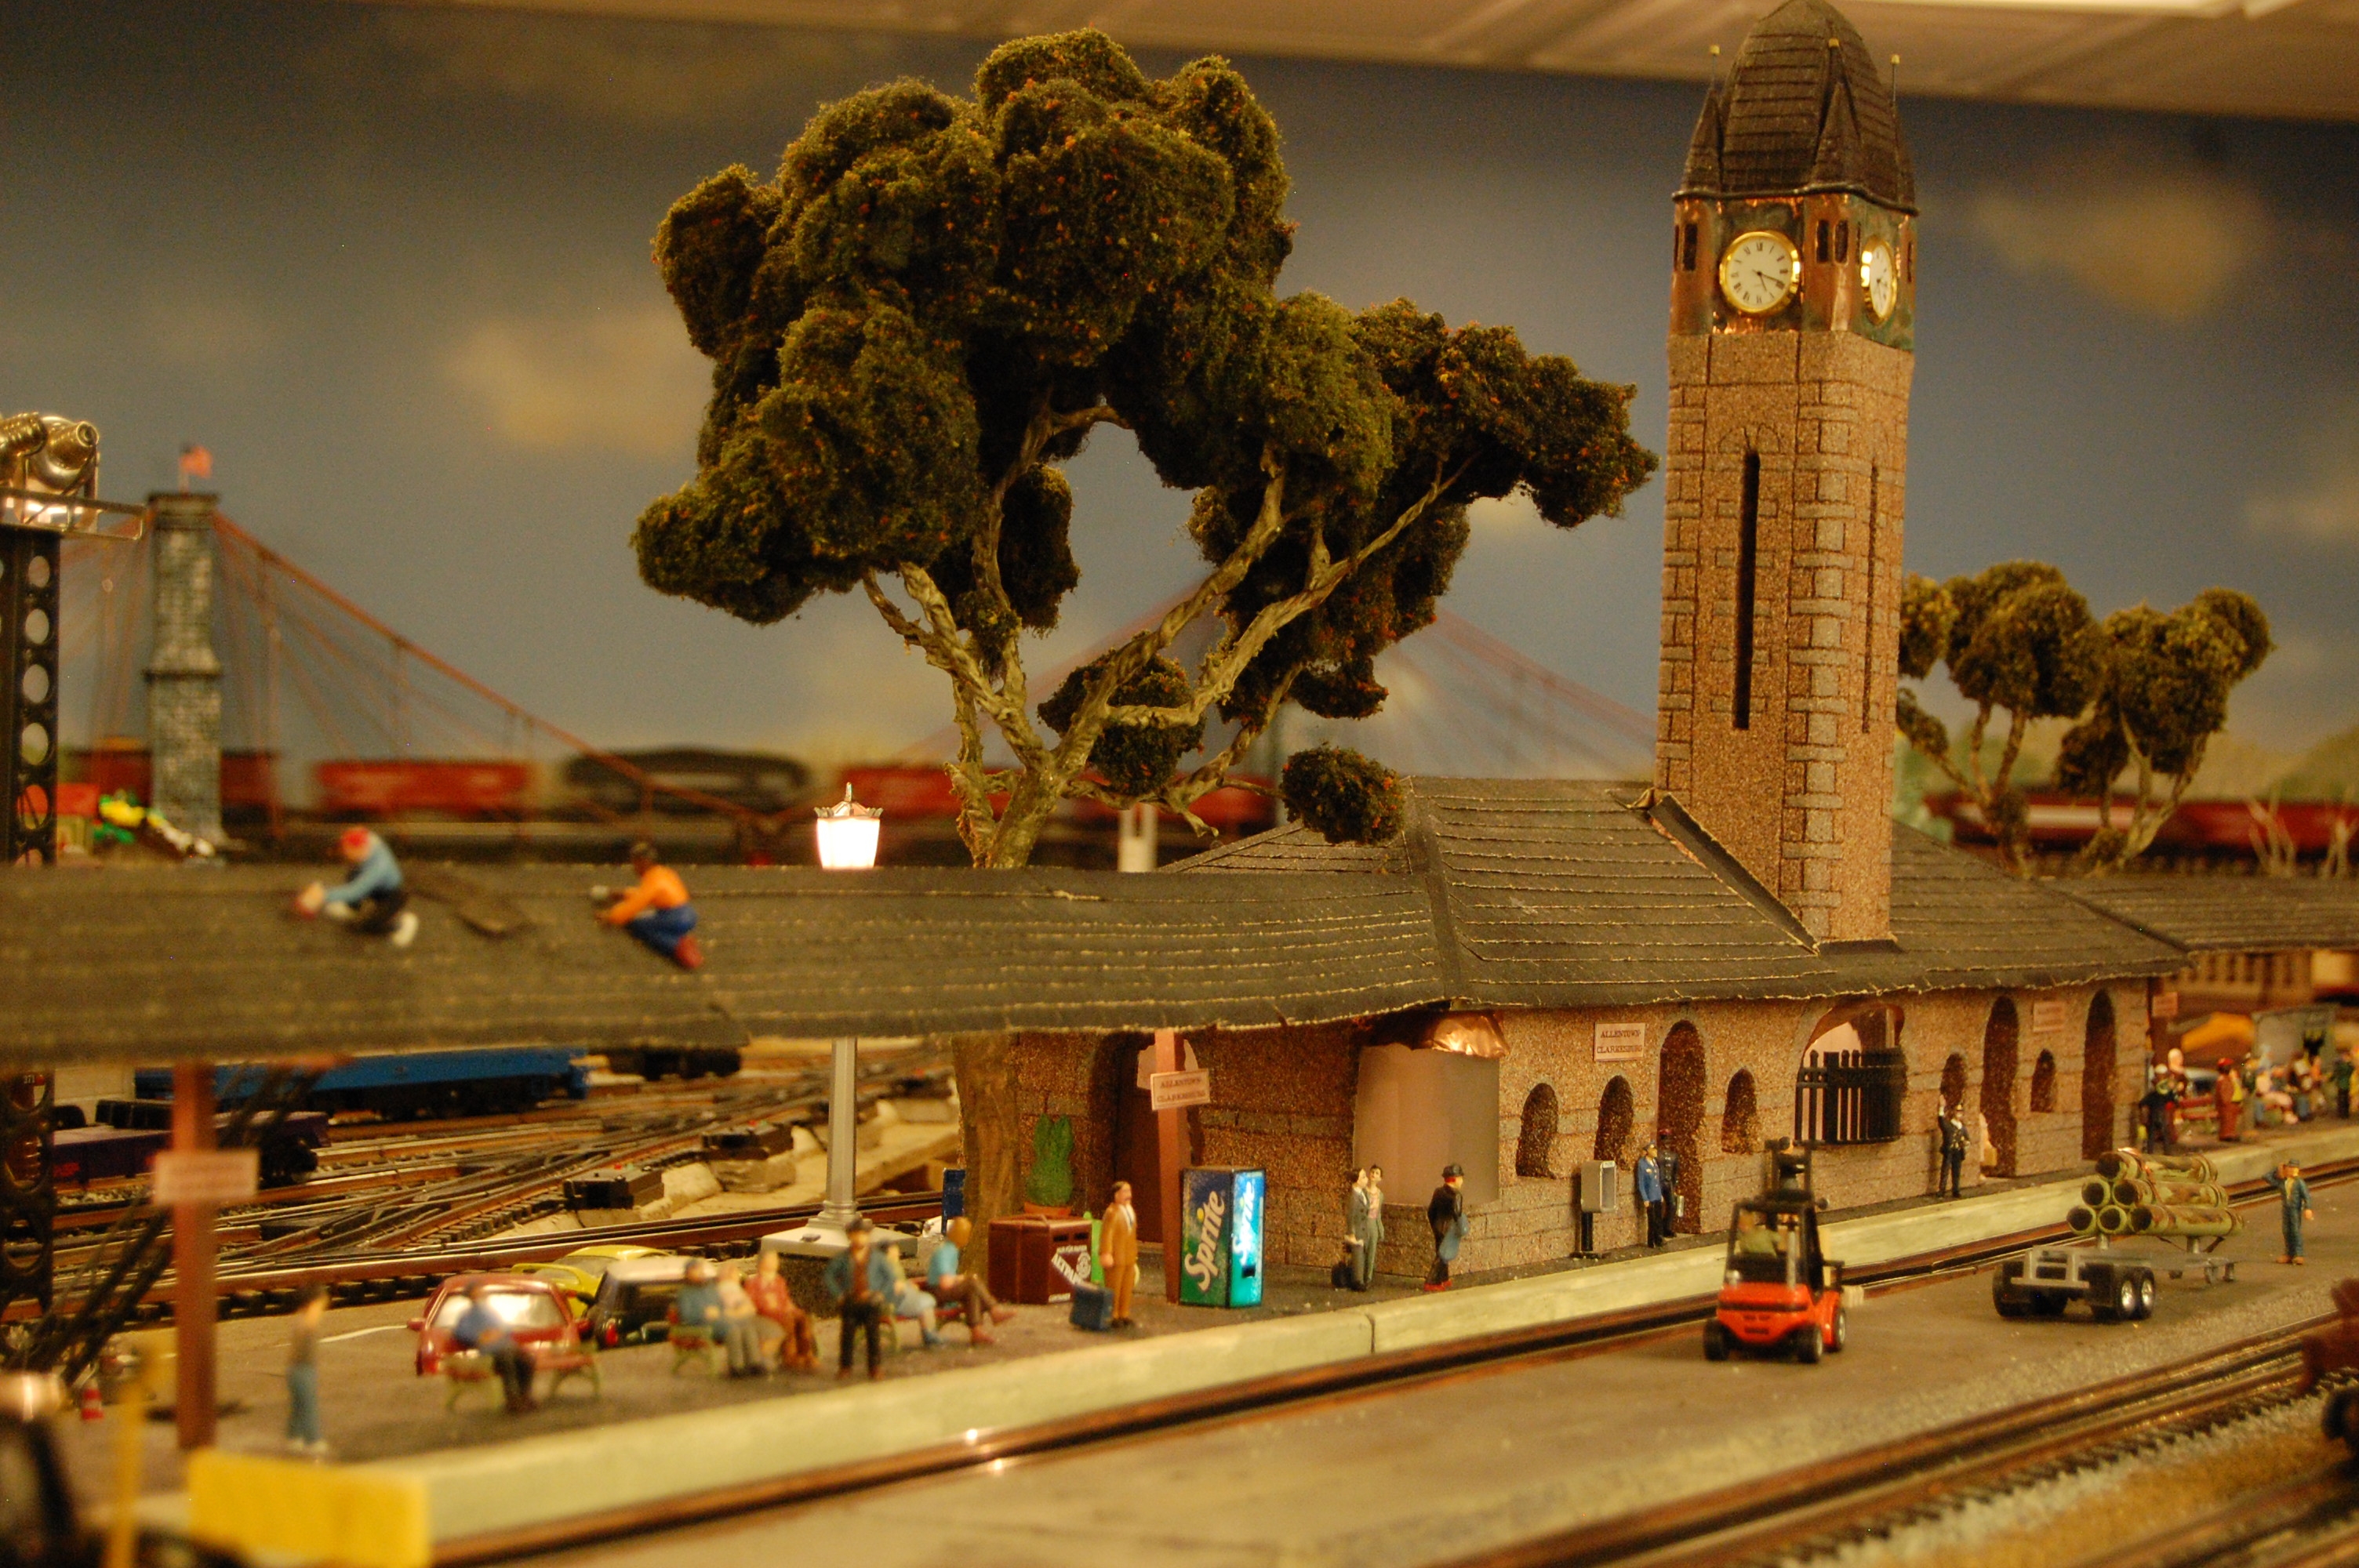
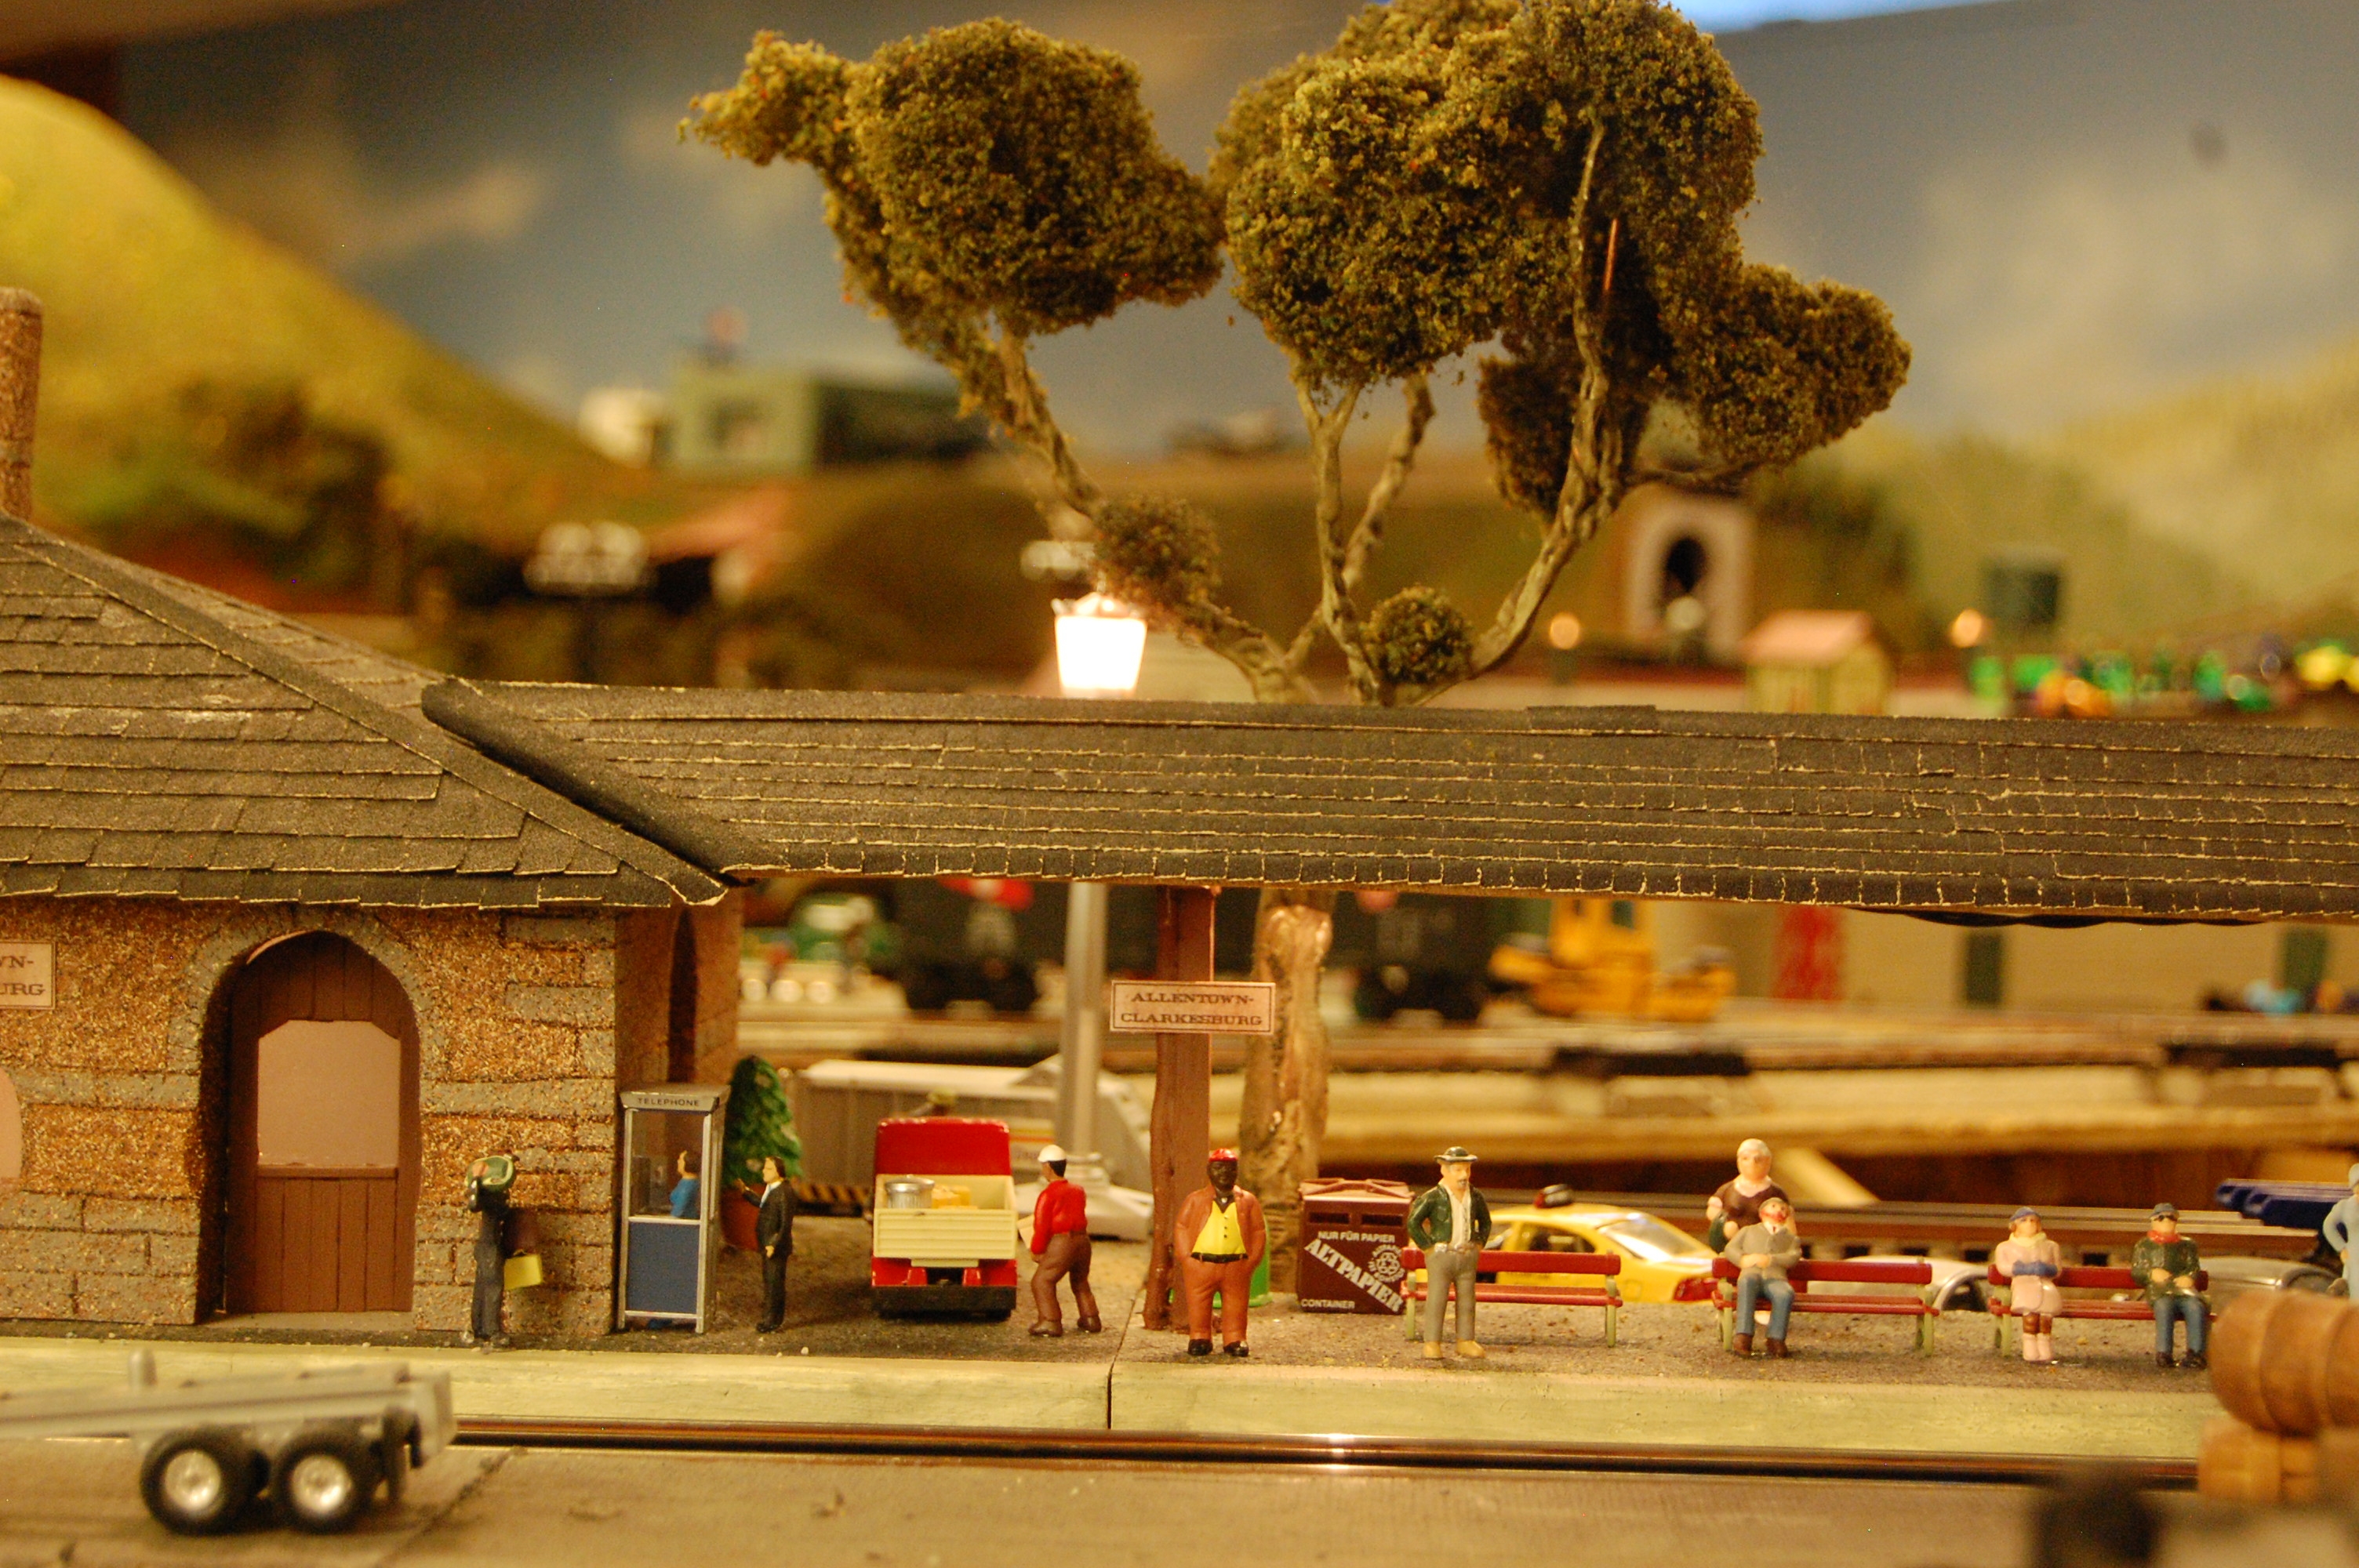
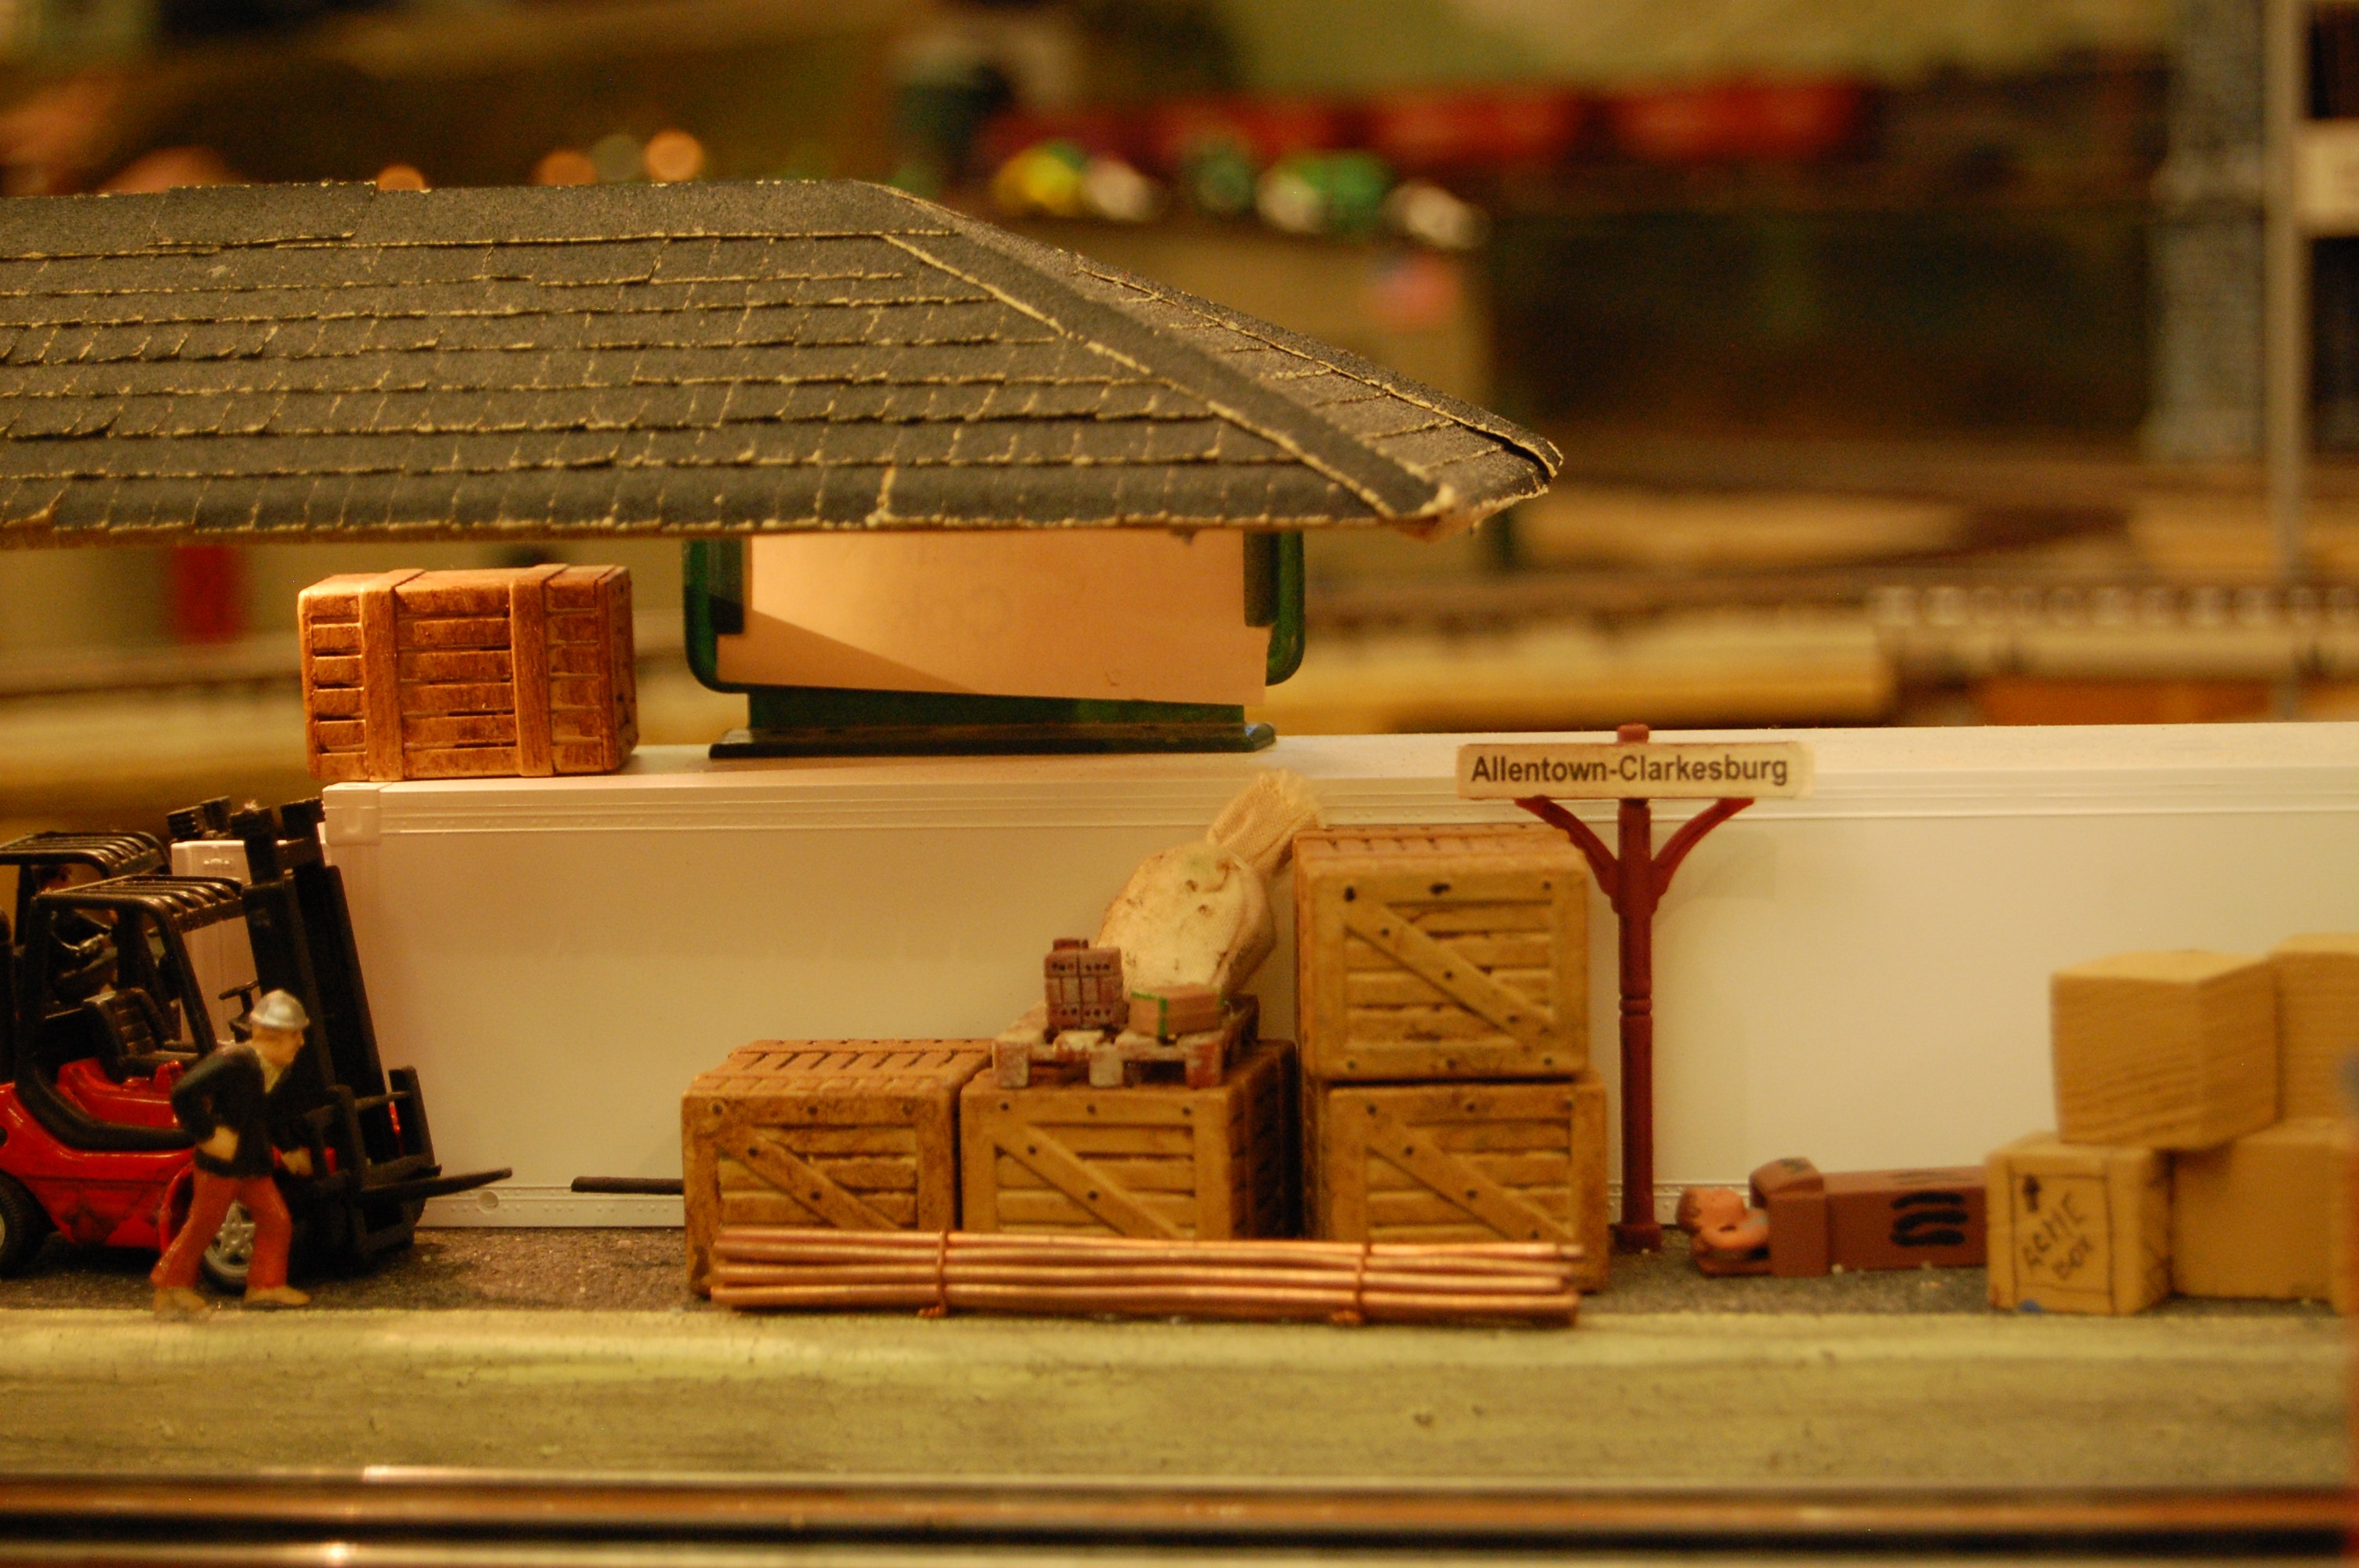
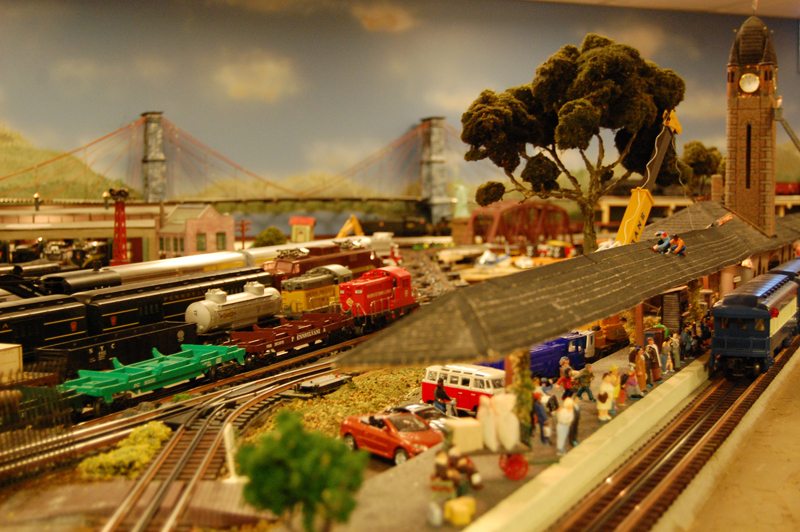
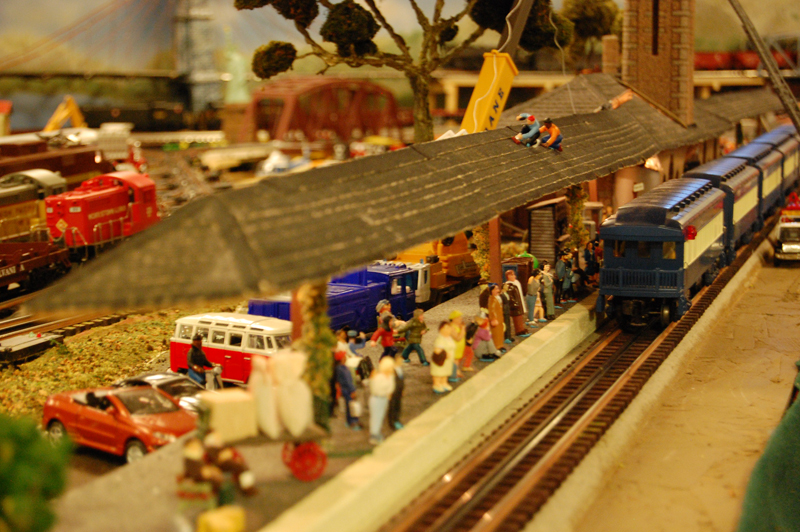
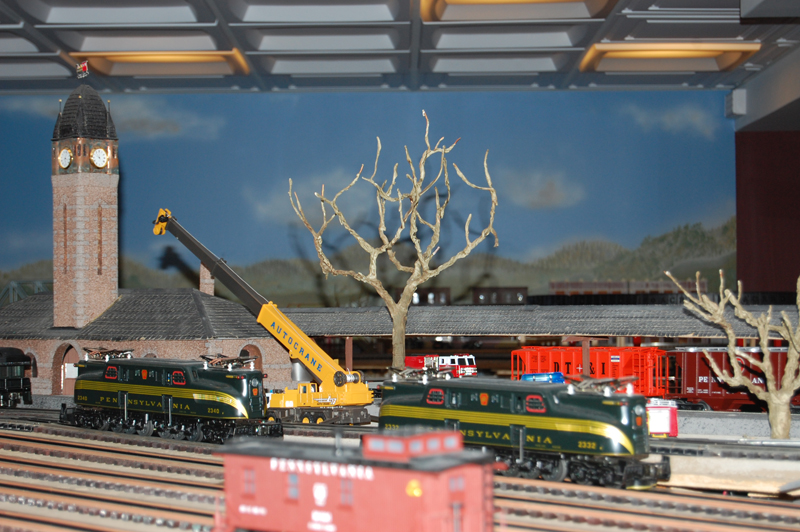
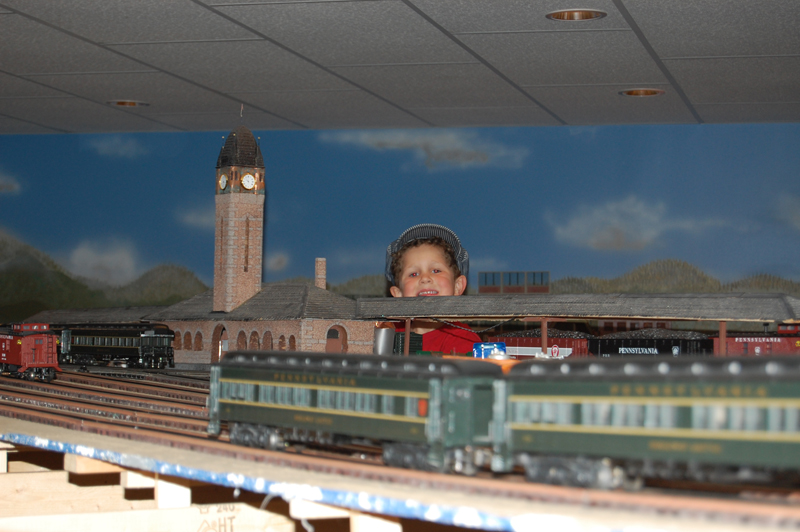
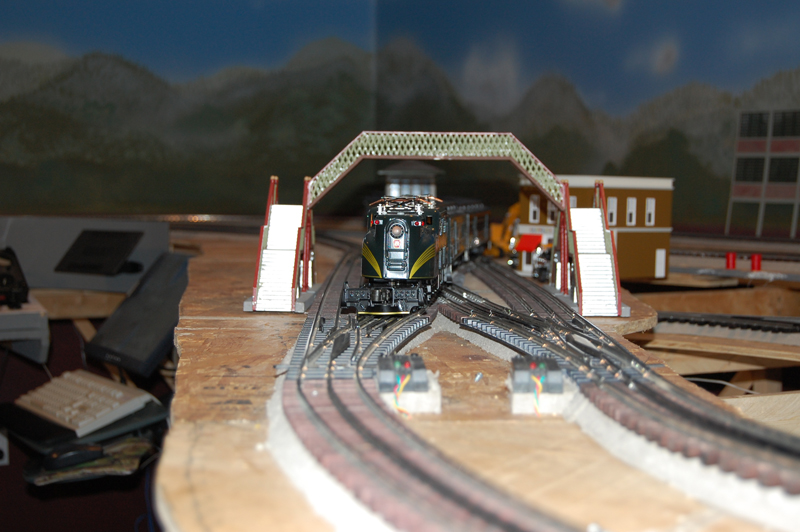
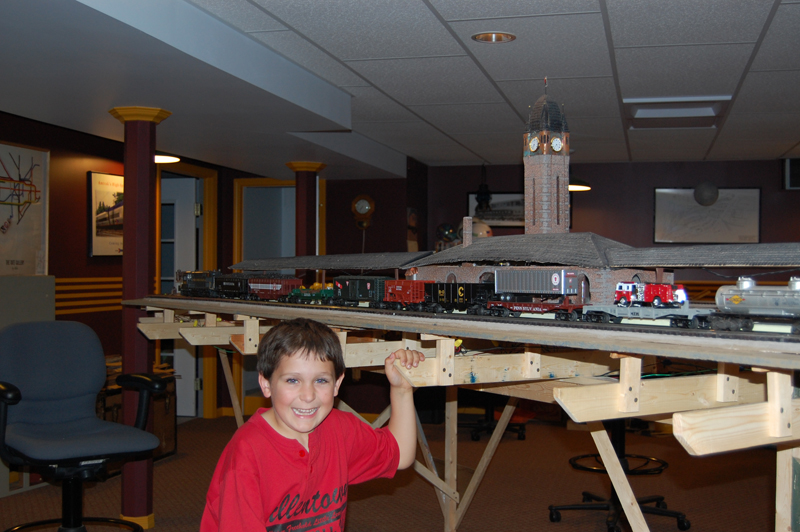
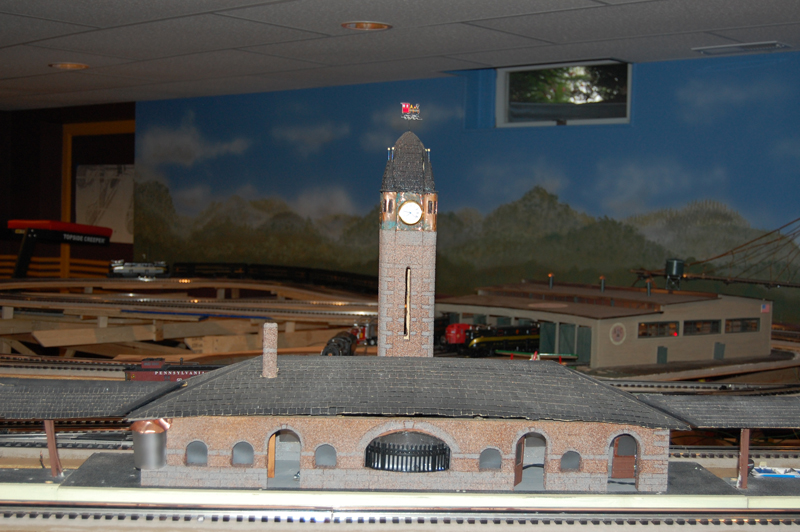
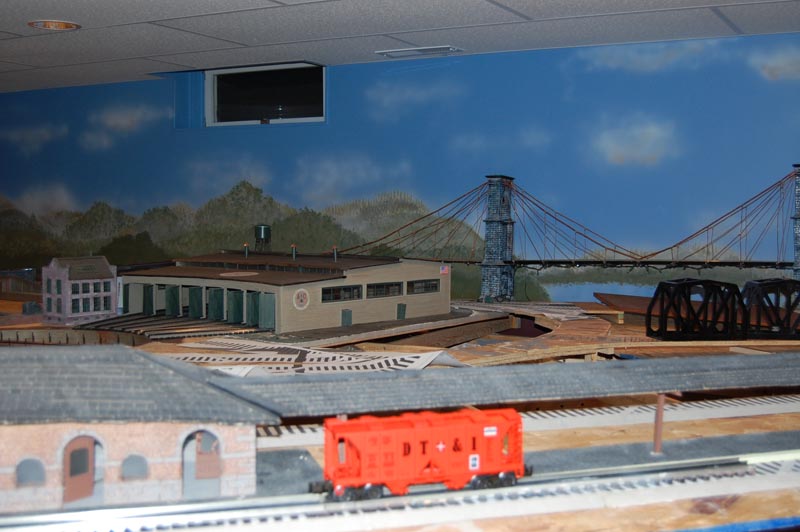
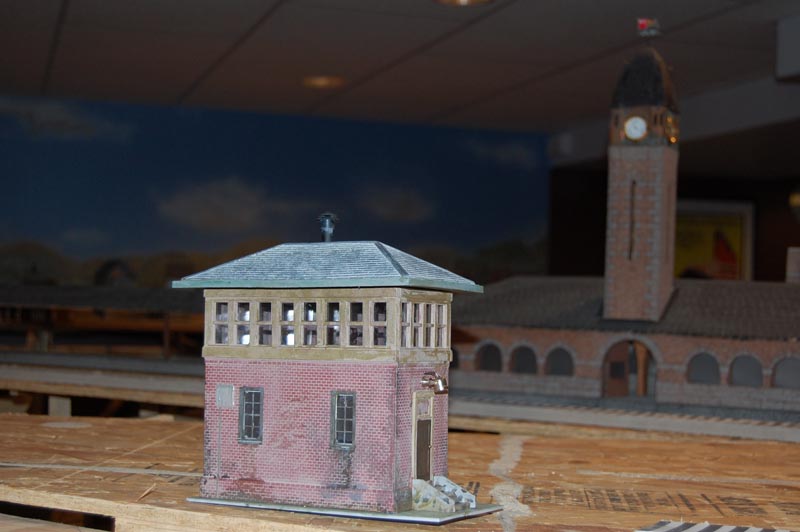
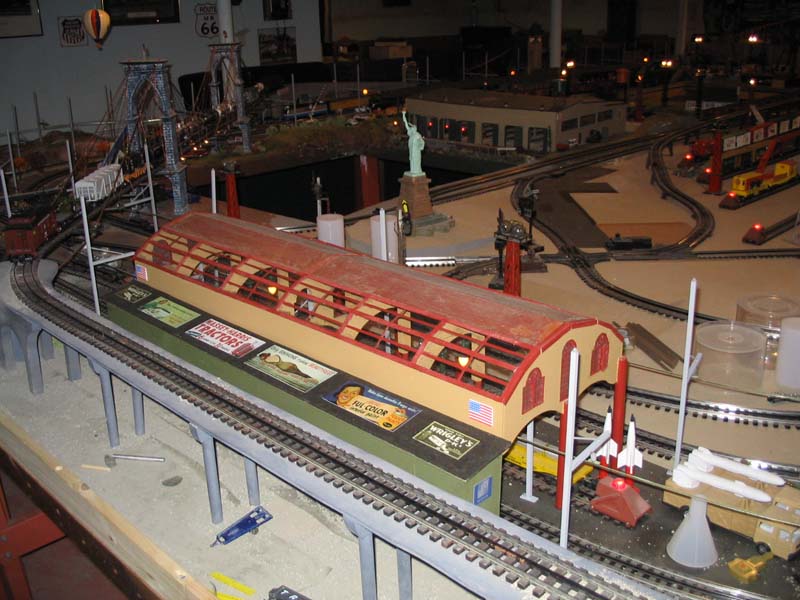
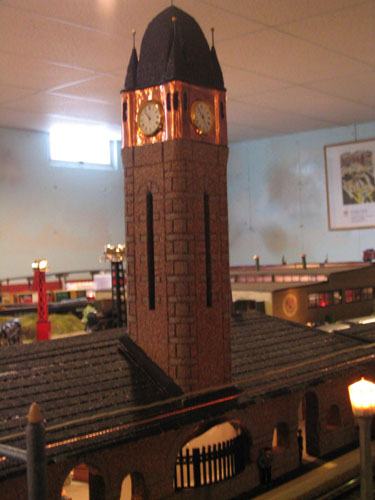
Saving the best for last, just after Thanksgiving, I received the custom curved-platform station I had ordered from Dave Duhamel at Crescent Locomotive Works. This is a beautiful piece of work, with fine gingerbreading around the eaves and a detailed interior down to the ticket booth and associated furniture. Dave's buildings are a work of art, fully lit and reasonably priced, especially when you consider that they include a power supply and benches.
The station is accompanied by two curved platforms that Dave custom built for me to fit the inside of an O-63 curve. This is going to make a great addition to the city section of the layout, which is the first thing you see as you enter the train room. The photos show it placed more of less where it's likely to end up. There's still plenty do to get it fully installed.
July 2011: We've made some progress here and there on the ACRR in the past year since we posted an update. In part, I've been disappointed with the image quality and color balance of the photos I've been taking, so I bit the bullet and purchased a Manfrotto tripod and a remote for our Nikon SLR. A buddy of mine lent me his light stands, so now I can take crisp photos with no flash. I am still very much experimenting with photo composition, so I am sure that things will evolve for the better.
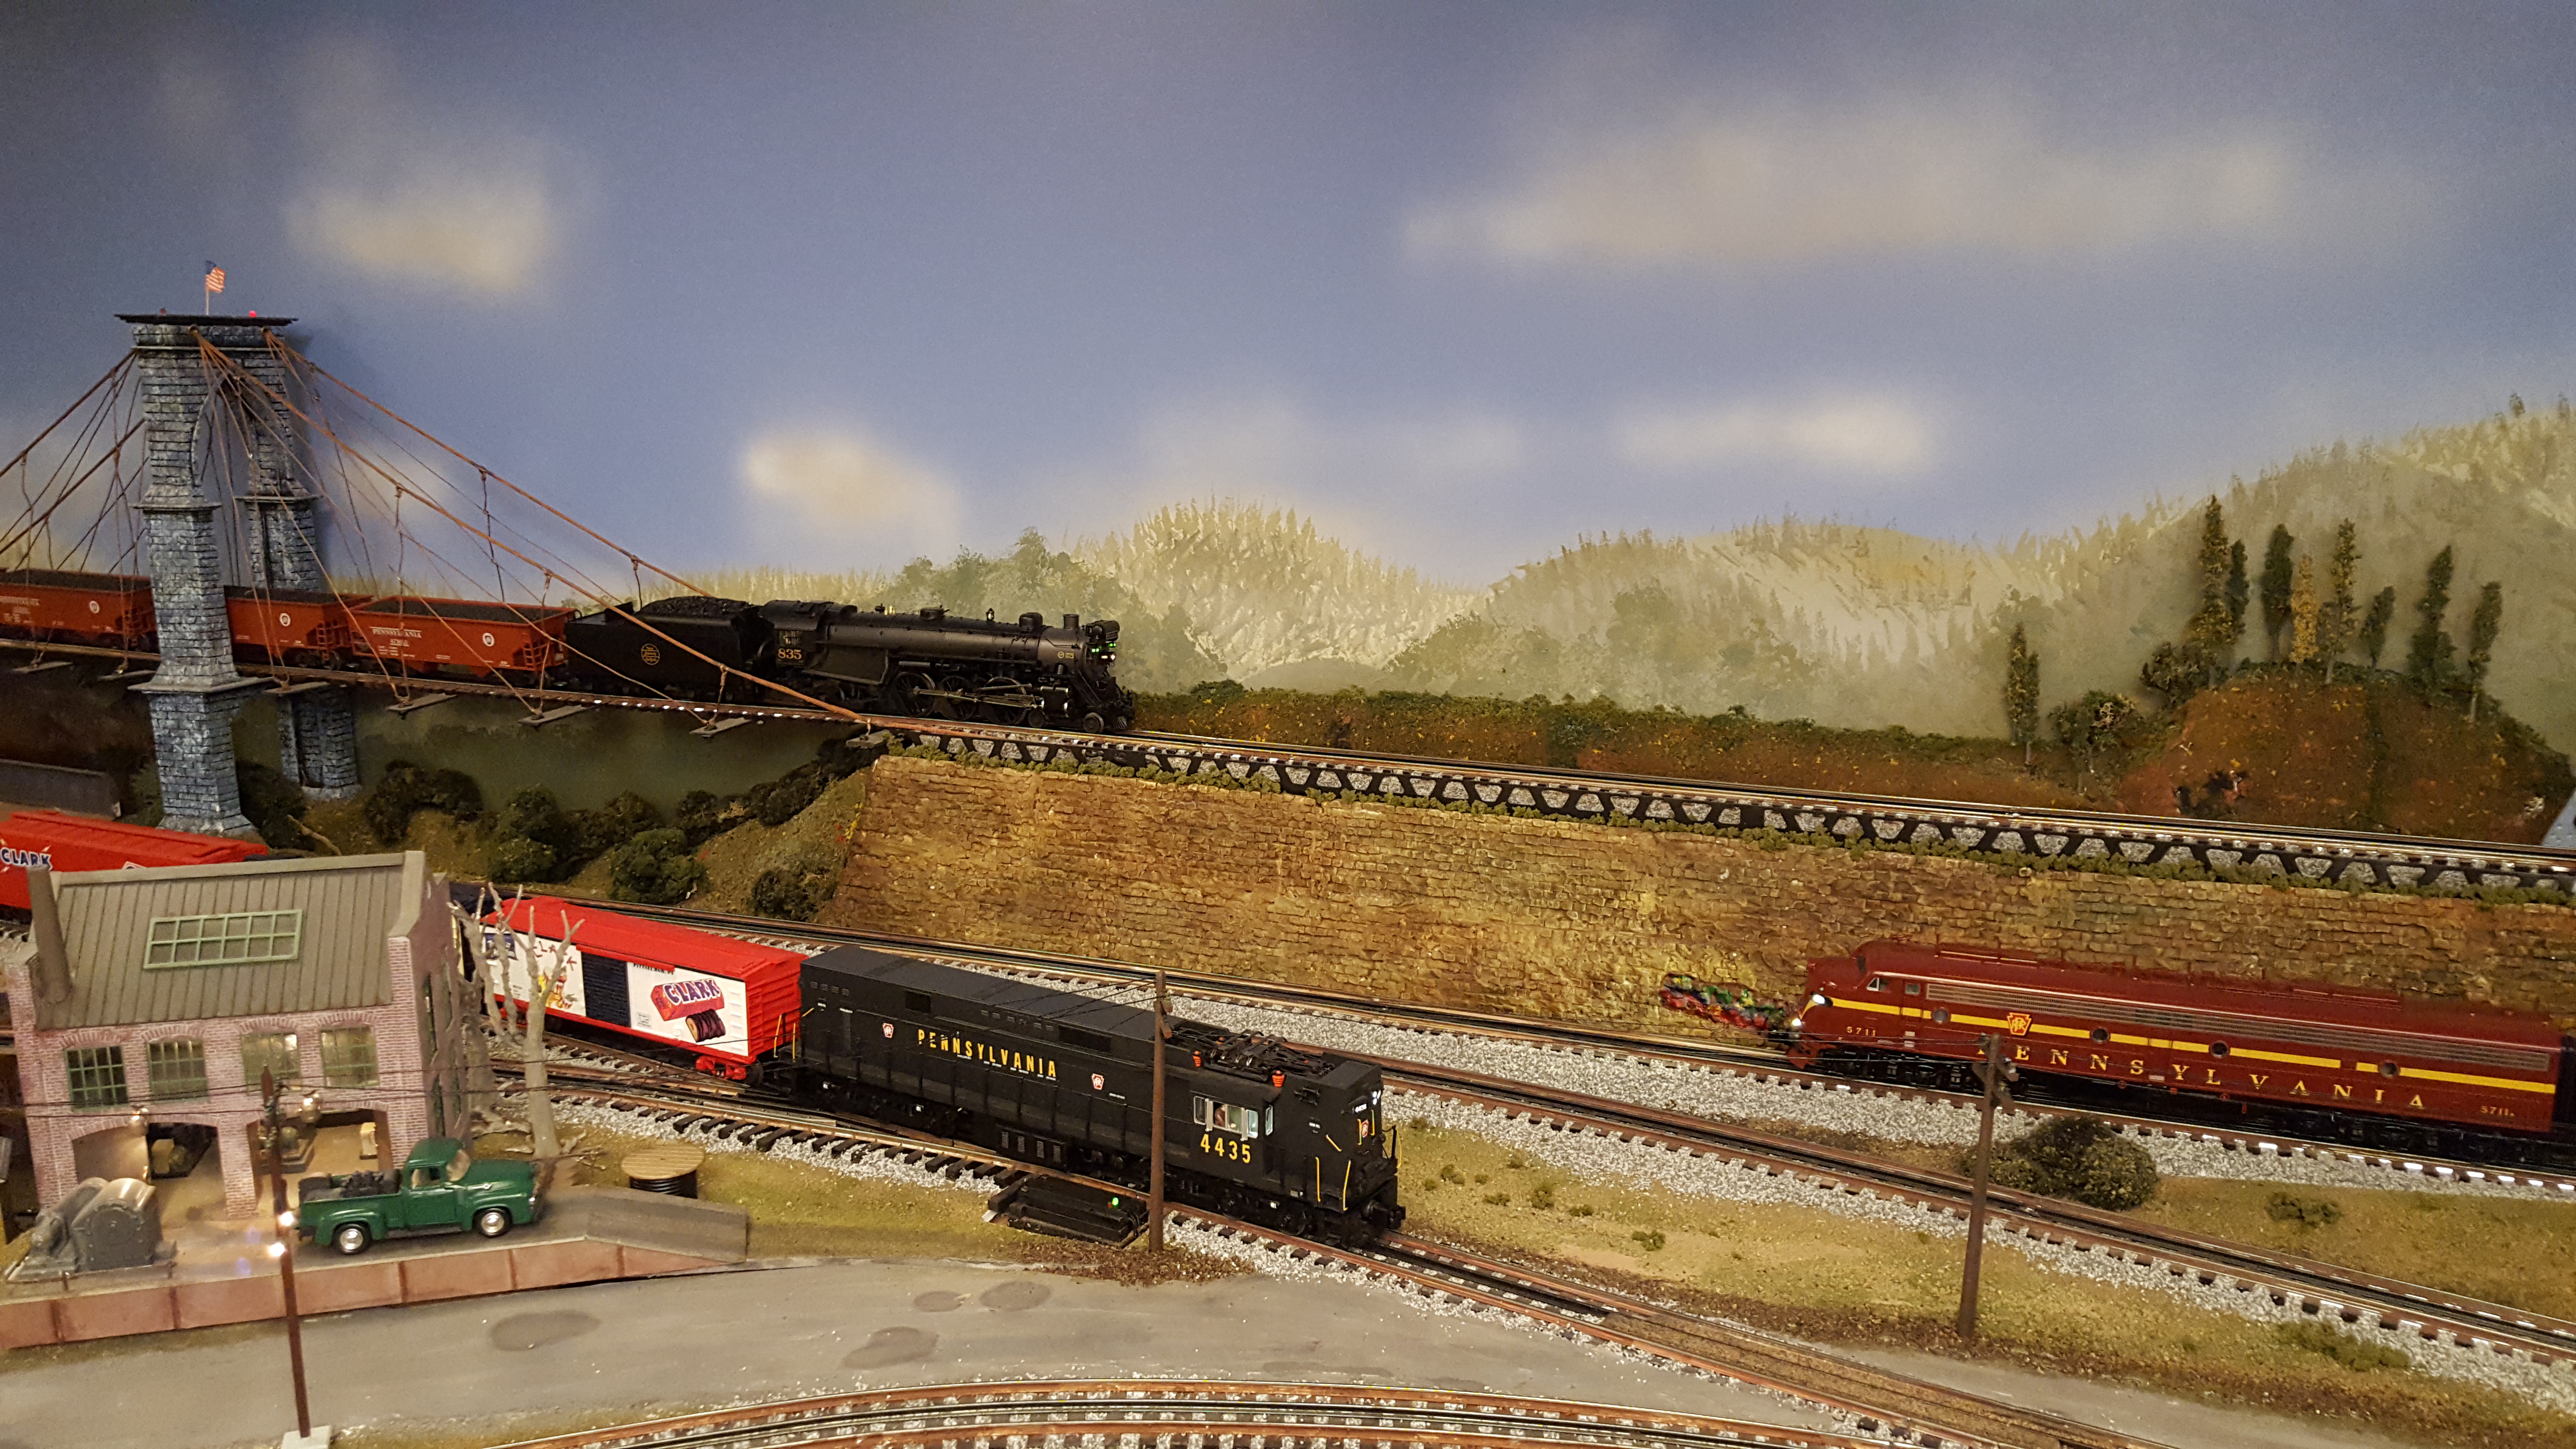
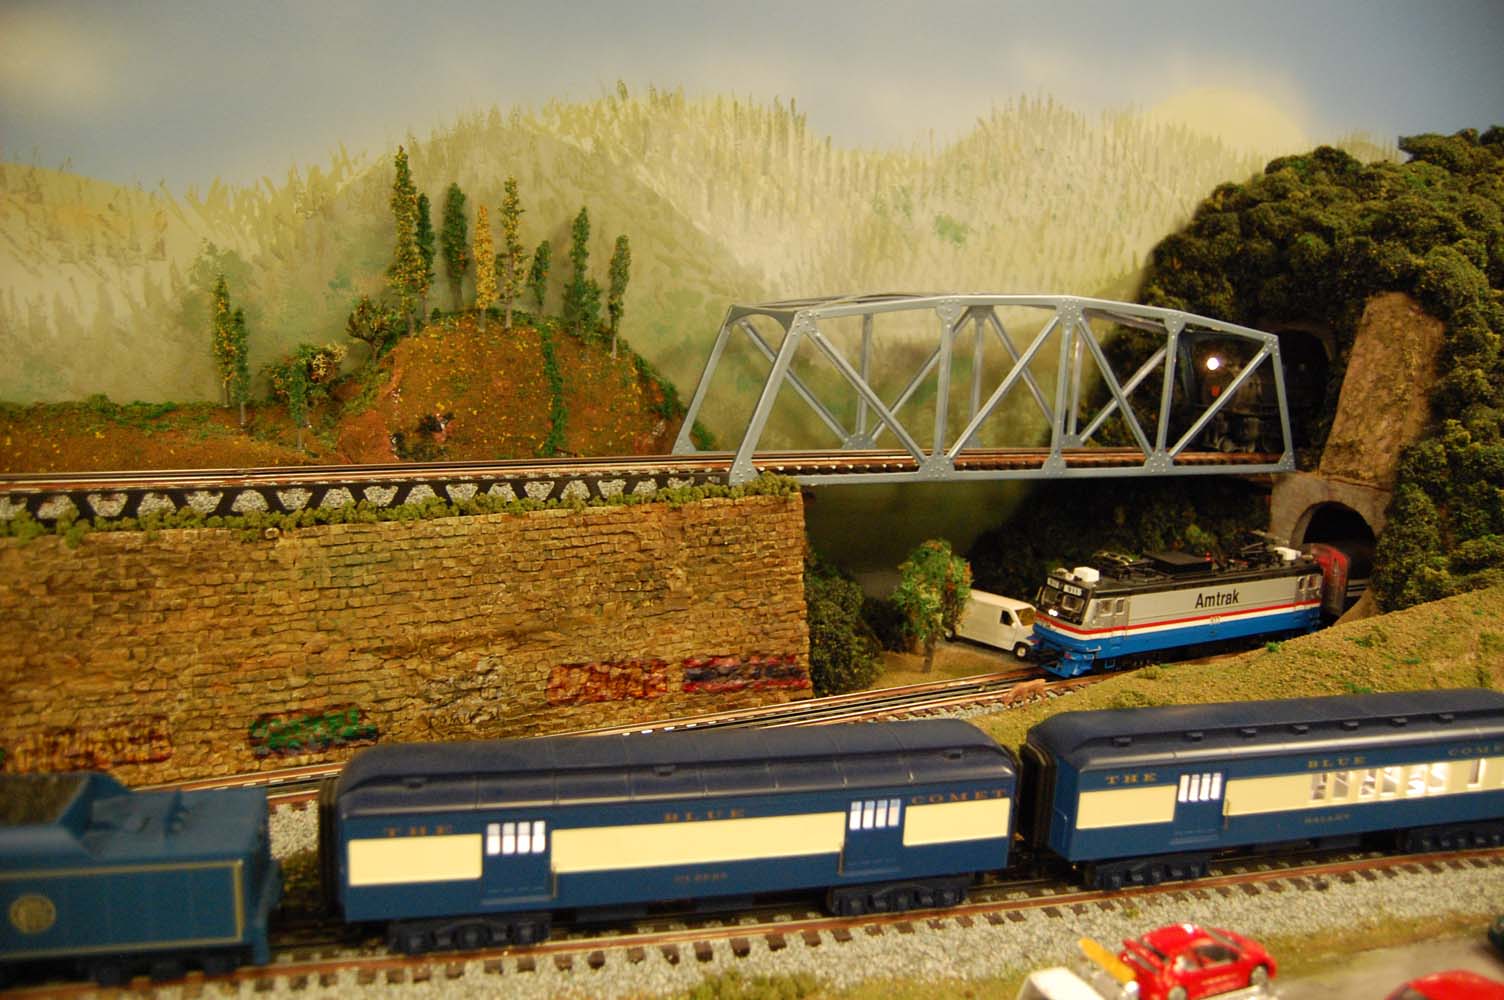
February 2010: Our progress in updating the web site is matched only by the slow pace of development on the ACRR. The bulk of the corner hill is now landscaped, and the canal to the right of the hill has been installed, including curved brick retaining walls. Next step, add the Magic Water!
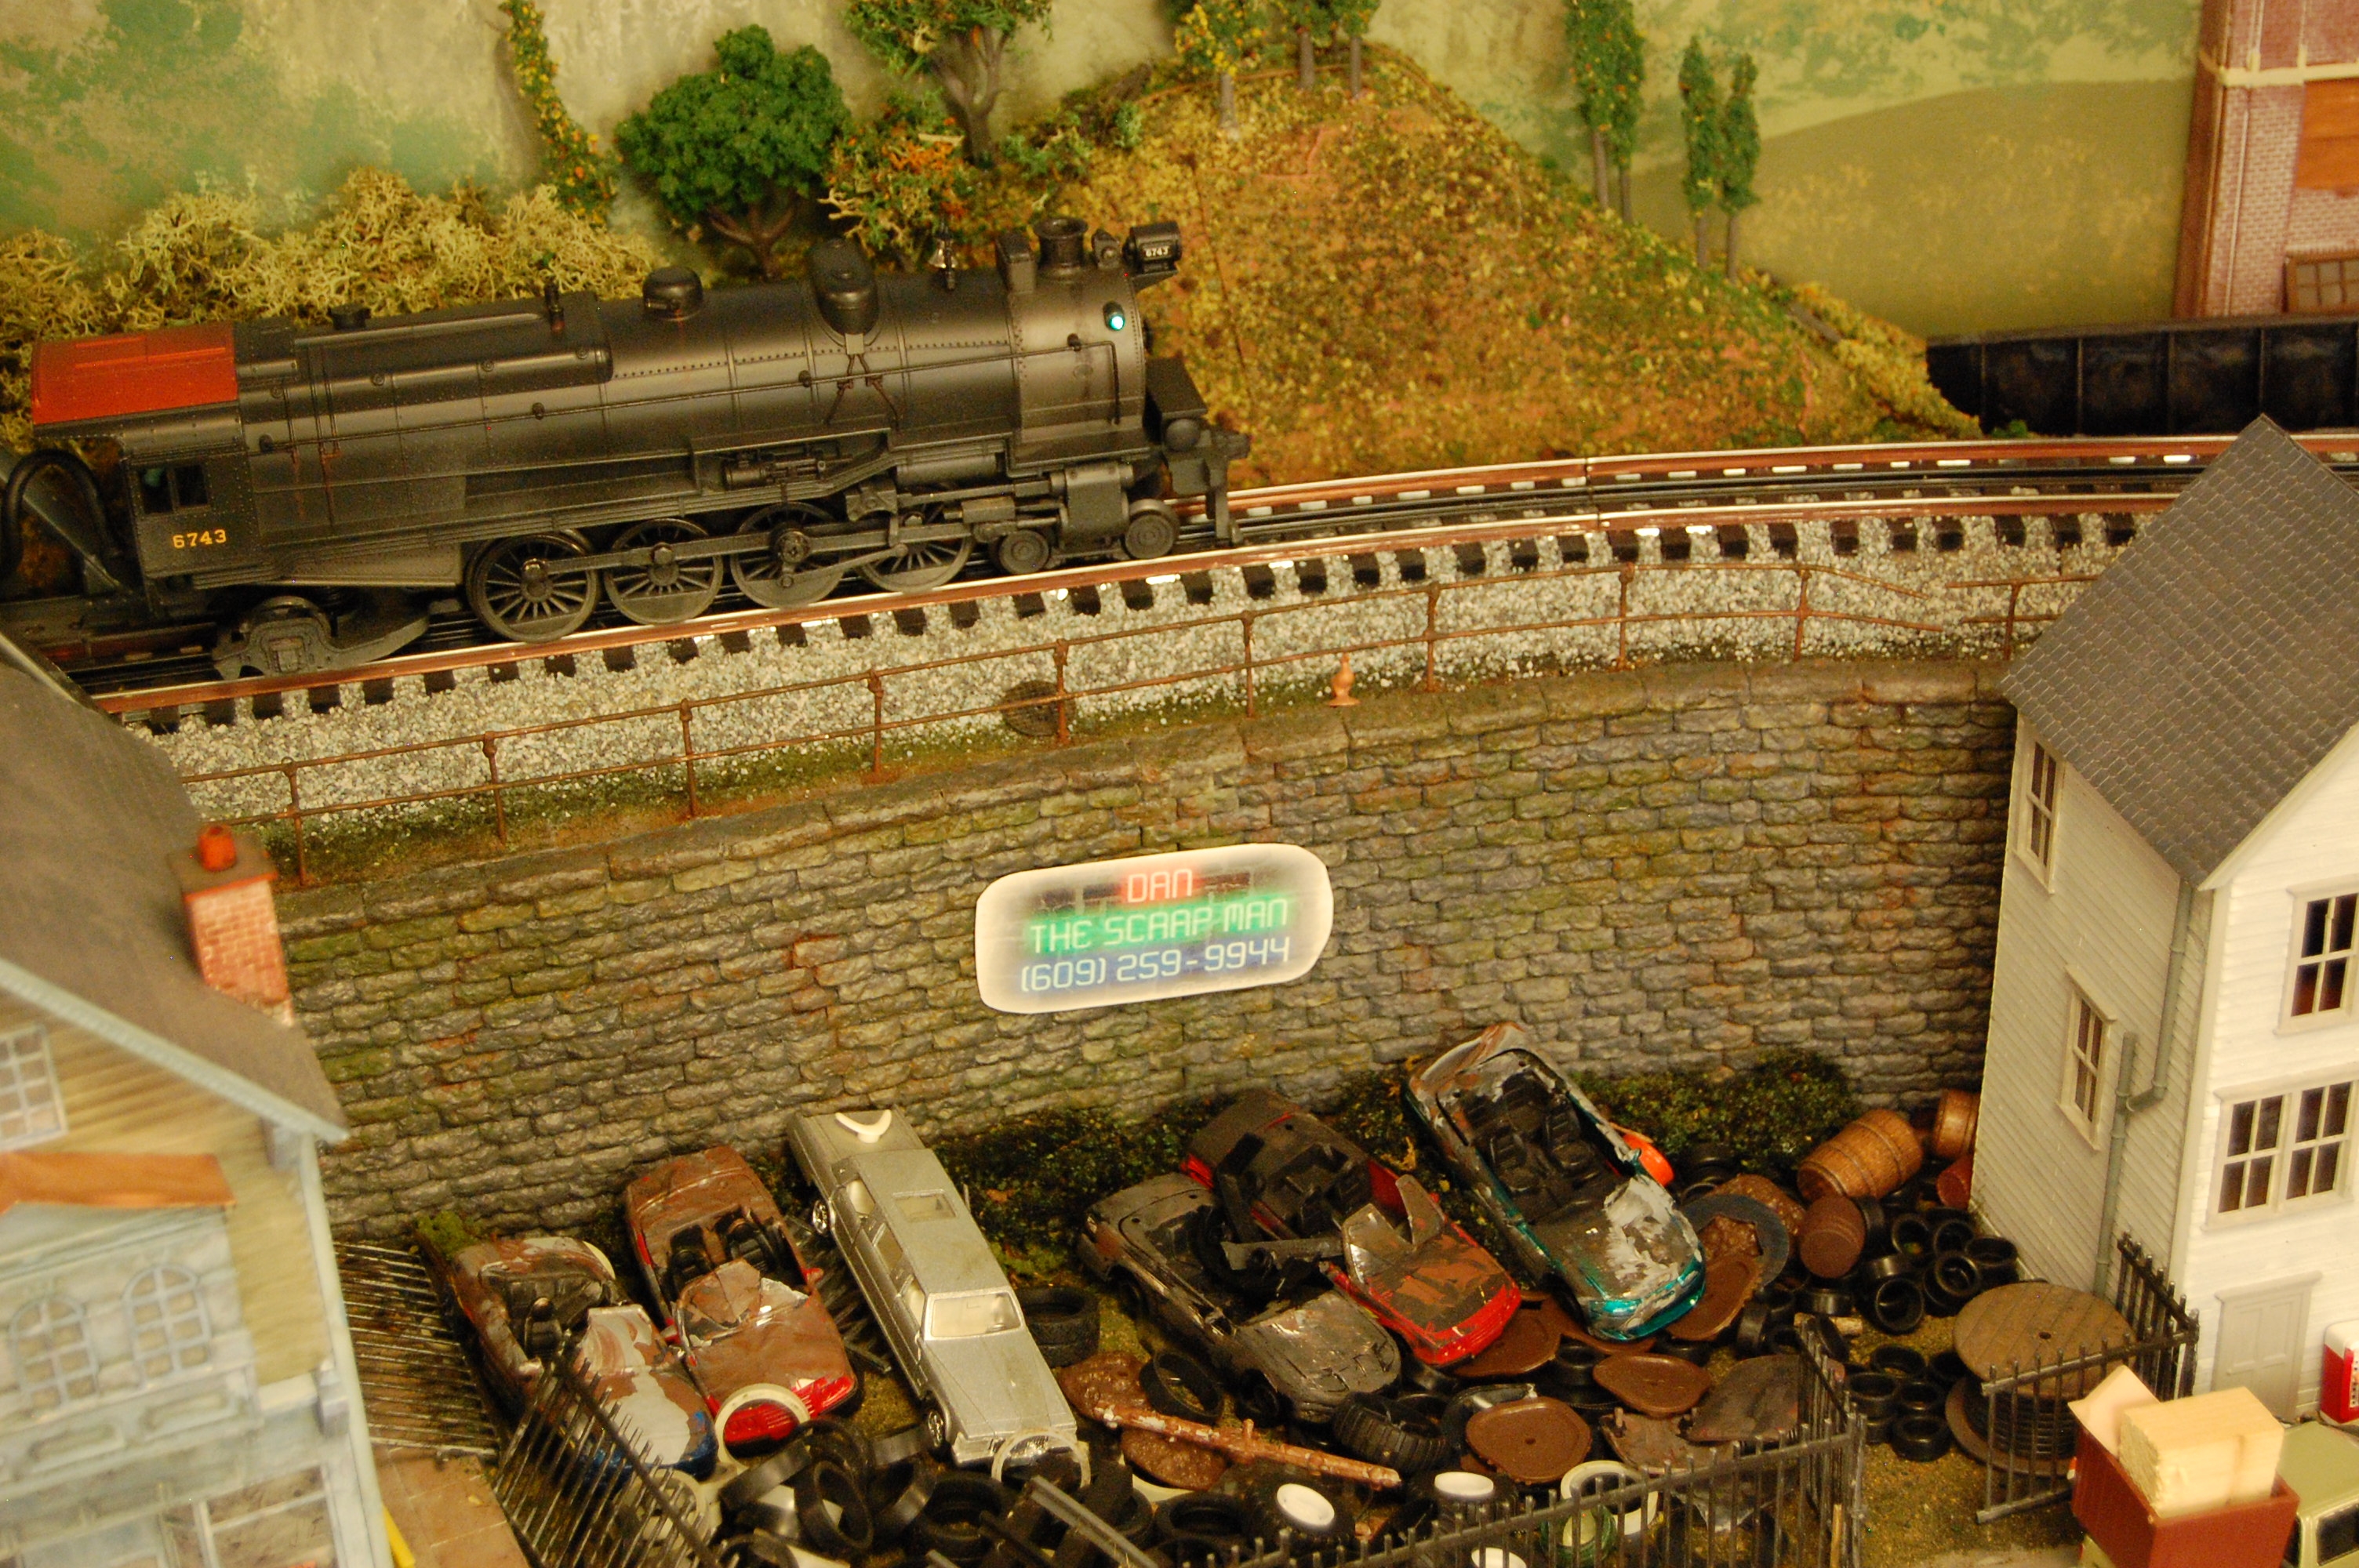
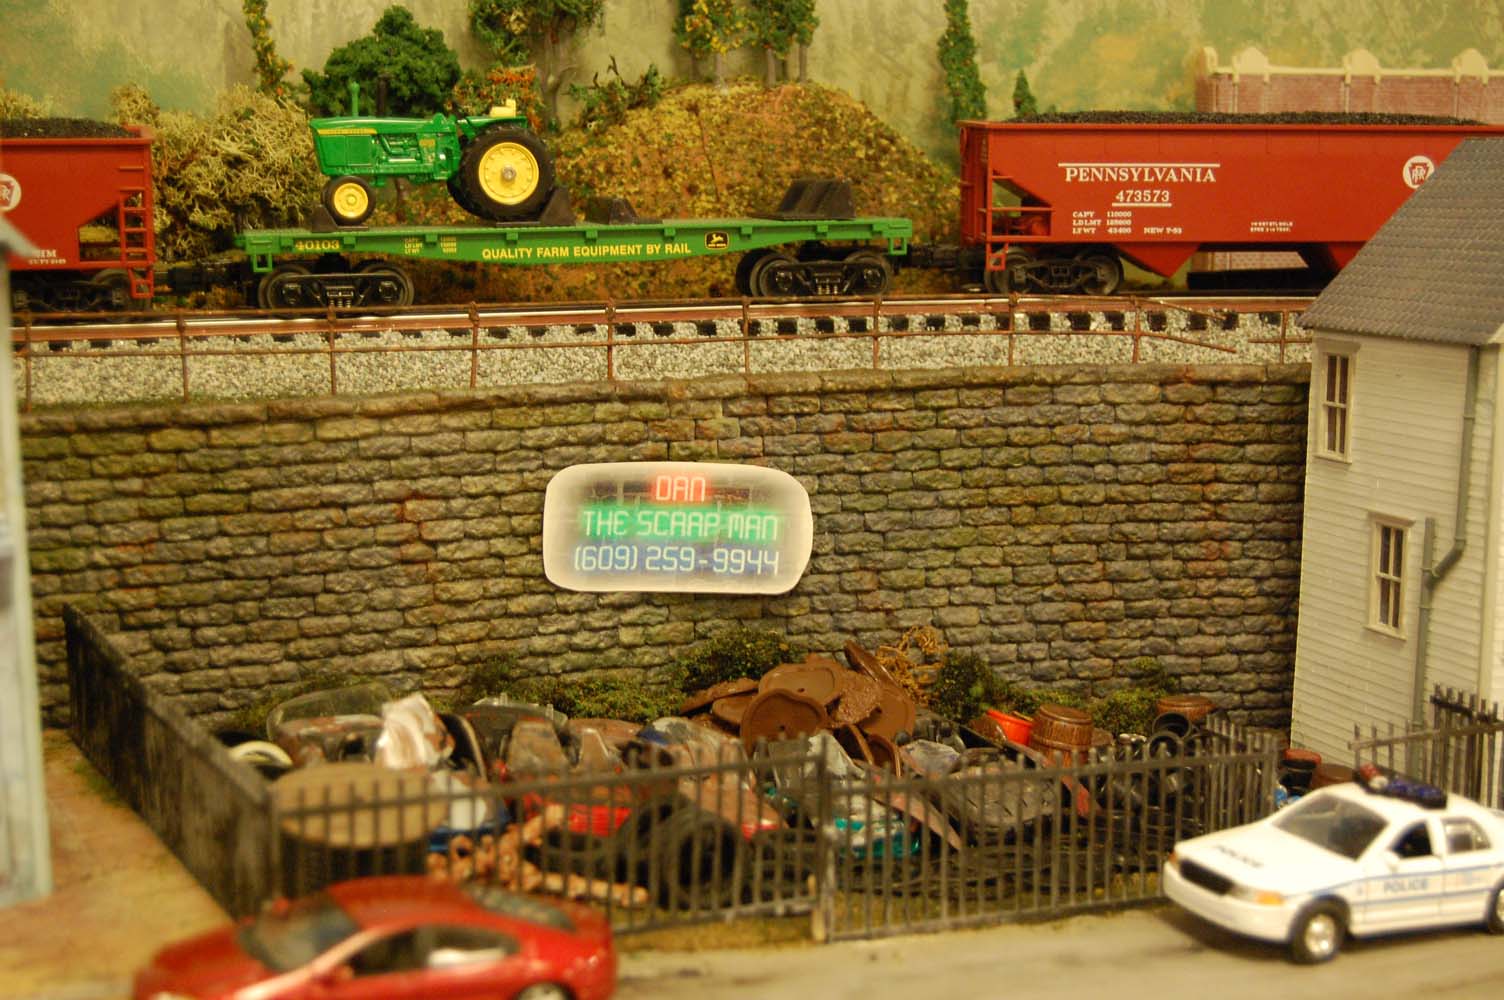
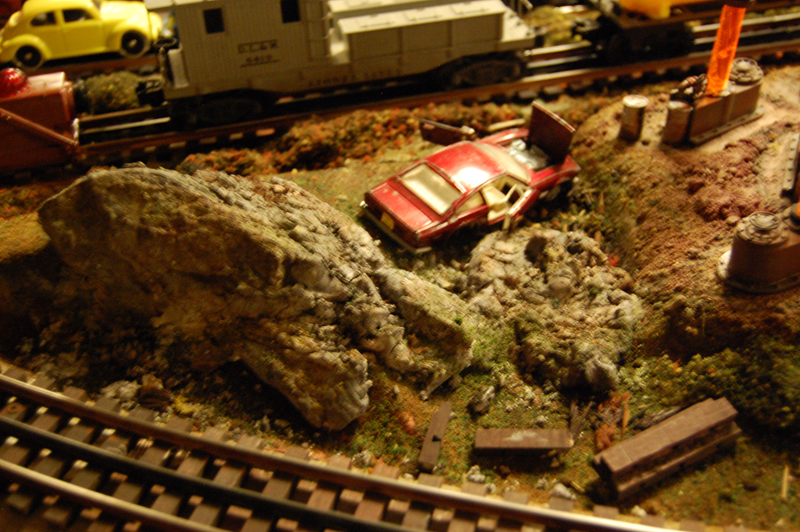
The road down from the hill is mostly done; a little more landscaping will probably be added once I start work on the foreground section. Young Daniel did a fine job of putting together a scrap yard, including distressing and painting a bunch of car bodies I picked up a while ago with this exact purpose in mind. I will be creating an illiminated "neon" sign at some point.
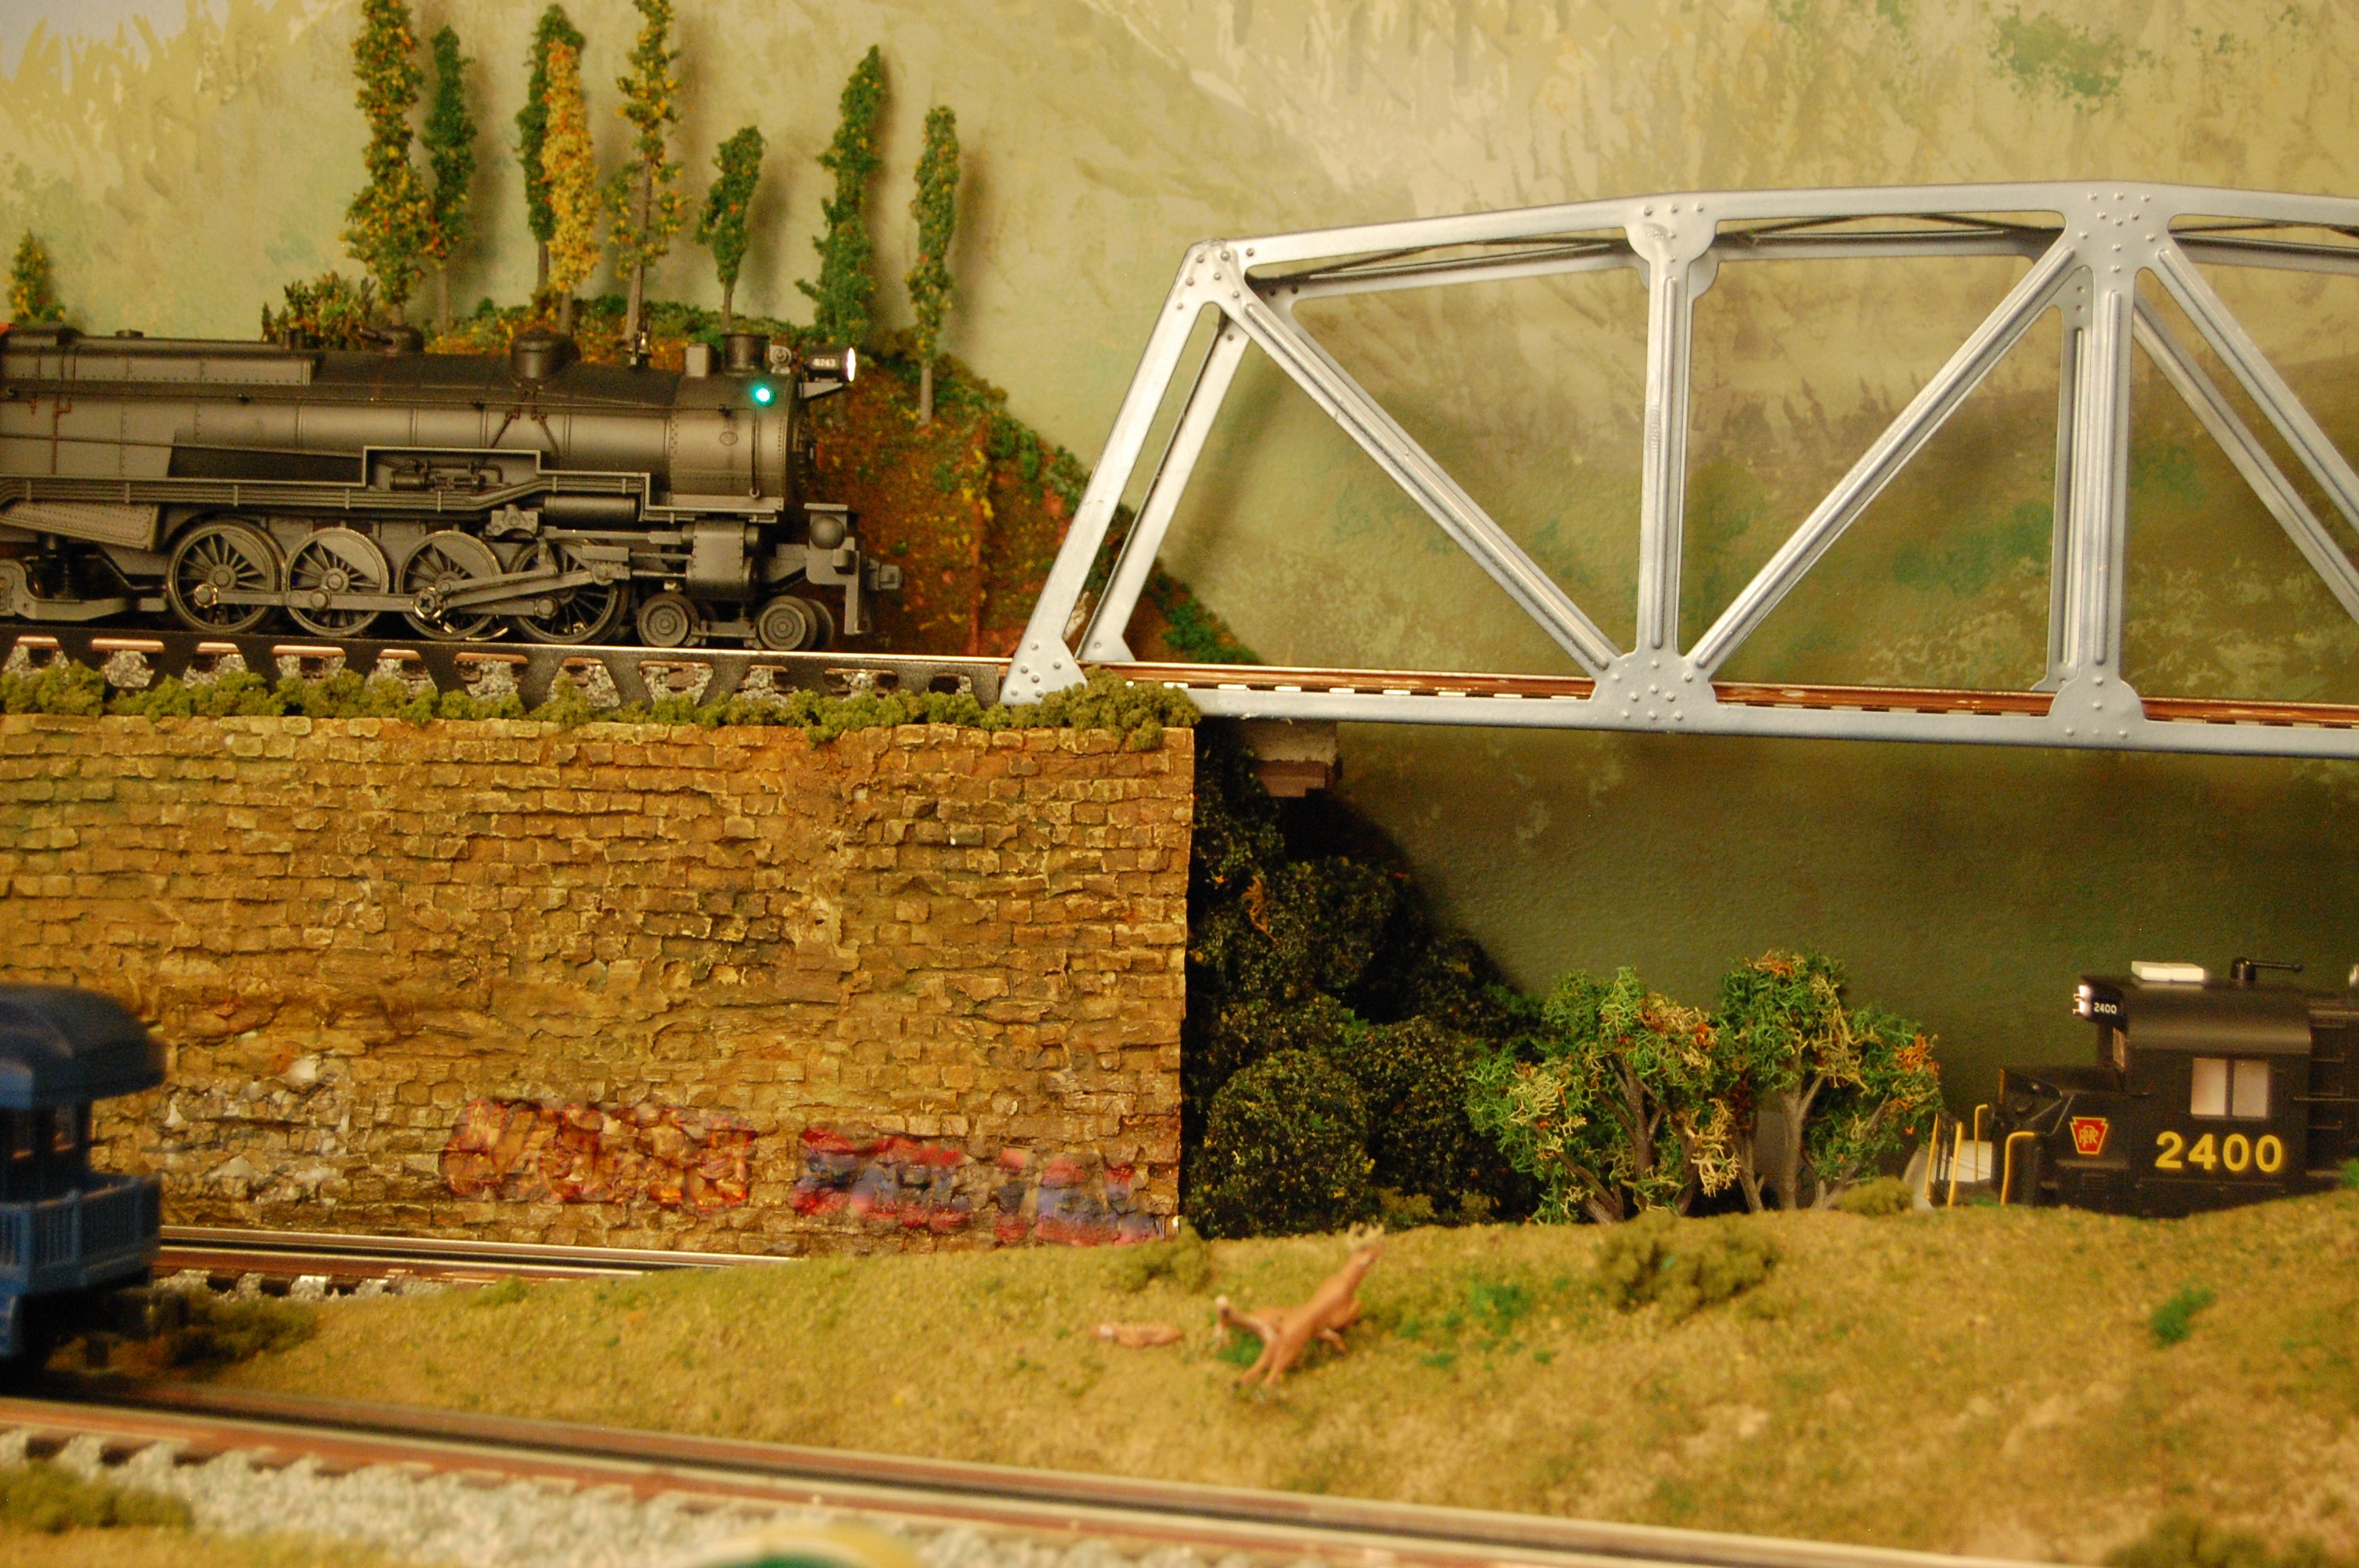
I also created a cast brick retaining wall to the left of the hill (6th image below). A few of Sam and Dan's friends helped with the staining, so I generated their names in grafitti and put them on the wall with decals.
I've been experimenting with a variant on the paper-shell scenery technique by creating large landscaped sheets that can then simply be glued onto the underlying cardboard lattice. It overcomes the problem of getting scenery materials to adhere to vertical surfaces, and it's quick.
In addition, we've ballasted the track in those areas that are complete. It really does make the trains run more smoothly and quietly. A shortcut that I used to weather/paint the track rails is a Zip Woodcraft chisel point paint market in burnt umber. The chisel point allows you to easily color the rails sides with a solid coat and there's no mess. I'll still using the first marker I purchased and have weathered most of the track on the layout. An added bonus is that Daniel and Samuel, five and nine, respectively, can easily do it!
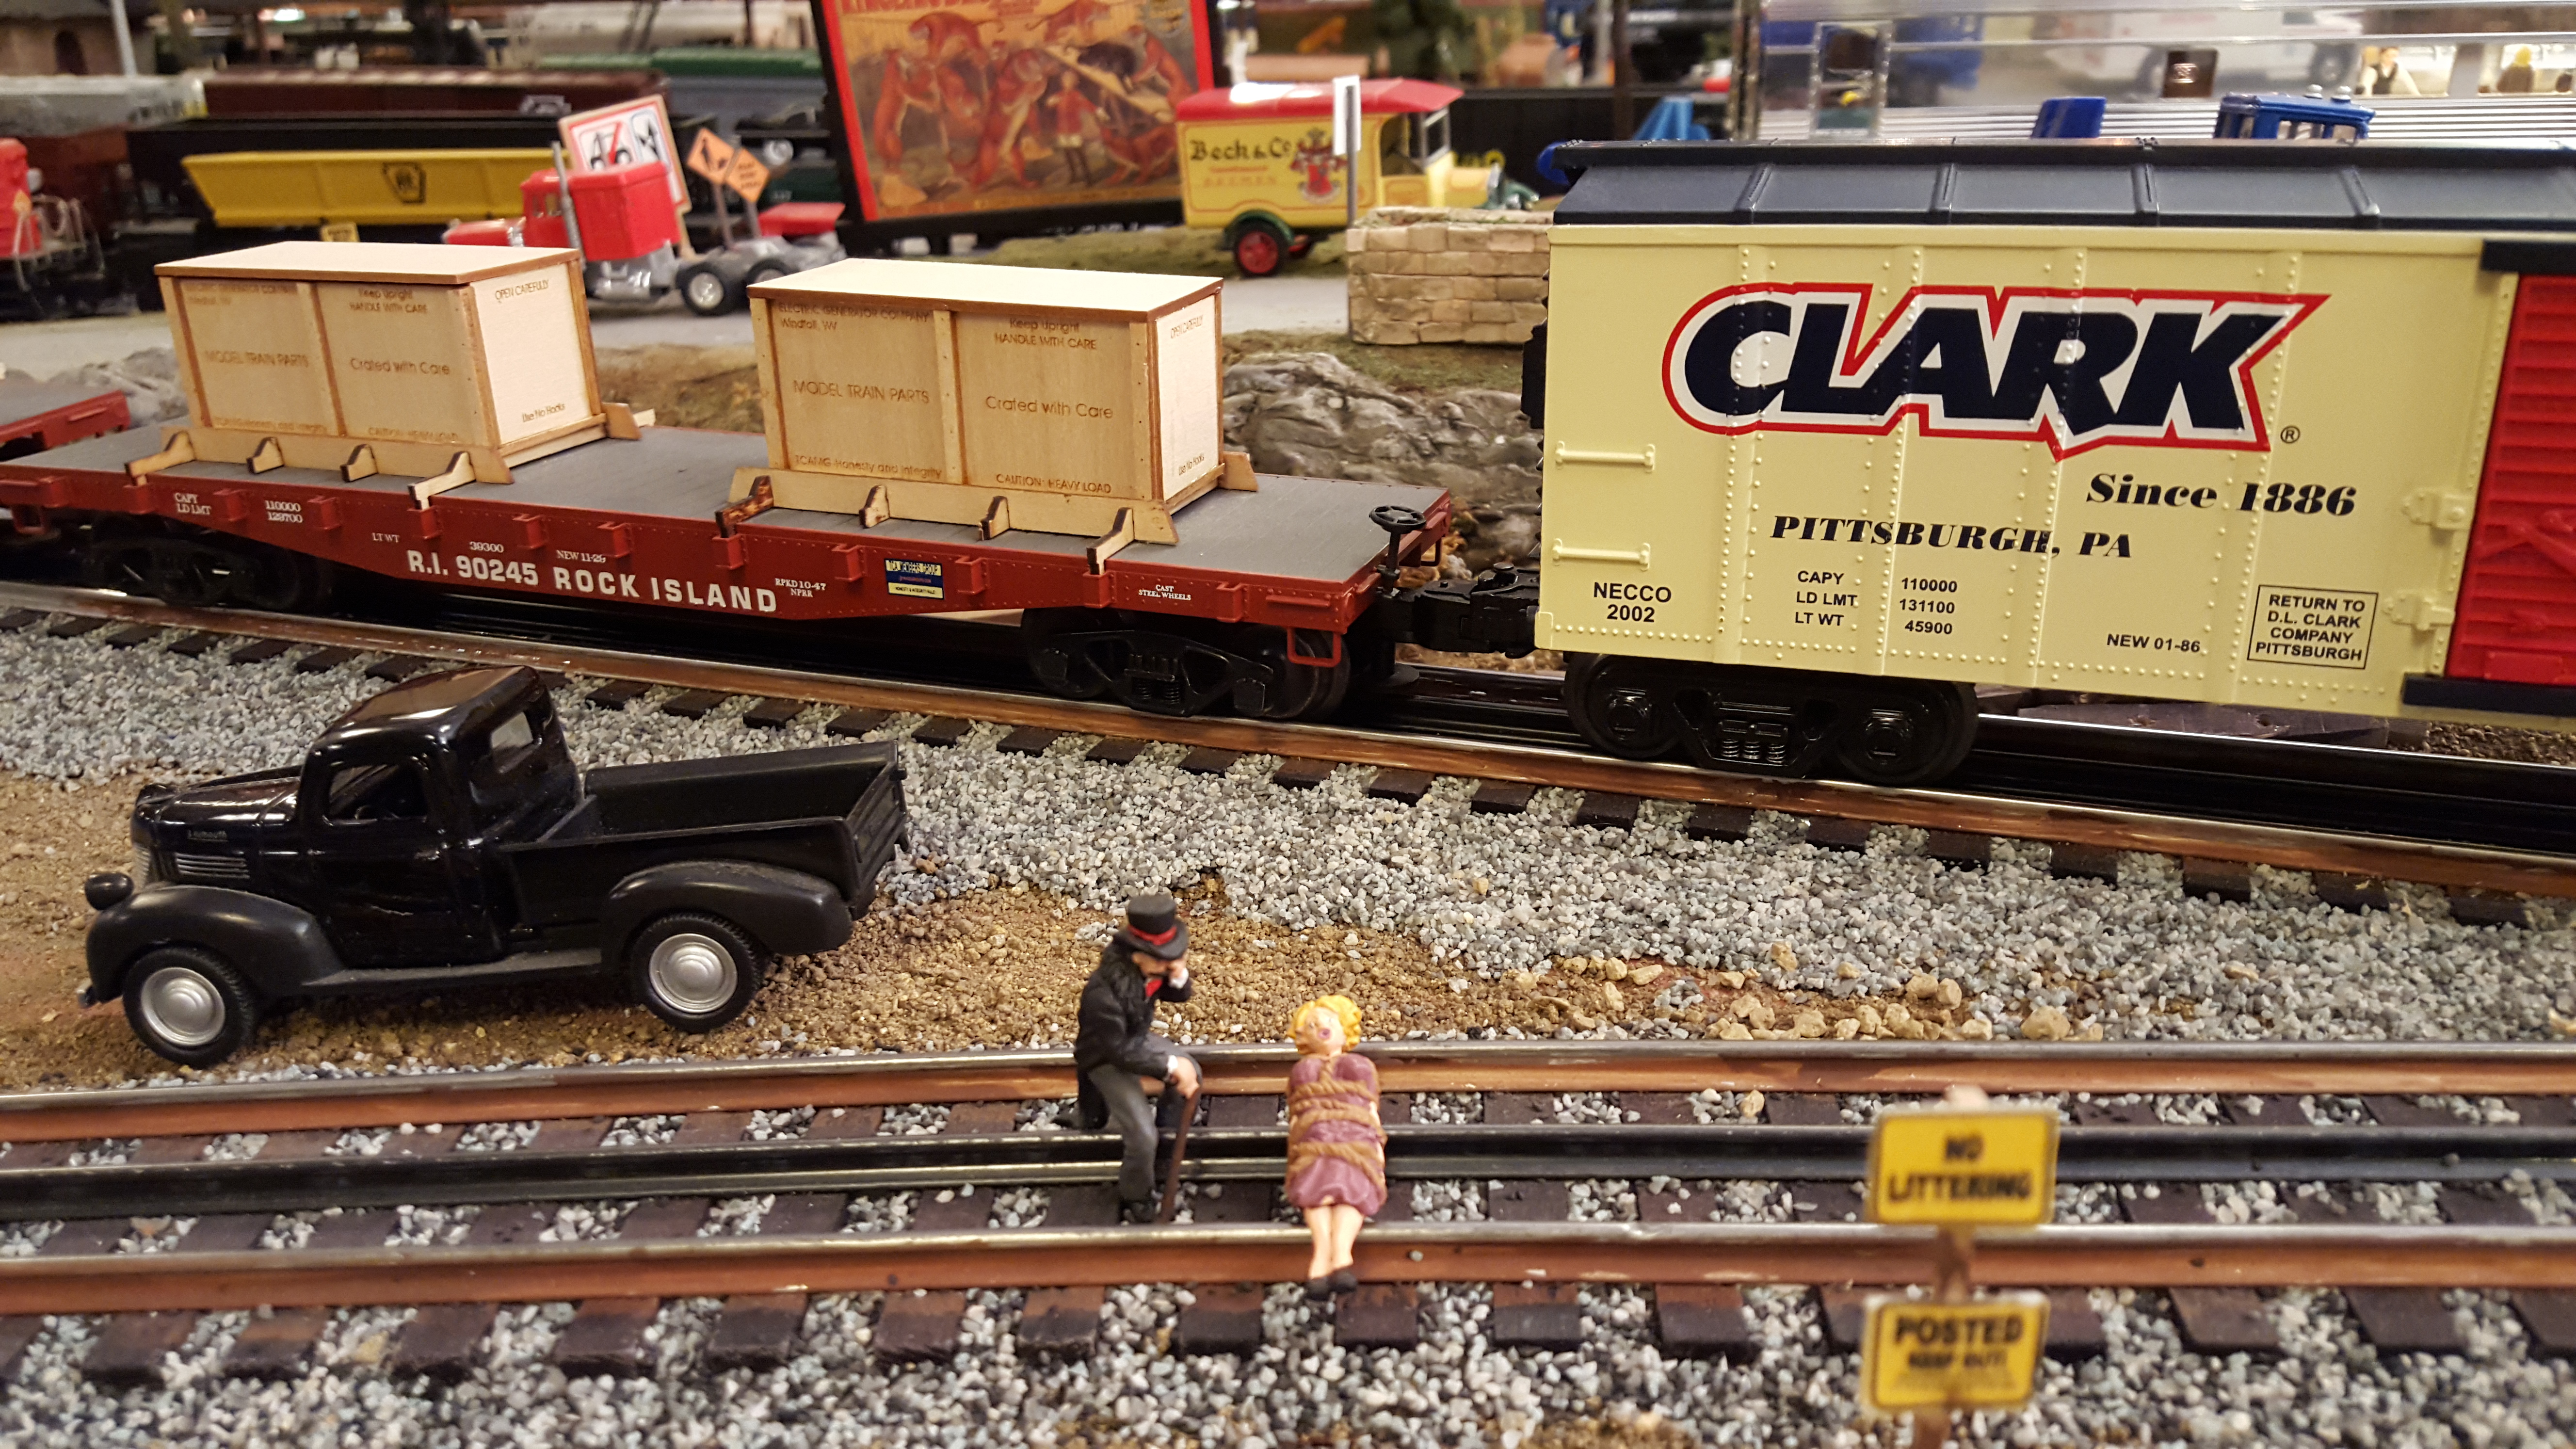
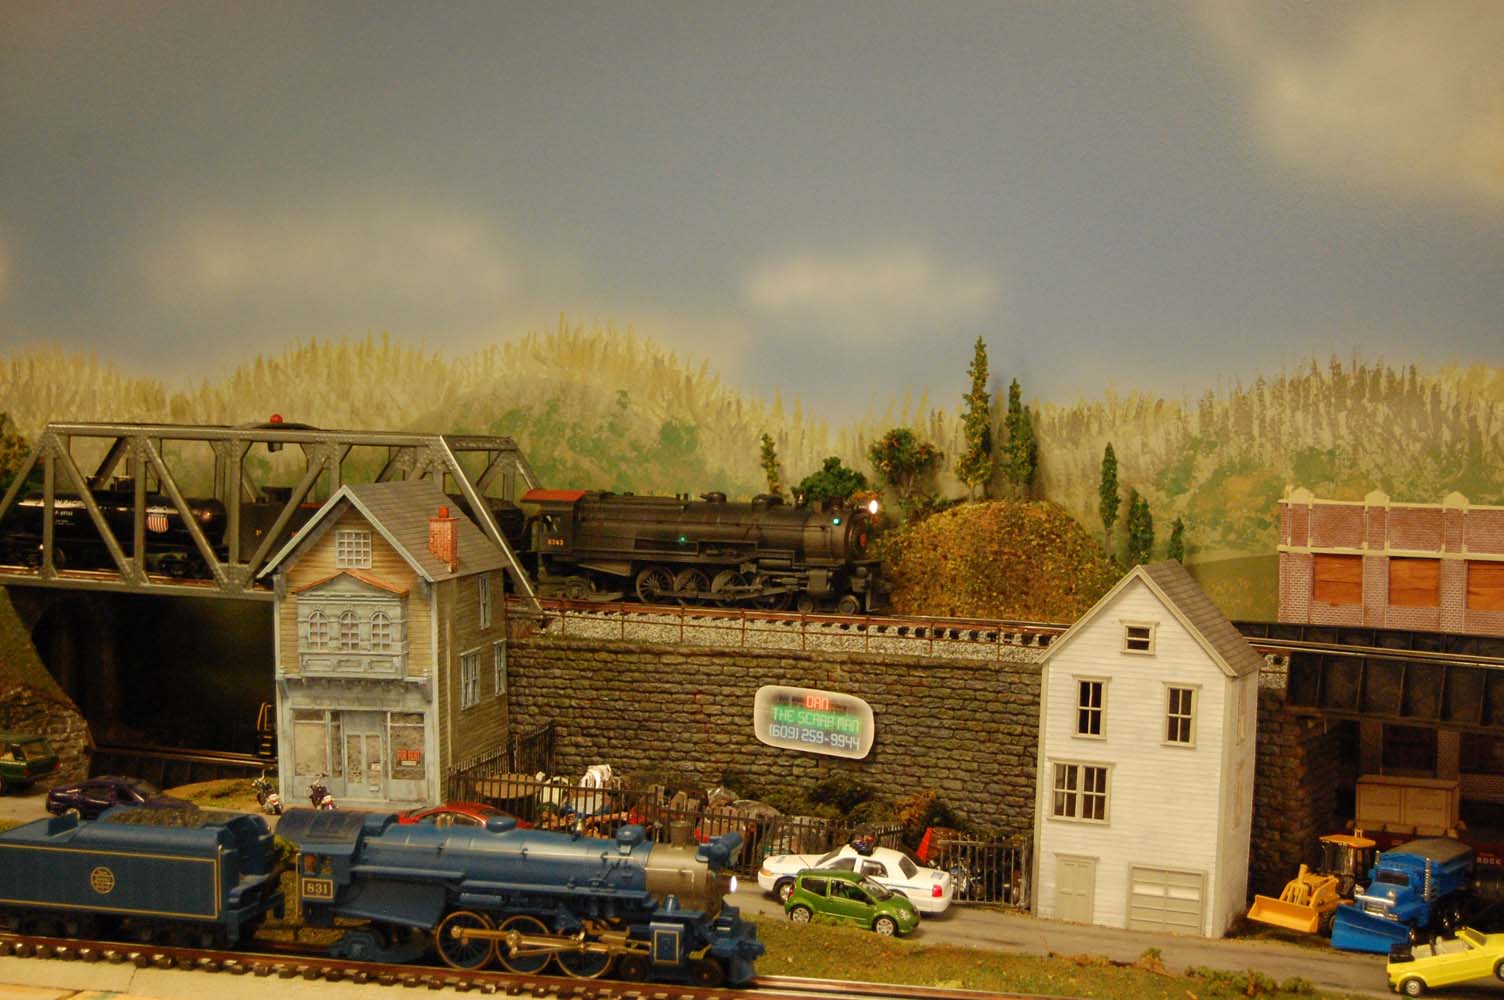
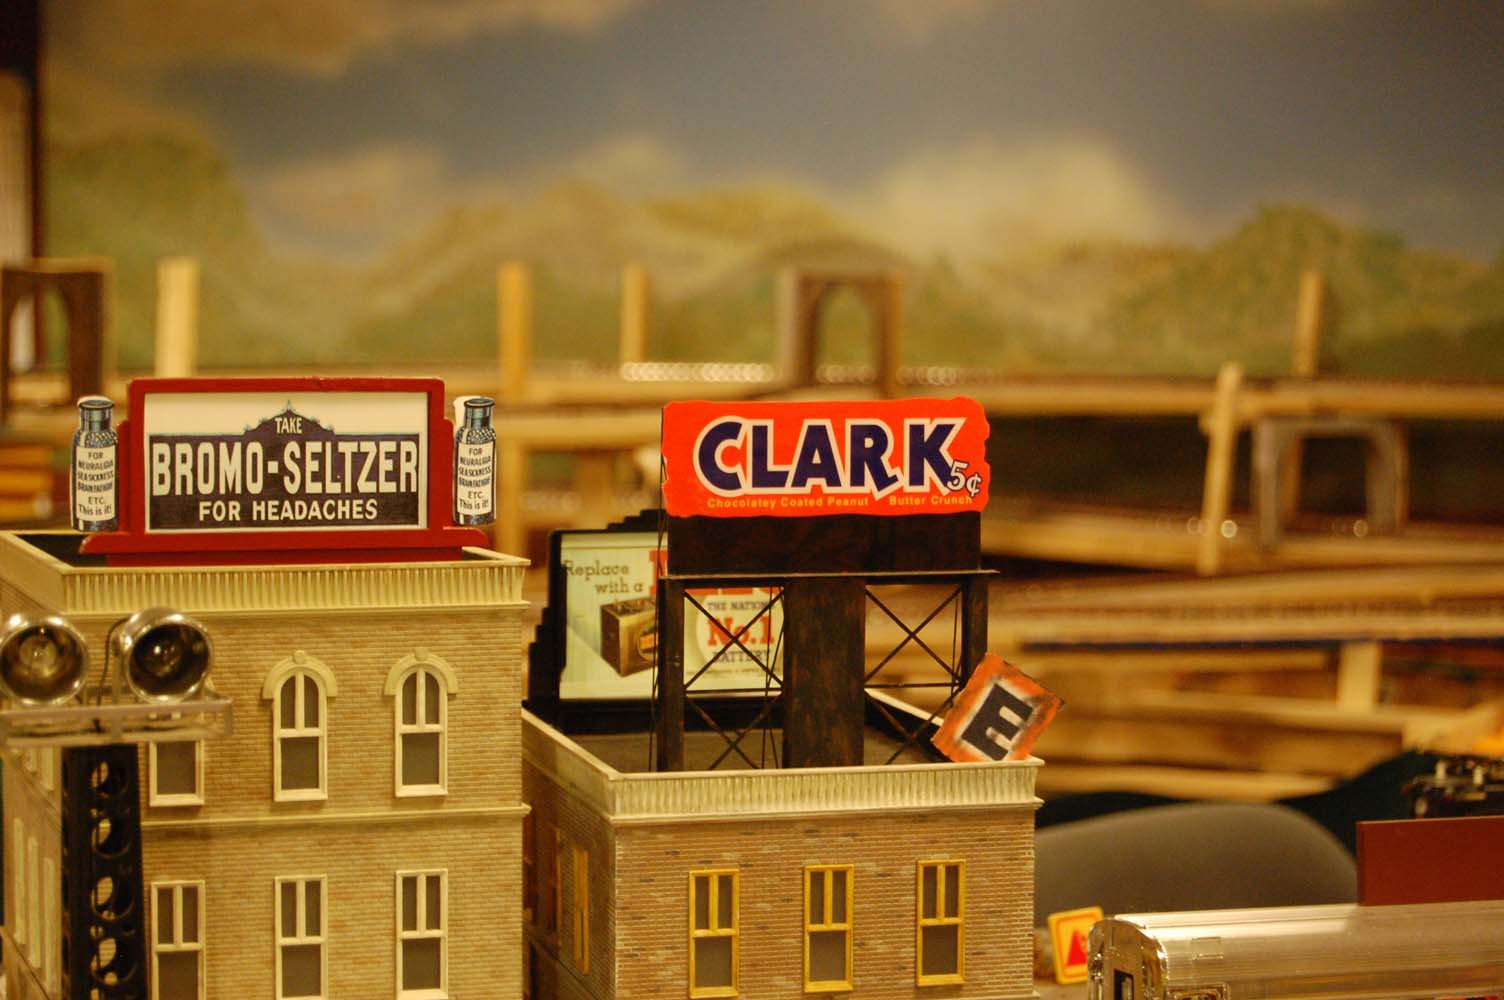
The last photo in this update is the animated Clark bar sign from Miller Engineering; at some point the original "E" at end fell off the sign ... and the new name stuck, much to our chagrin ...!
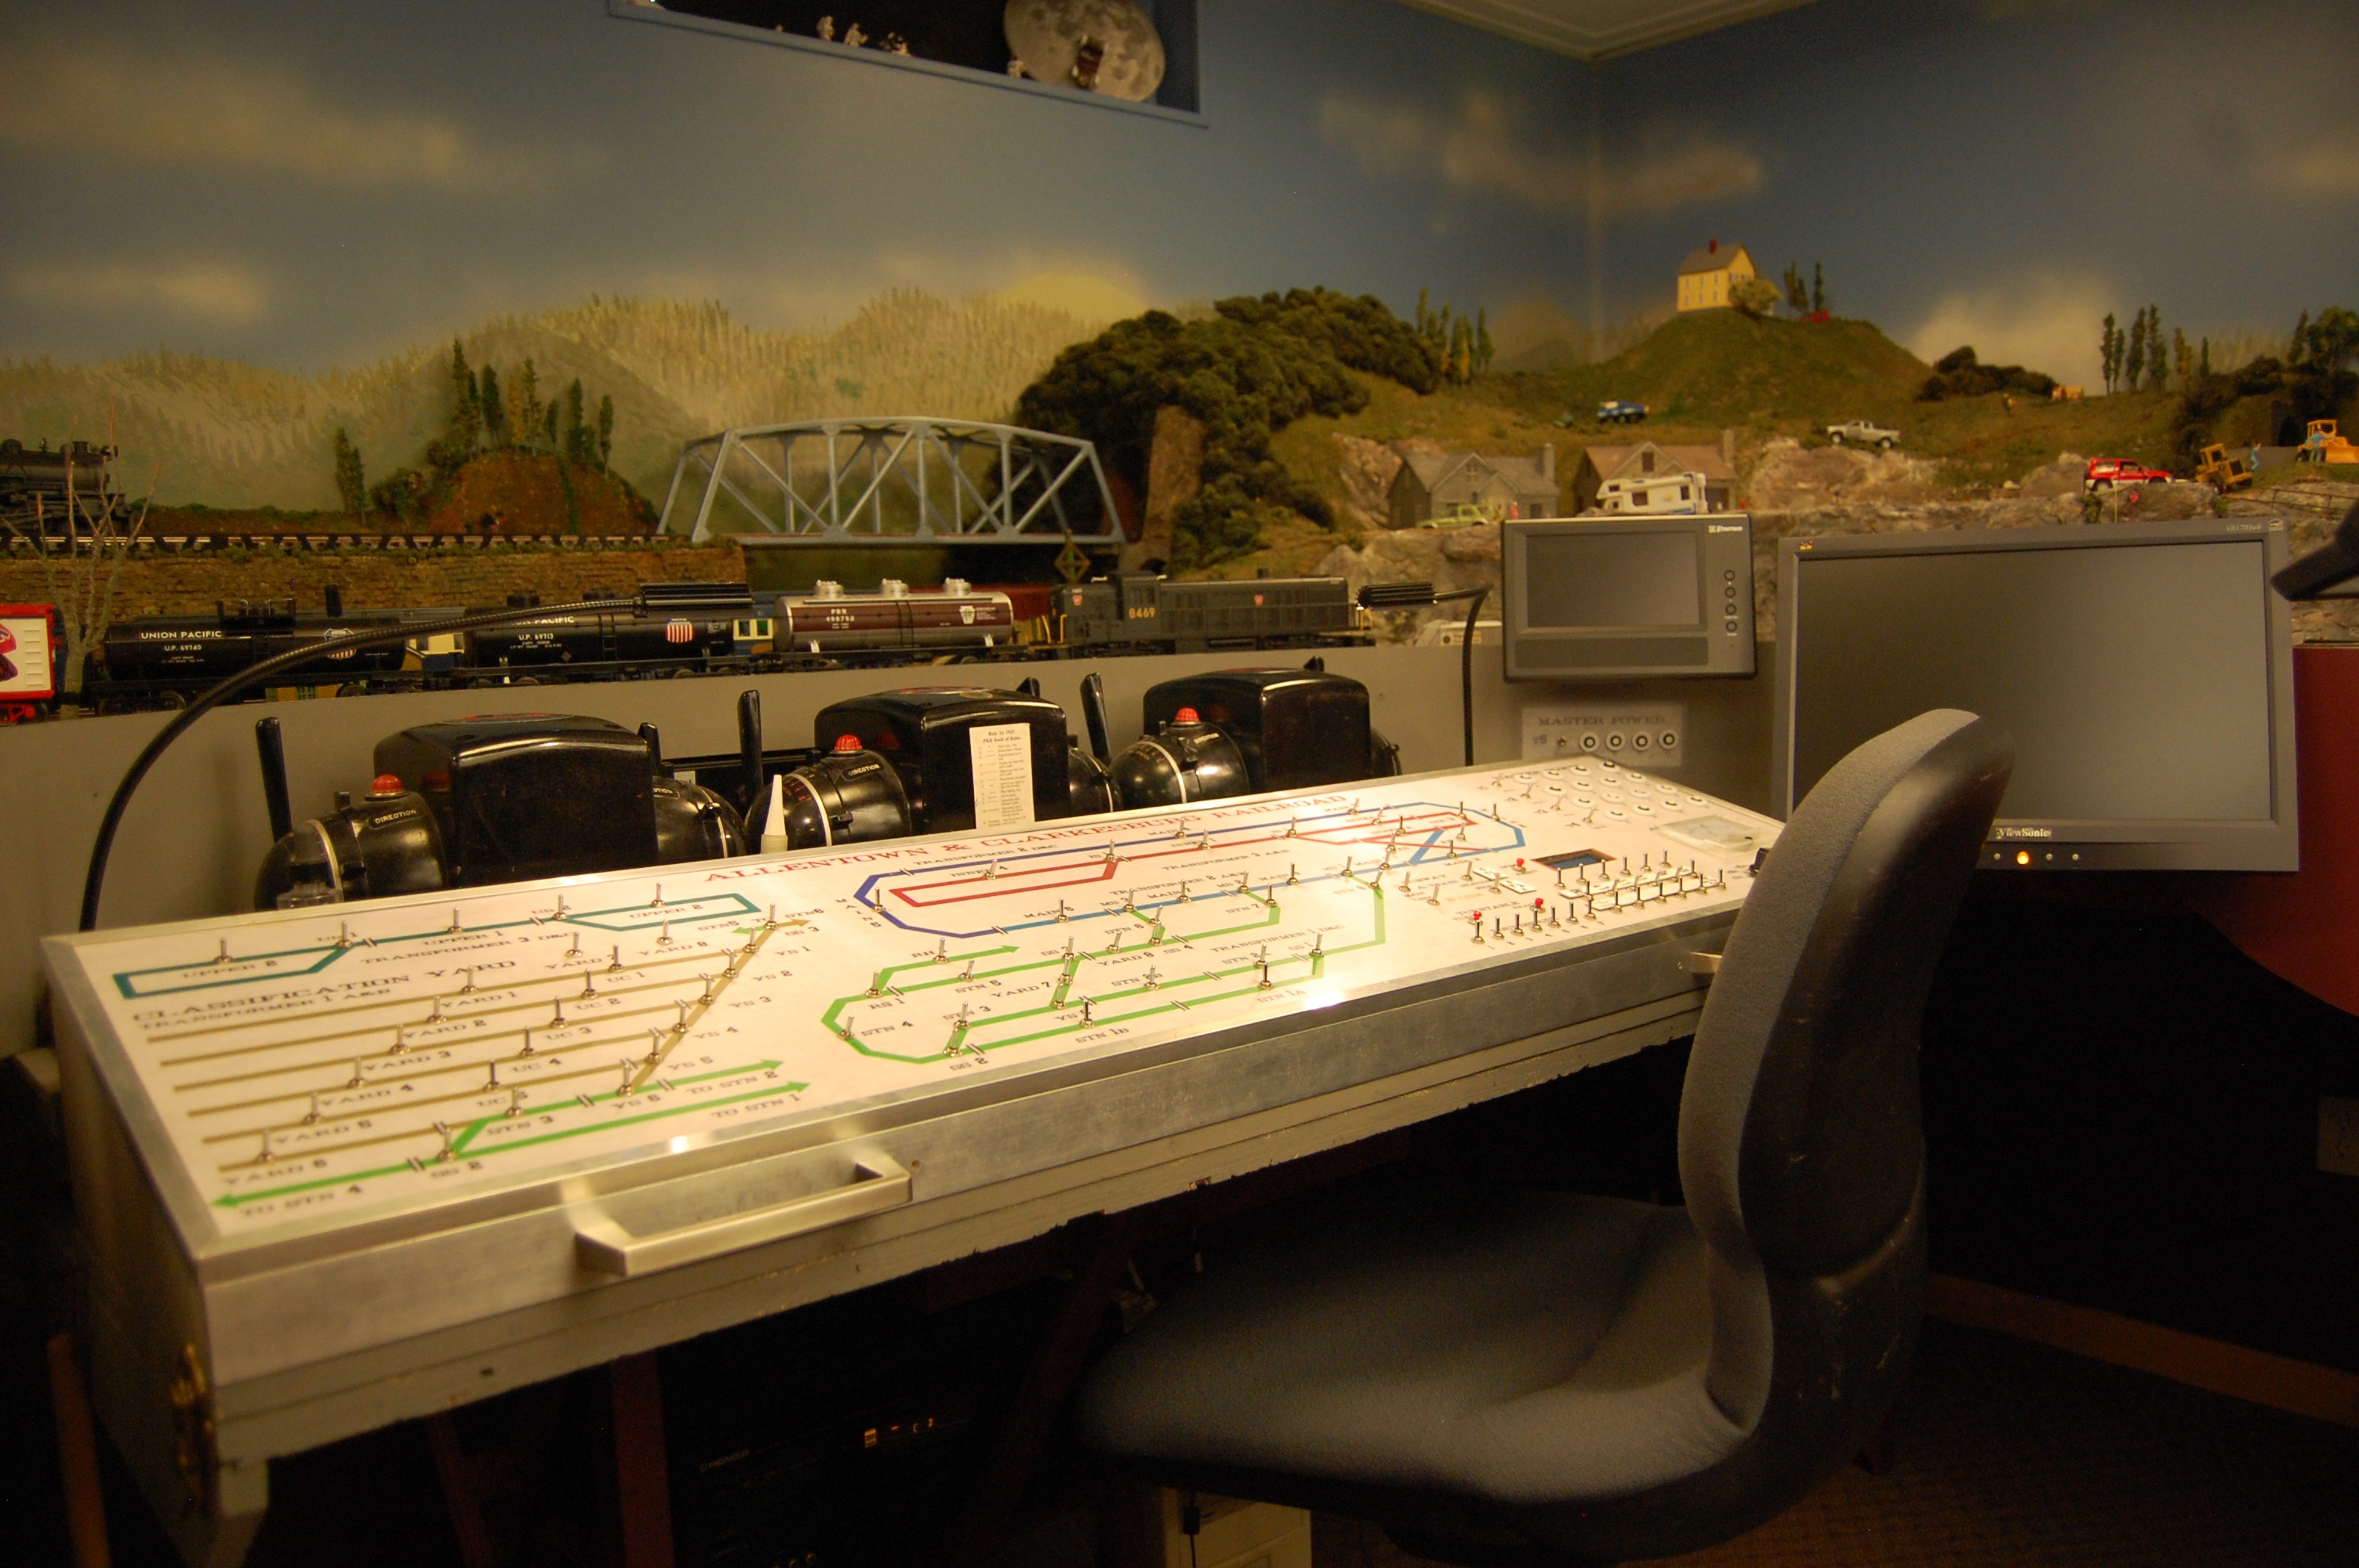
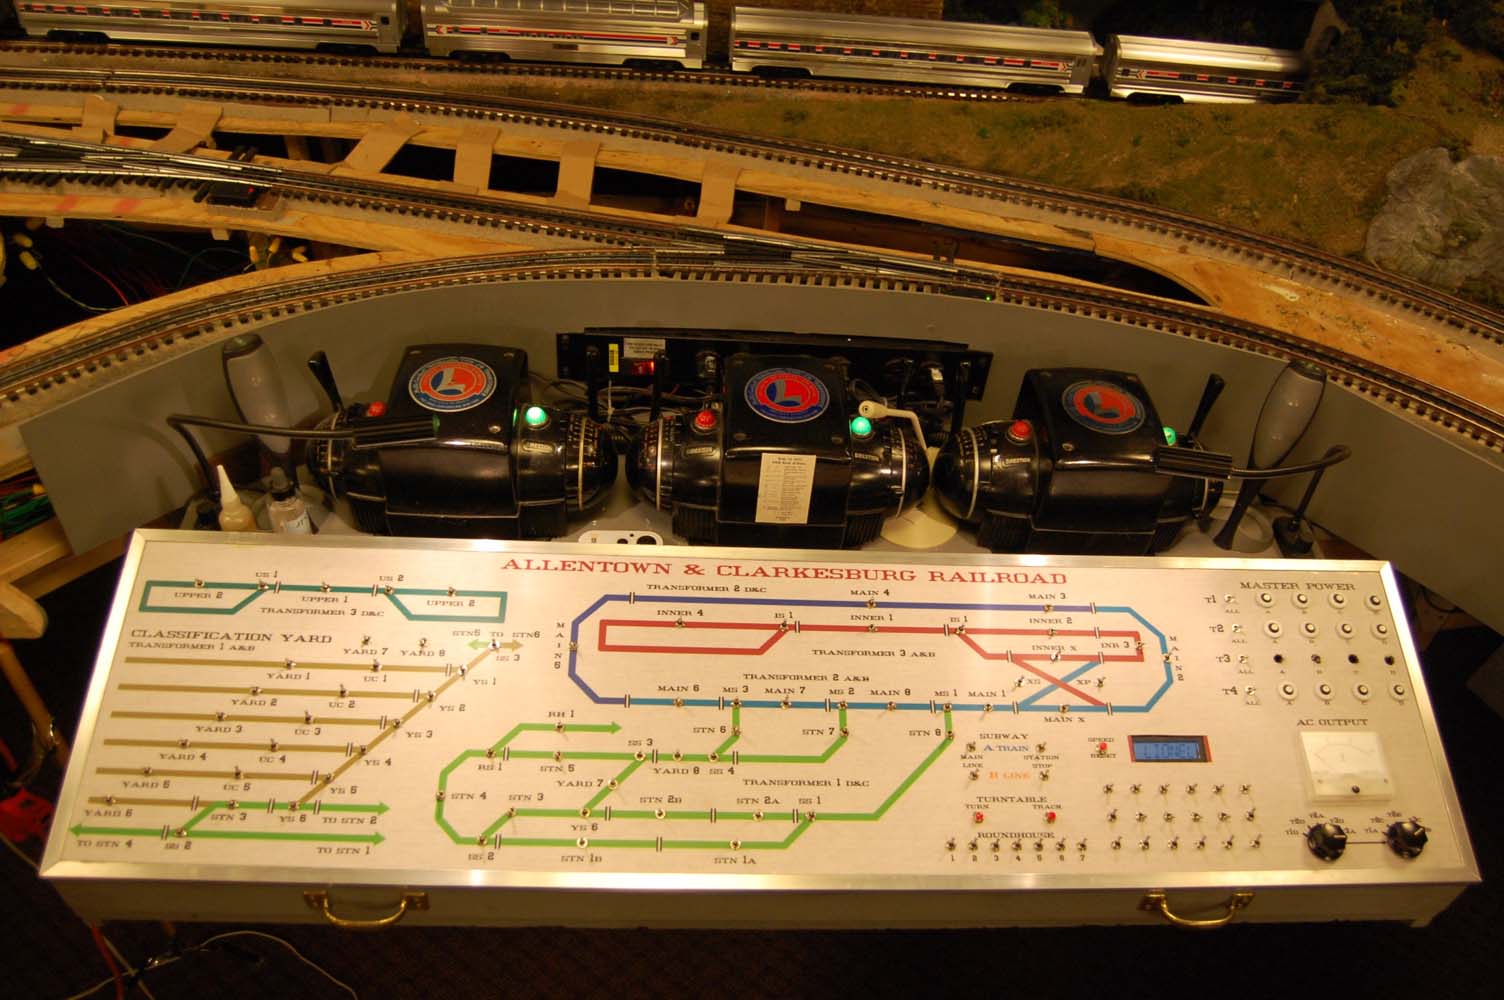
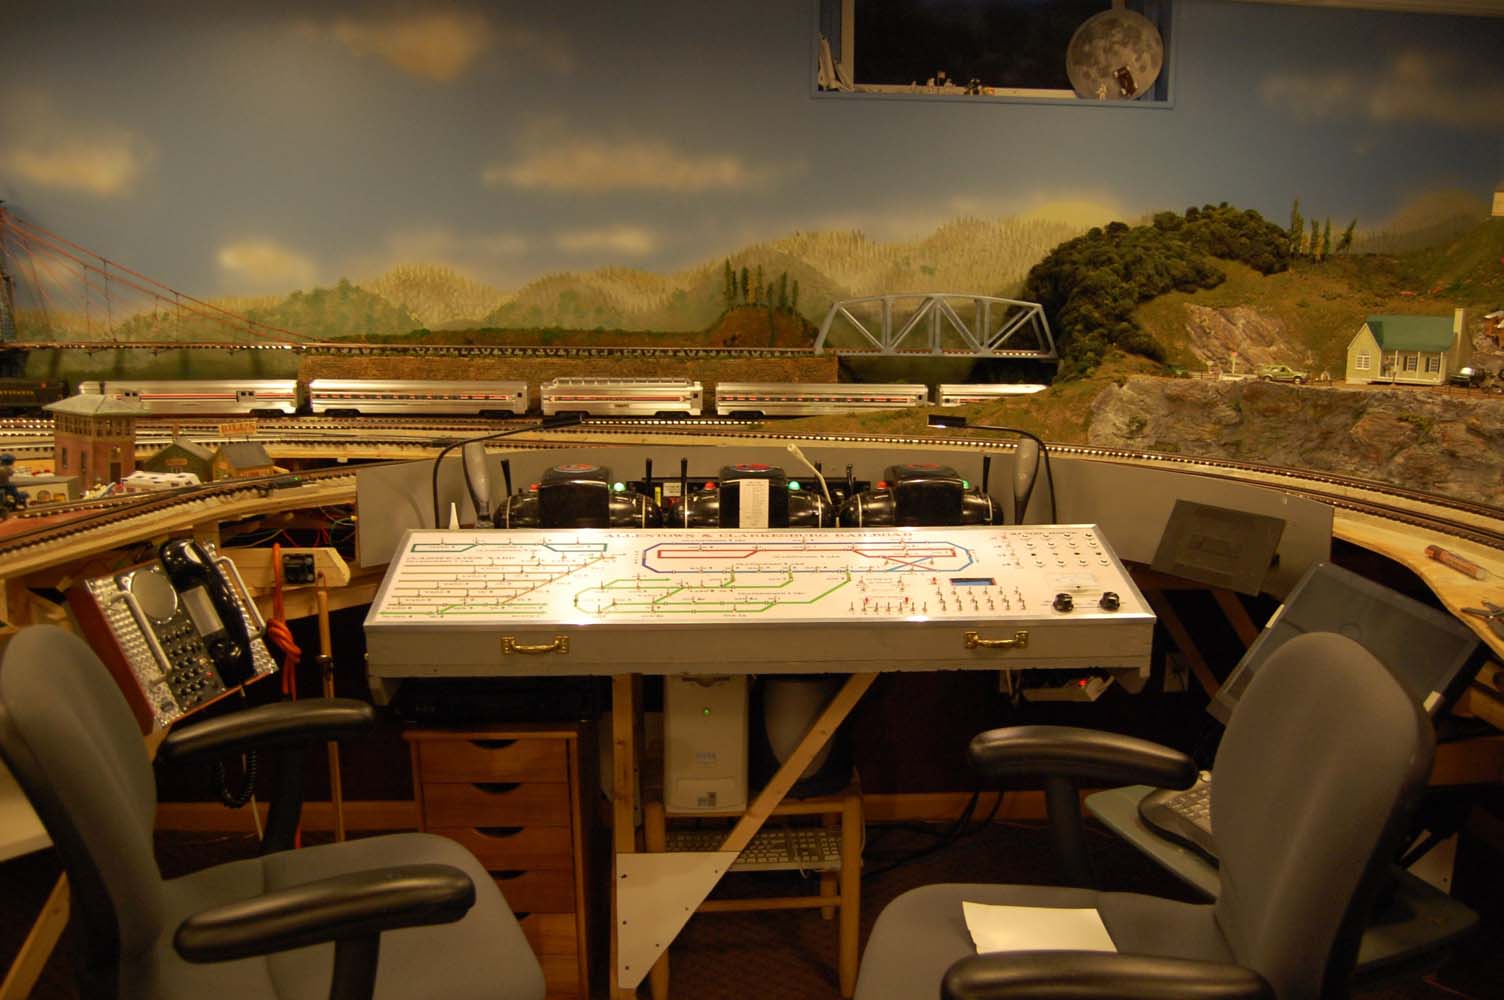
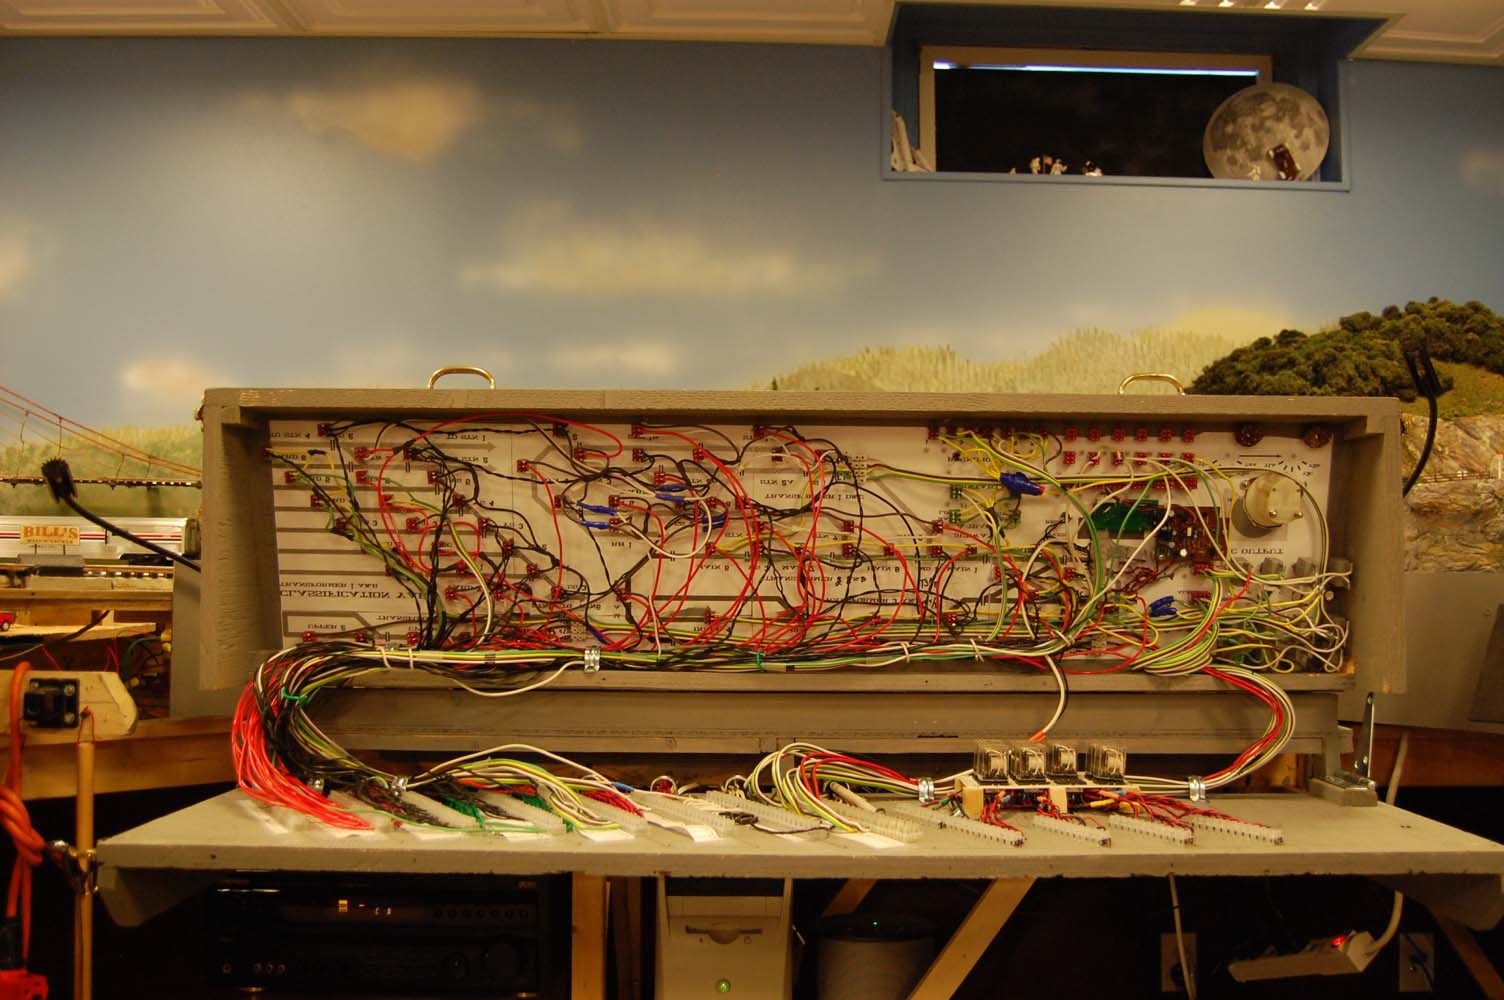
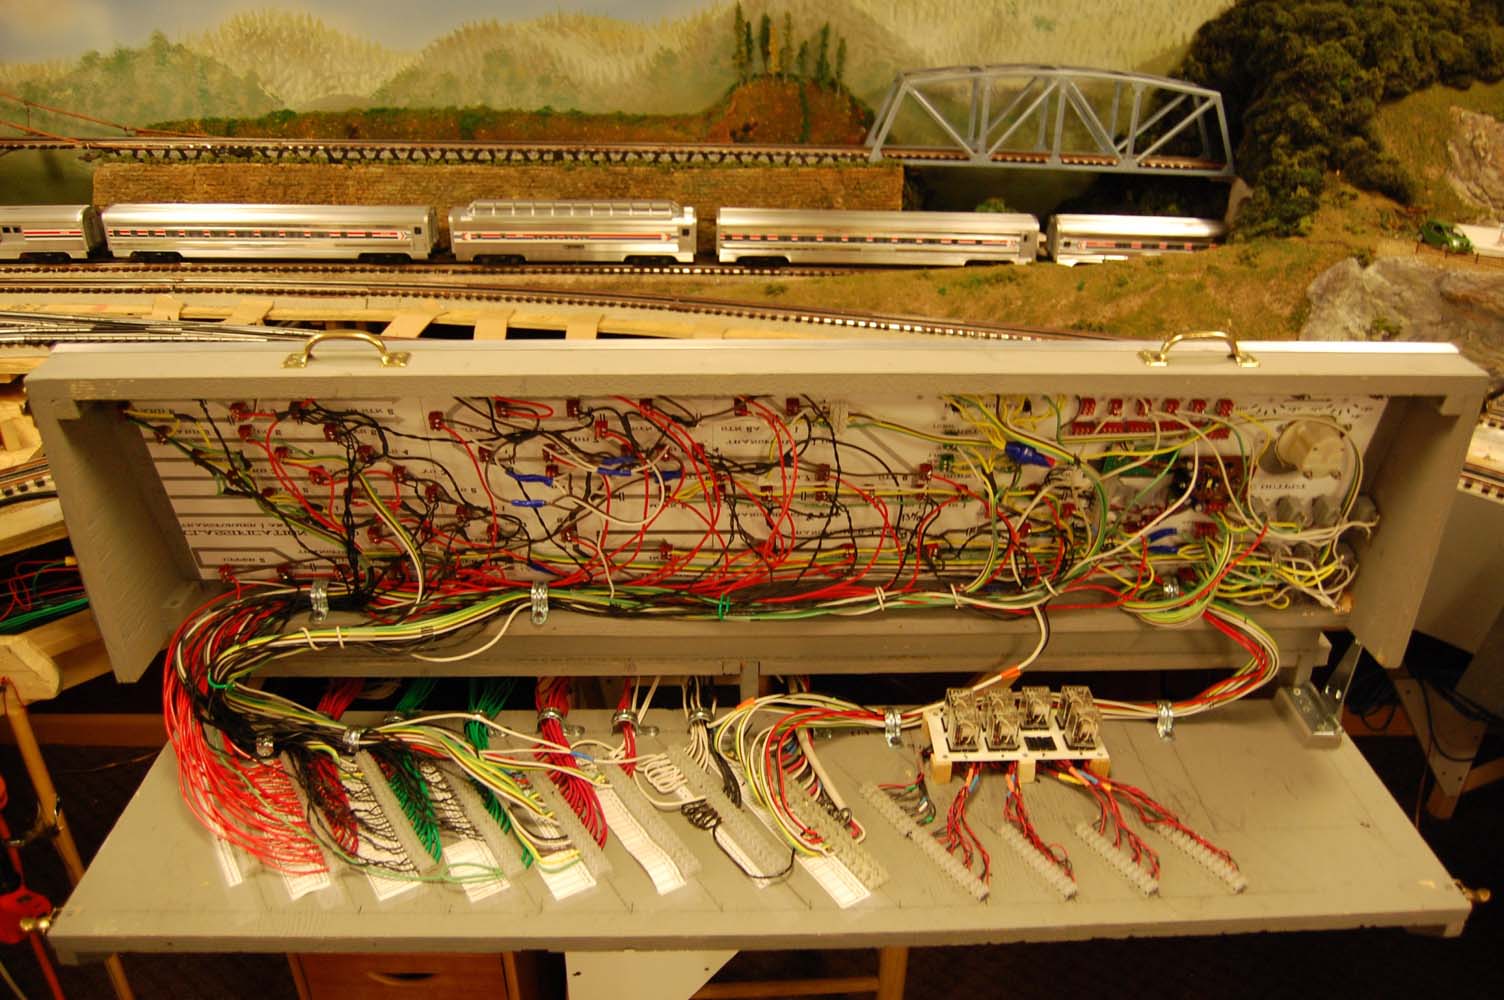
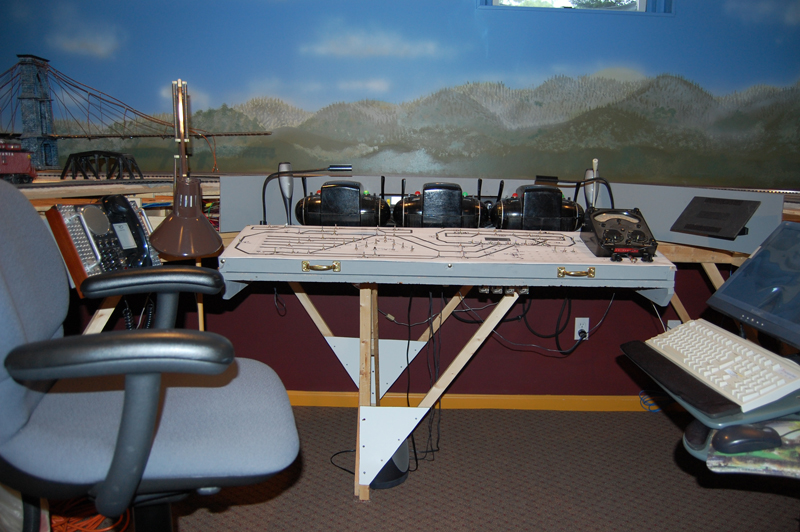
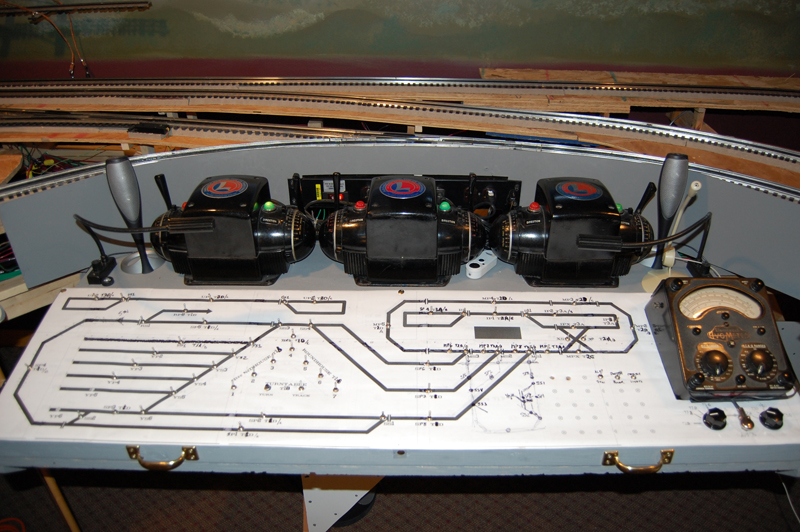
October 2009: Below are some pictures of the recently completed control panel. The layout was done in PhotoShop and then sent to a professional printer for color printing and lamination. I hunted high and low for 16-gauge color-coded 4-conduit ribbon wire. I finally found it at a sporting goods web site. Who knew that this stuff is mainly used on RVs and snowmobiles!
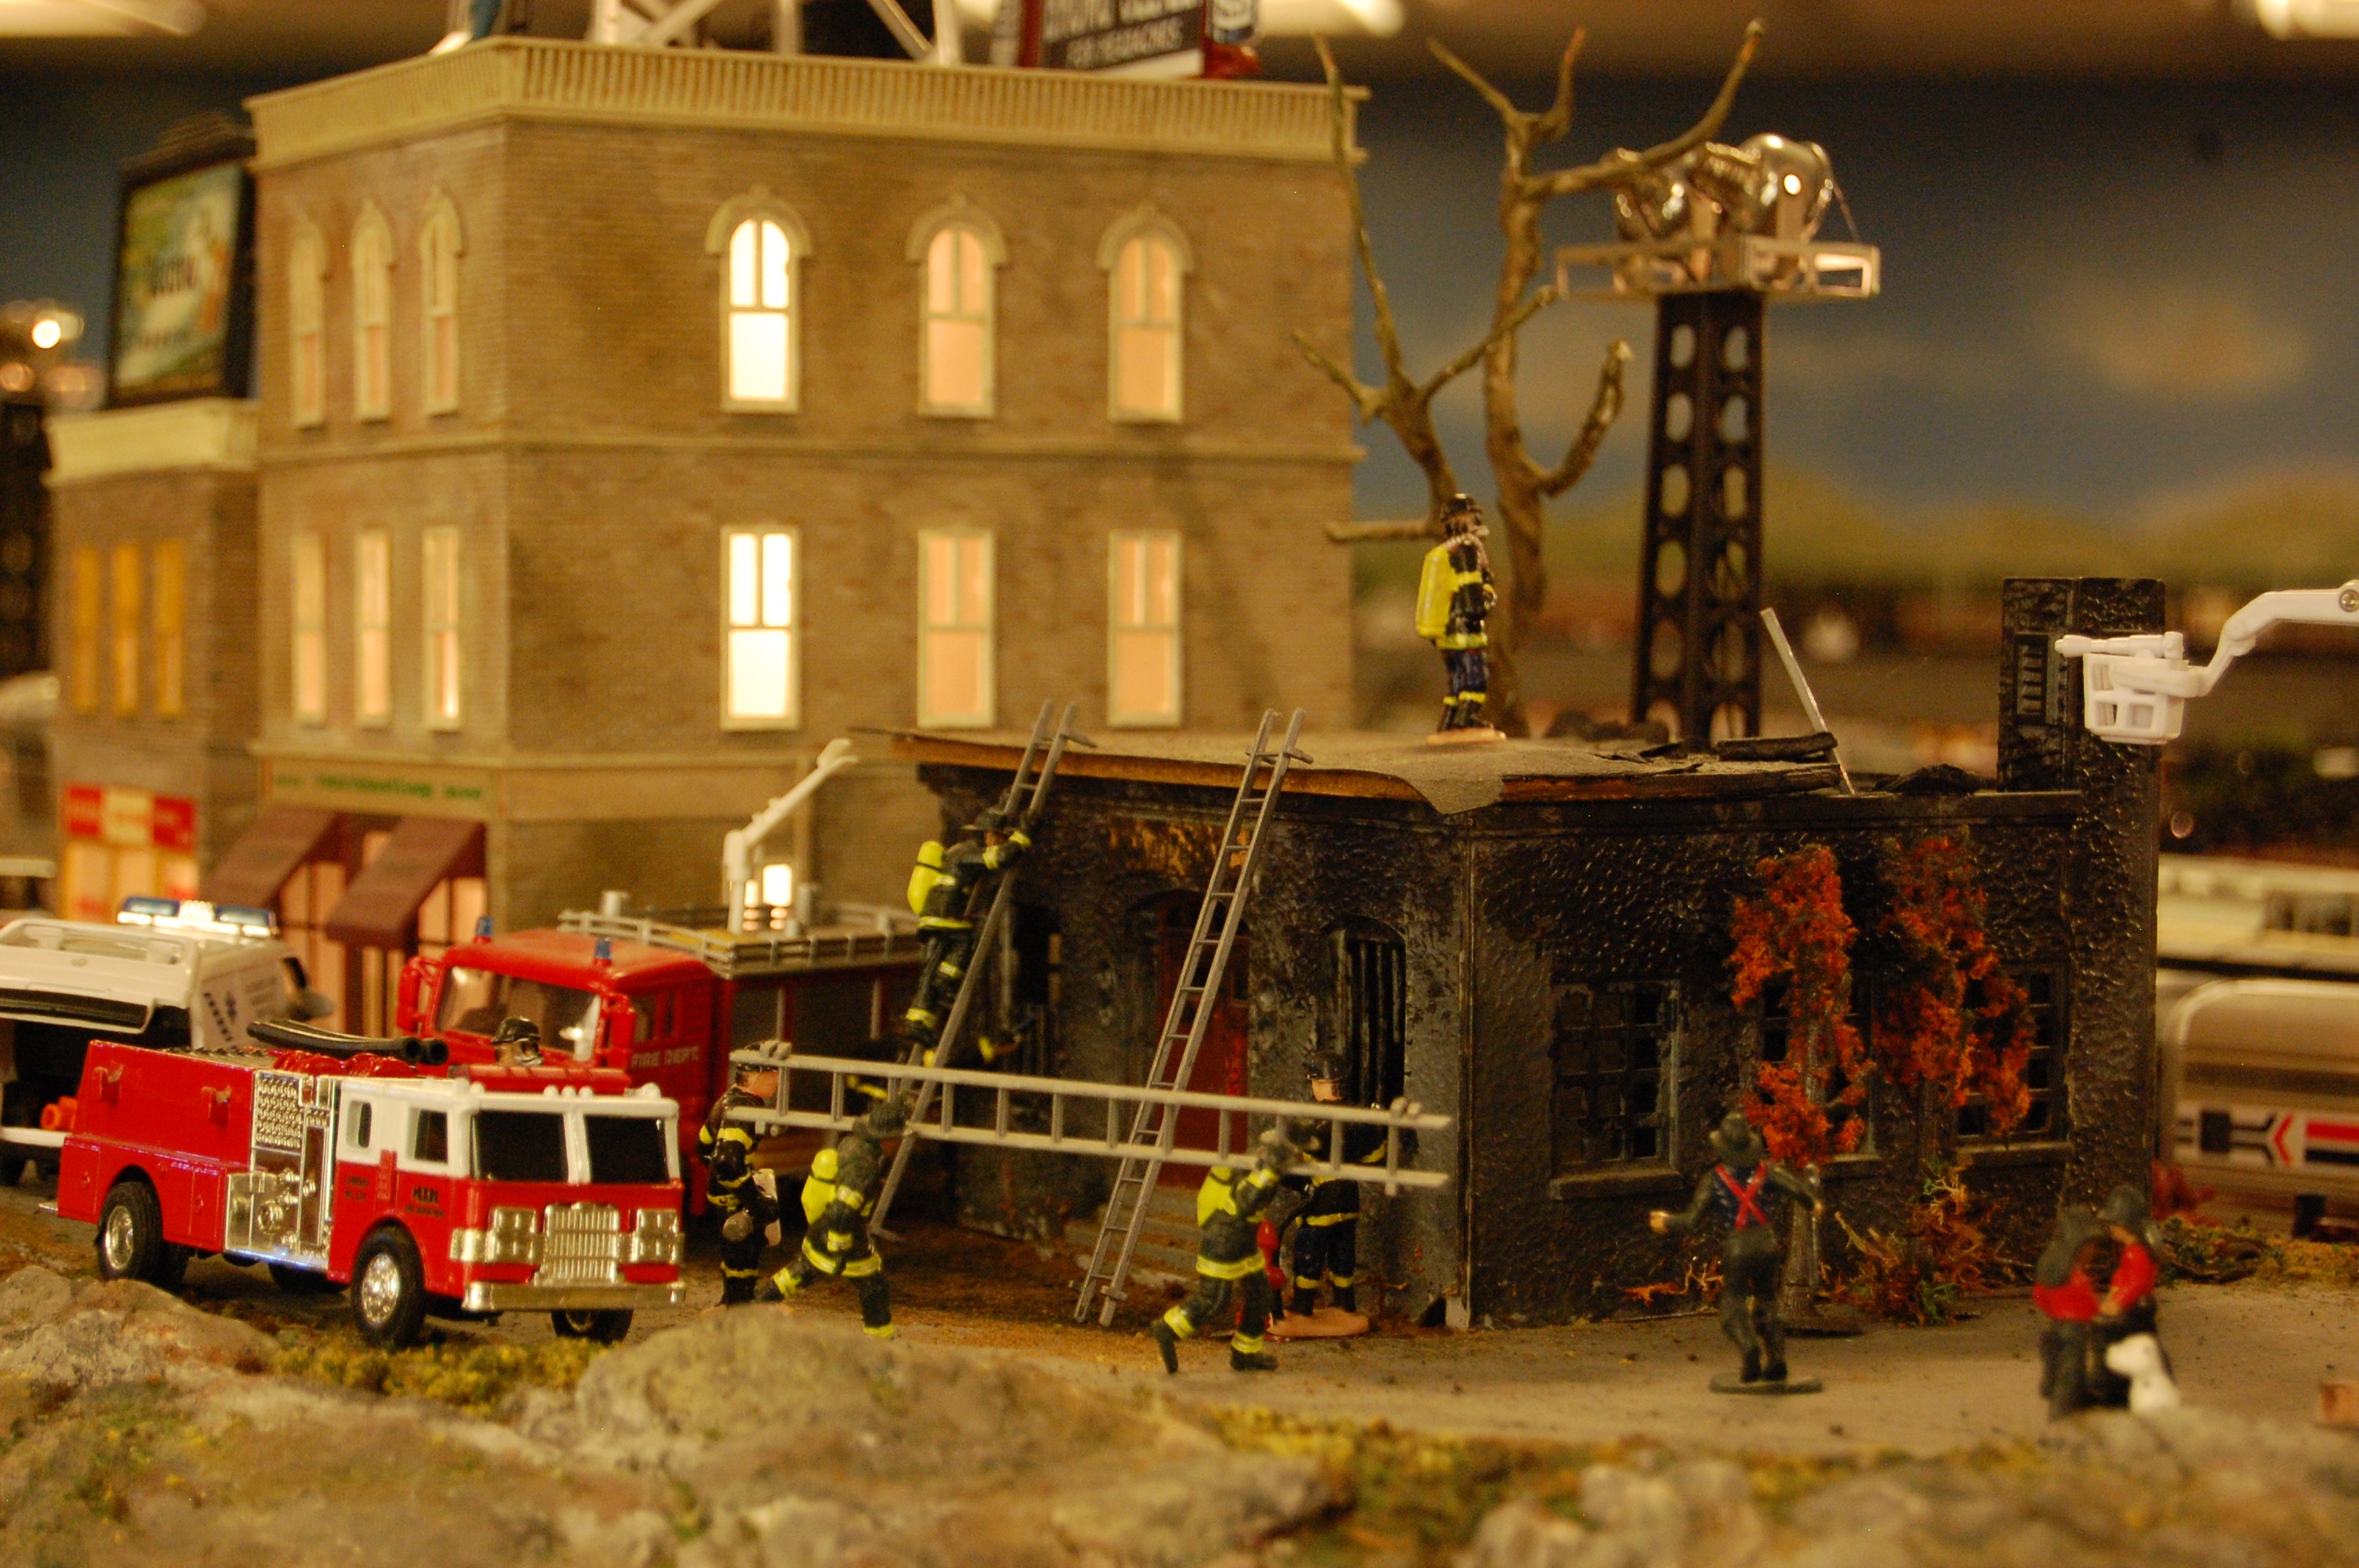
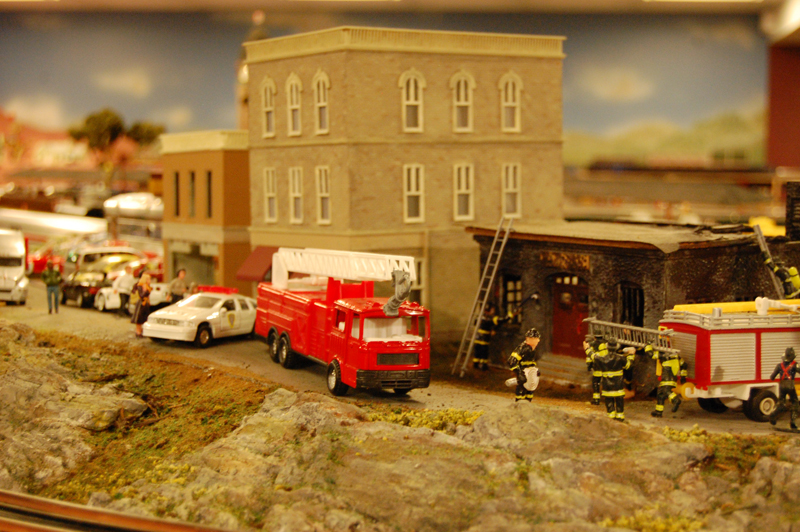
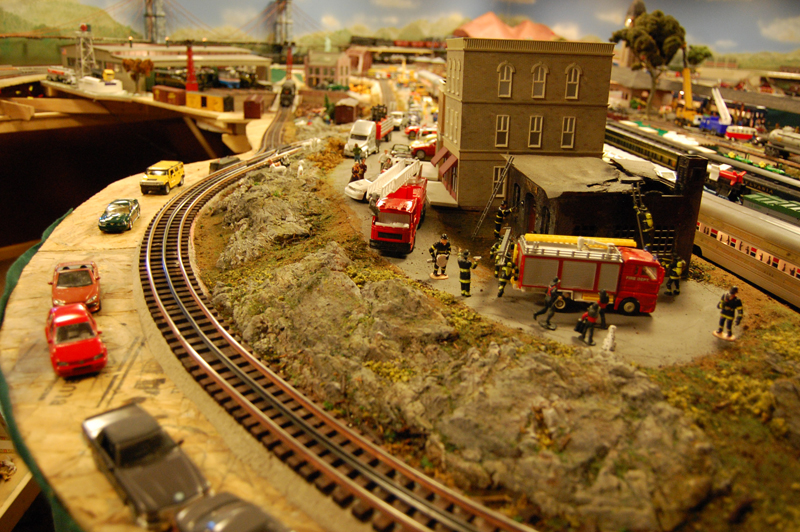
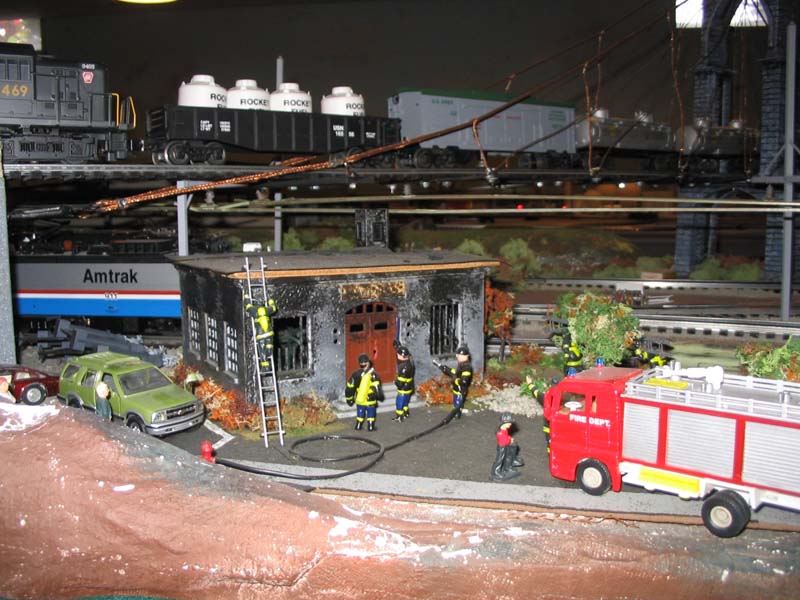
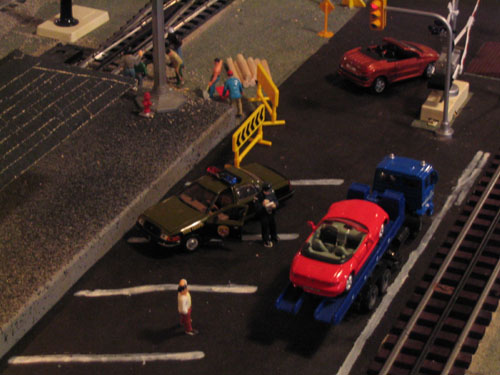
April 2009: It's been a while, but we've been making some progress on landscaping. And the boys have been having fun creating various dioramas; we seem to have a lot of fire and police emergencies! Also apparent is the need for more staging yards. Our collection of miscellaneous and mismatched cars is growing leaps and bounds...
Jan. 2009: As usual I've been rather remiss in not taking any photos of progress on the ACRR. Below are some of the beginnings of the scenery effort. The first two show a quick diorama that we built to test the workings of Howard Zane's paper-shell technique. I am a buyer! Minimal mess, loads of flexibility, and if you don't like something, simply cut it out and redo it.
The rocks and trees are all made from scratch: I made rock molds for the castings and the trees are copper wire covered in spackle, then stained with various washes. The folliage uses a black synthetic fiber from MicroMark with ground foam applied using regular white glue; we're still fine tuning our skills on that front.
The second two photos show the first hill/mountain area that we're workng on.
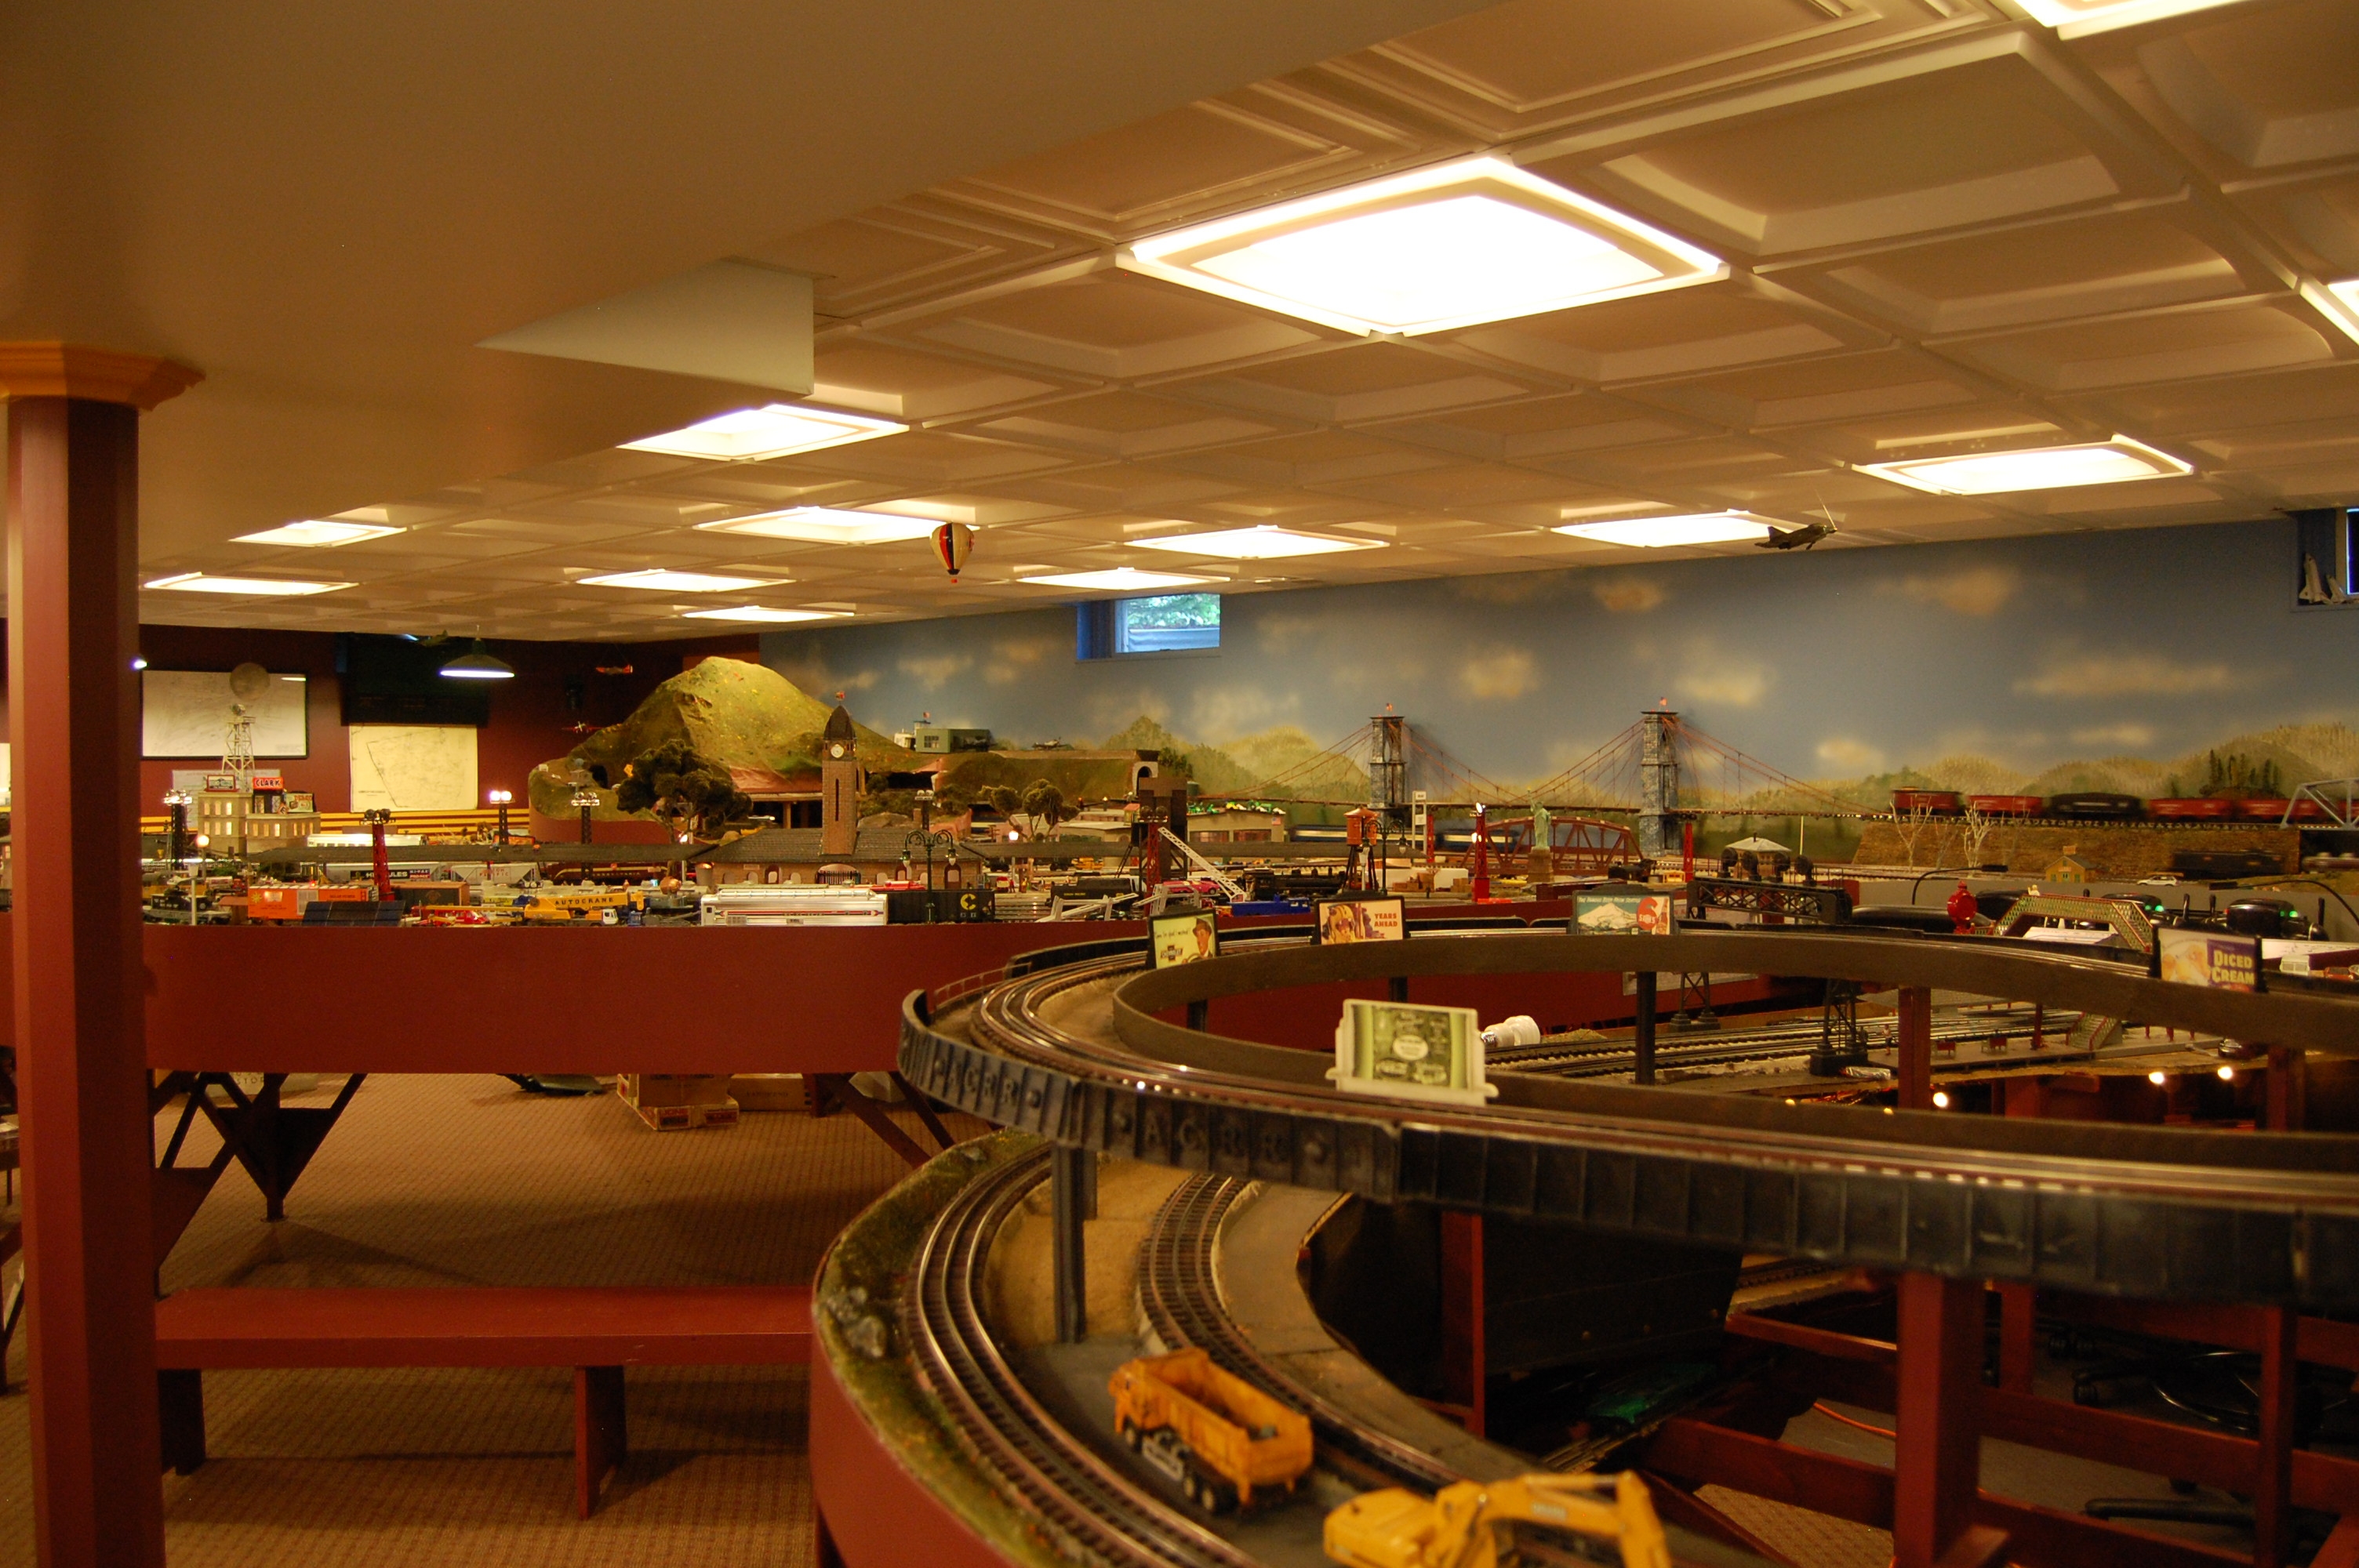
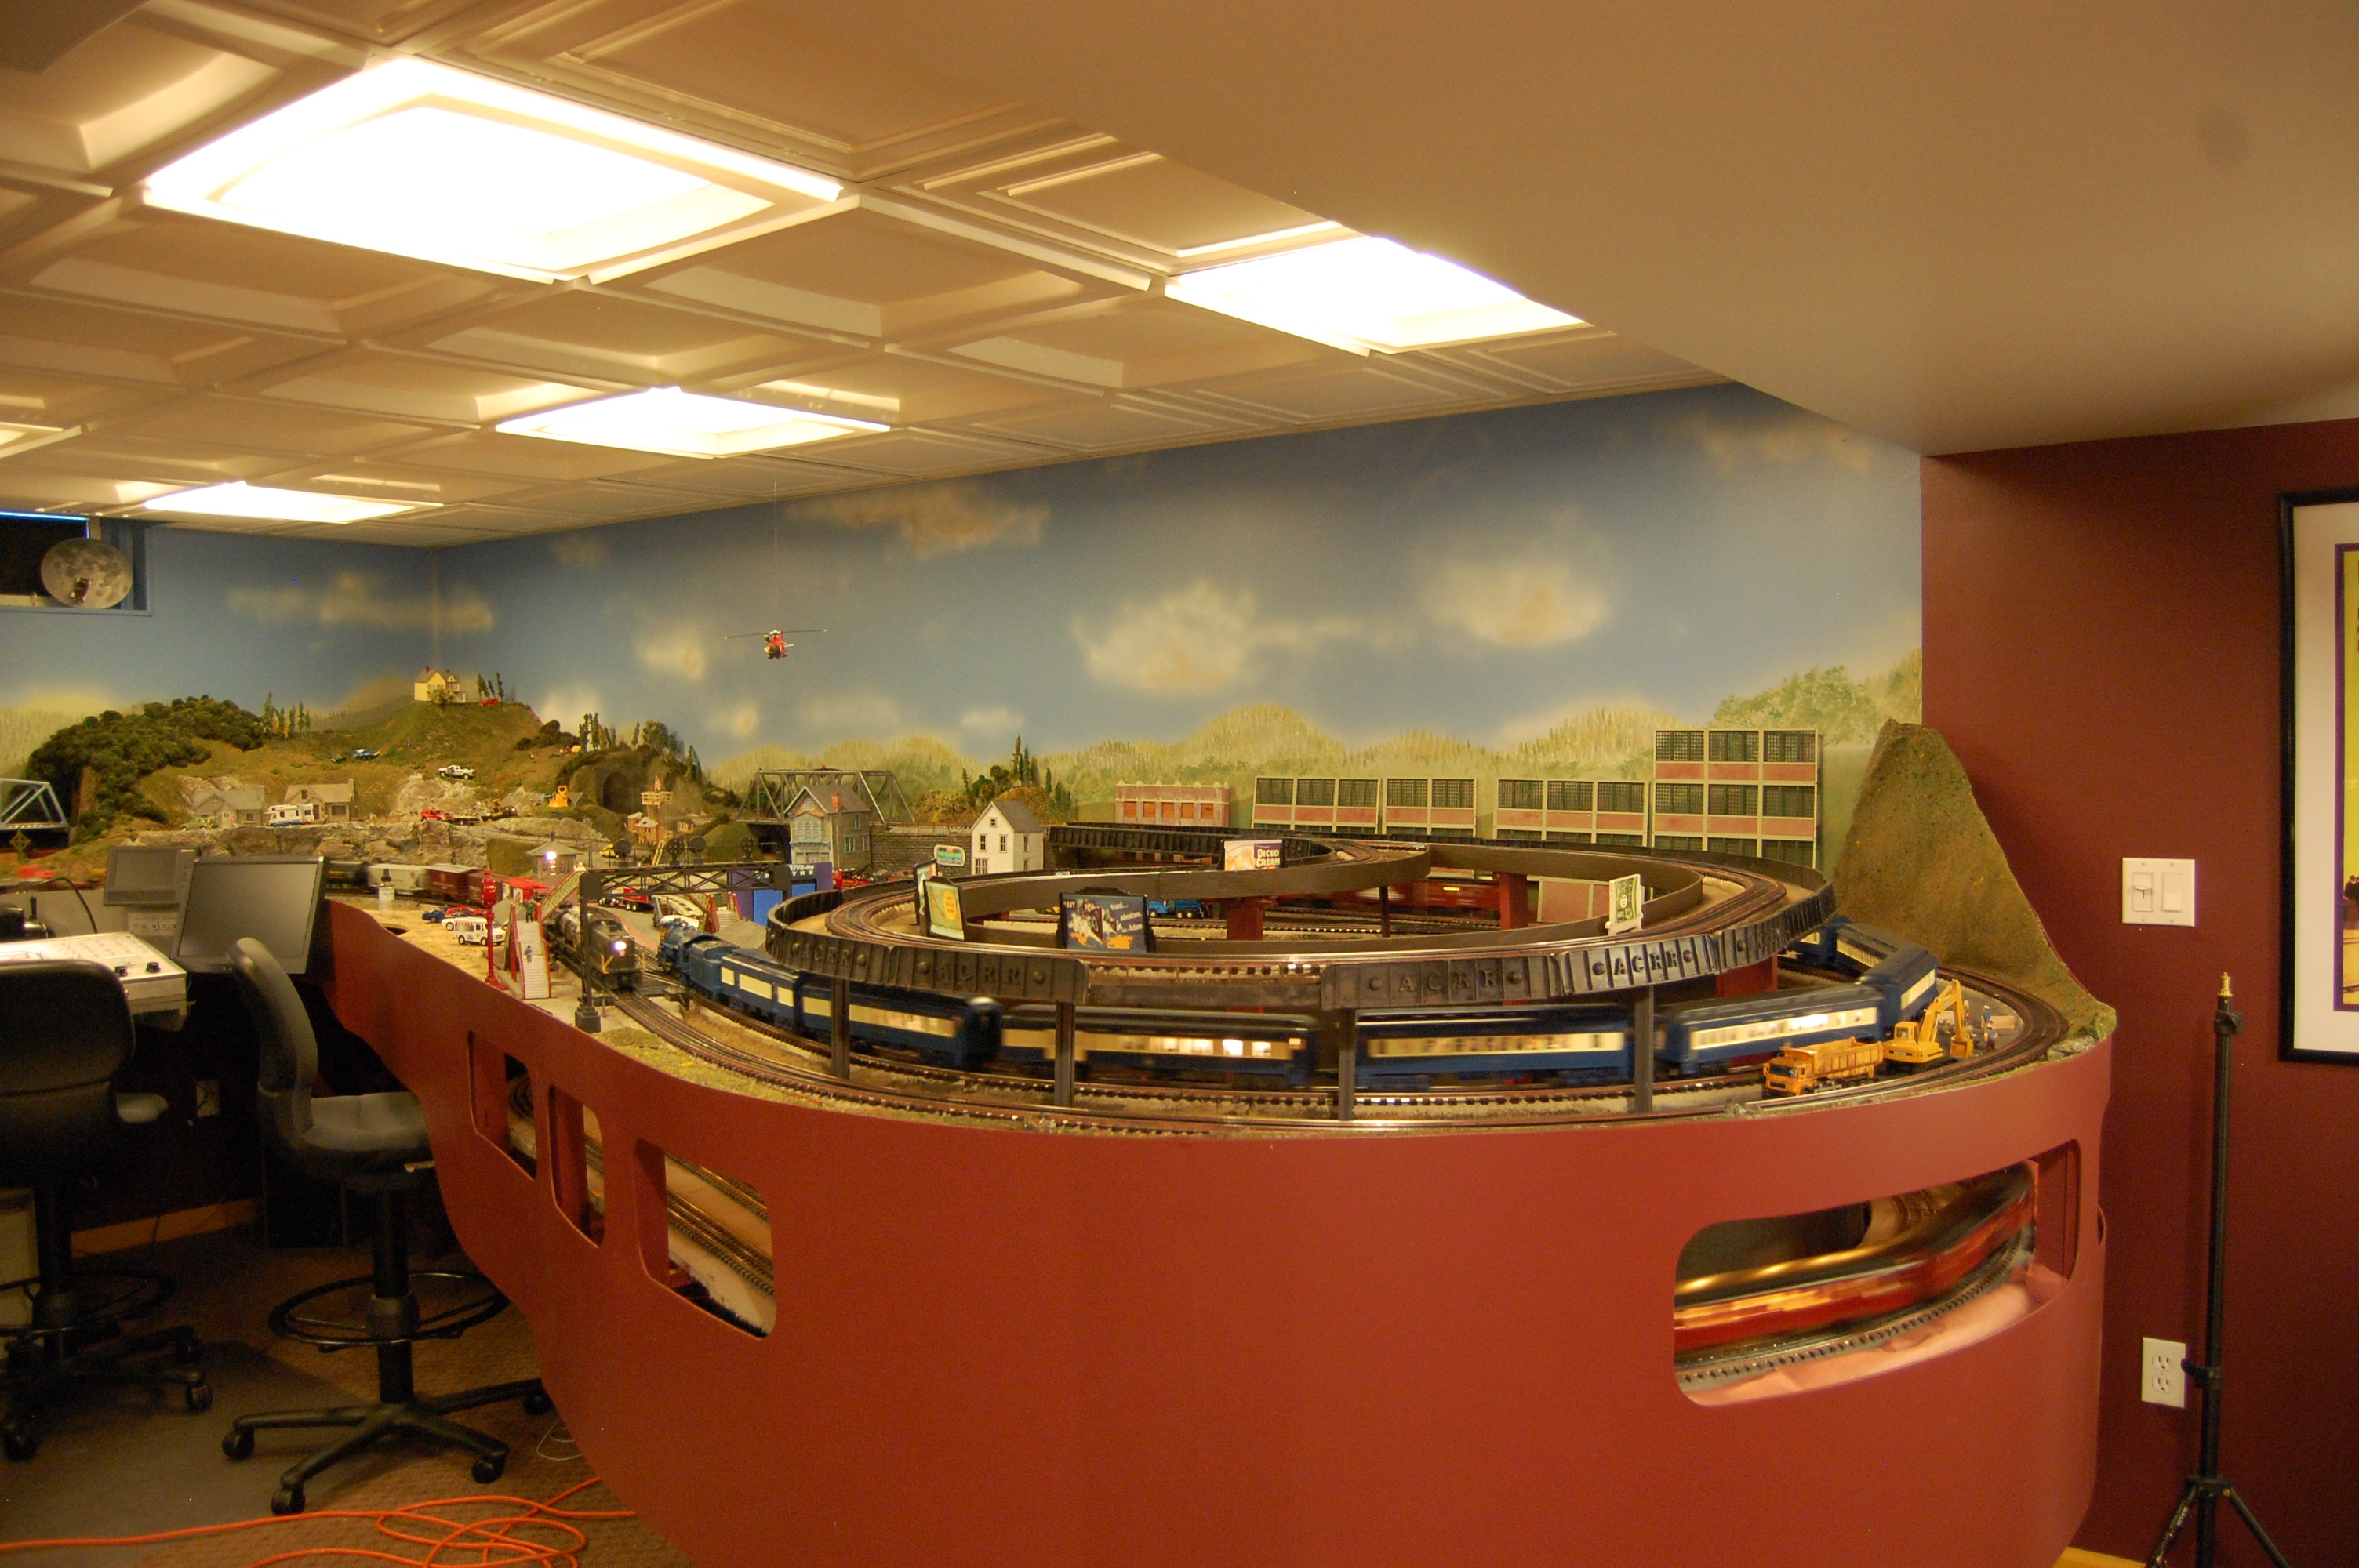
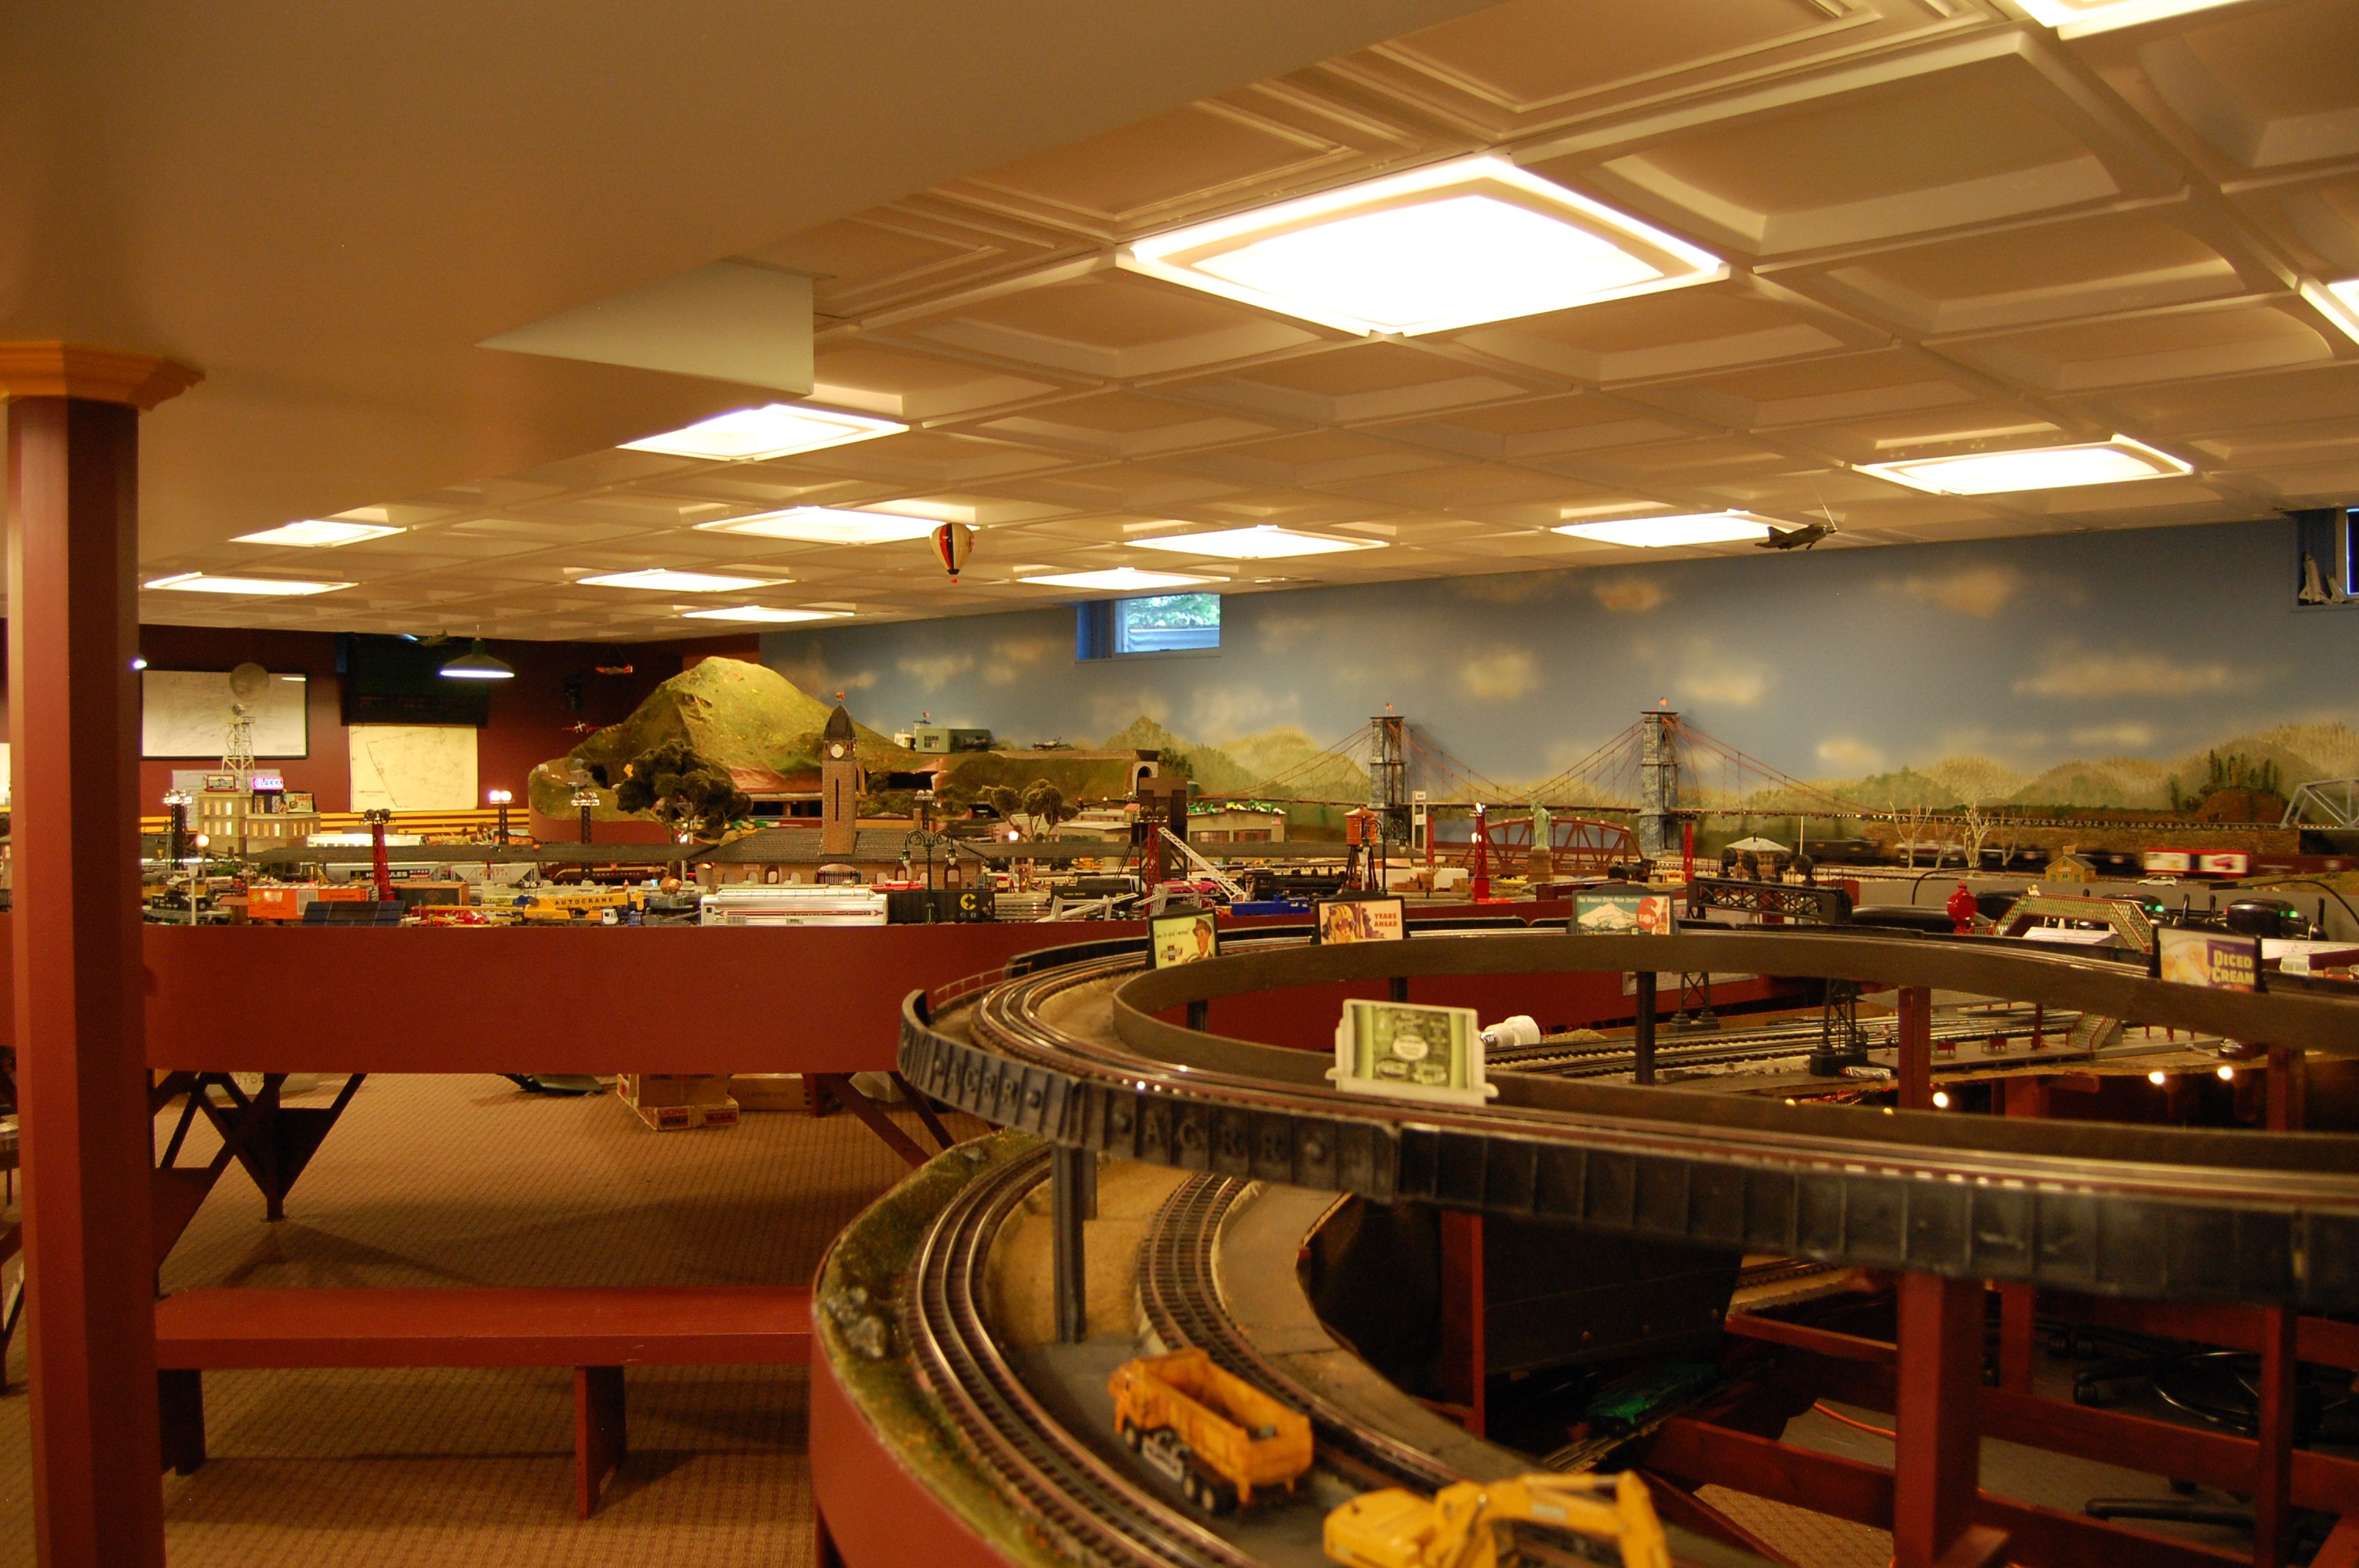
Sept. 2008: Below are a few random snaps taken over the summer. I decided to completely redo the train room ceiling usinig a contoured PVC tile. The dimmable compact-flourescent lighting is recessed behind translucent tiles, which gives a nice light to work in and to show the trains. I bit the bullet and purchased a Ross double crossover to replace the old Gargraves switches and Ross 11-degree crossing. It works flawlessly. I've also begun work on the upper level, and the redesign of the control panel continues.
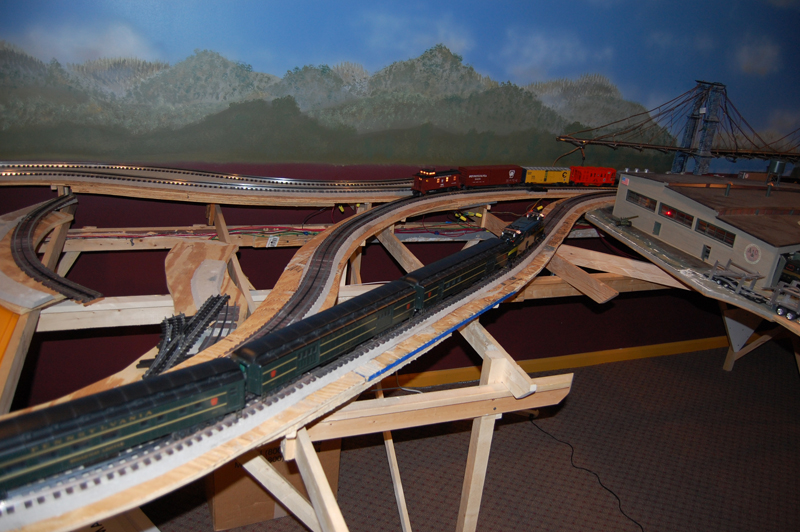
May 2008: We've made quite a bit of progress on the ACRR since the last update; we have trains running! We've been testing with three trains on the main line and one on the inner dogbone. I am finding that the old GarGraves 110 and 111 switches are simply not up to the task. The few Ross switches I've bought recently are much more reliable.
The control panel is largely wired, albeit with a temporary surface while I determine if I really like the configuration.
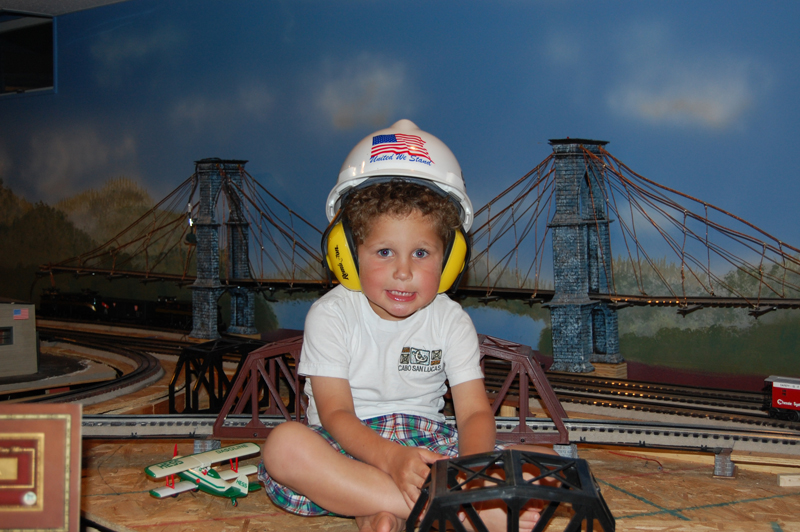
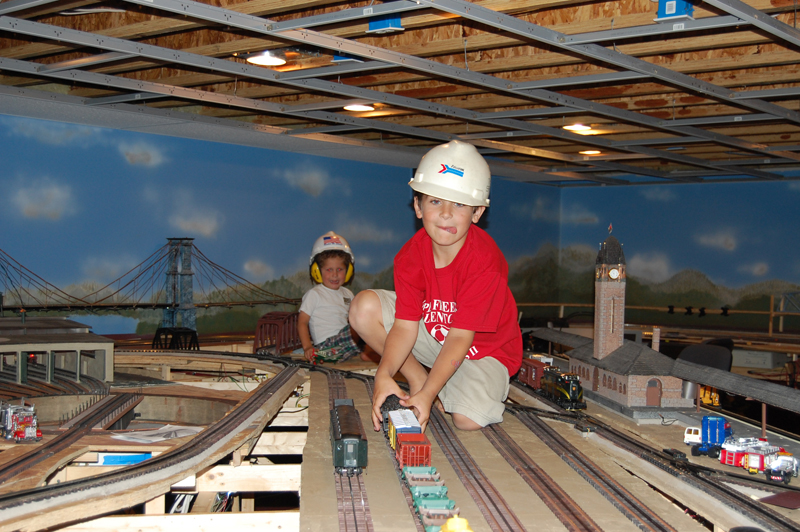
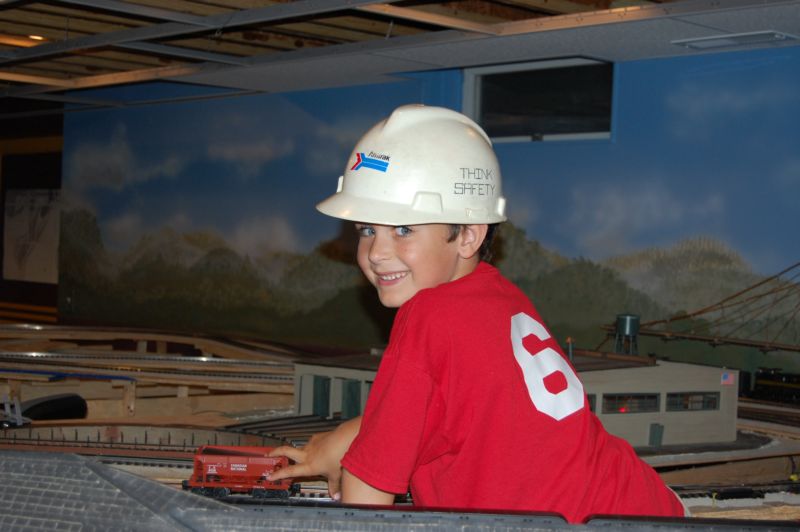
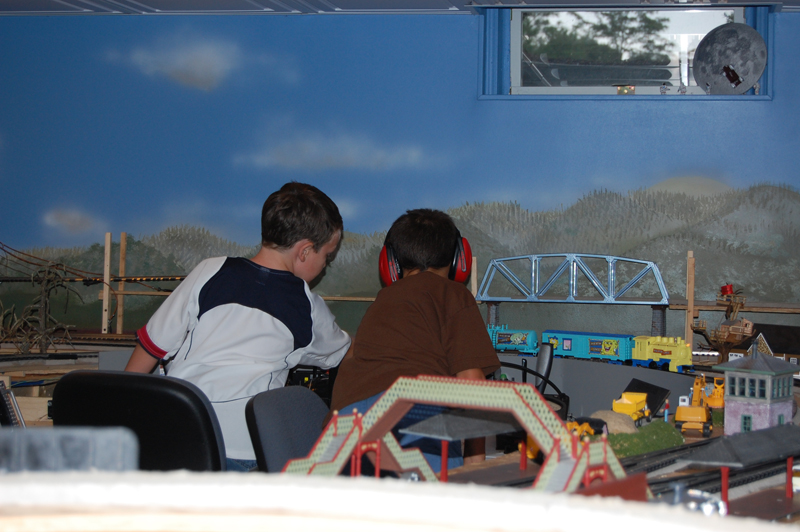
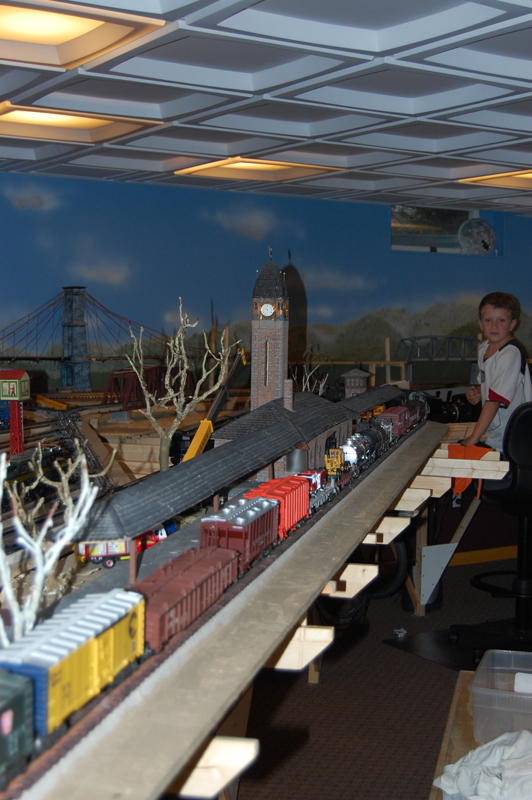
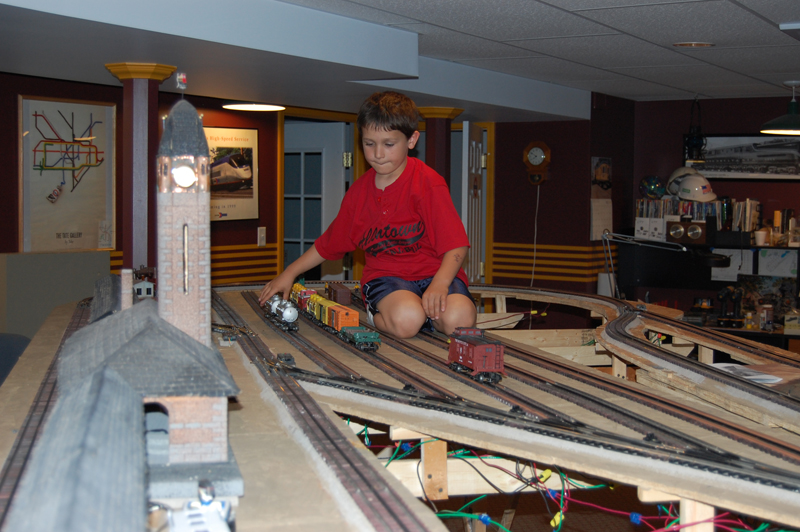
Beyond that, in my rather haphazard fashion, I've made my own latex rock molds and have cast some rocks. I hope to start experimenting with scenery techniques in the next few weeks. Below are some recent photos of the trains, train room and my trusty assistants.
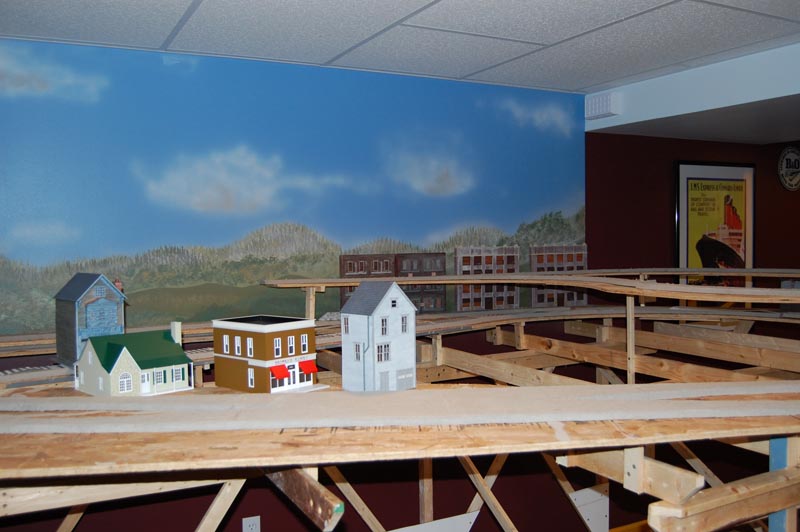
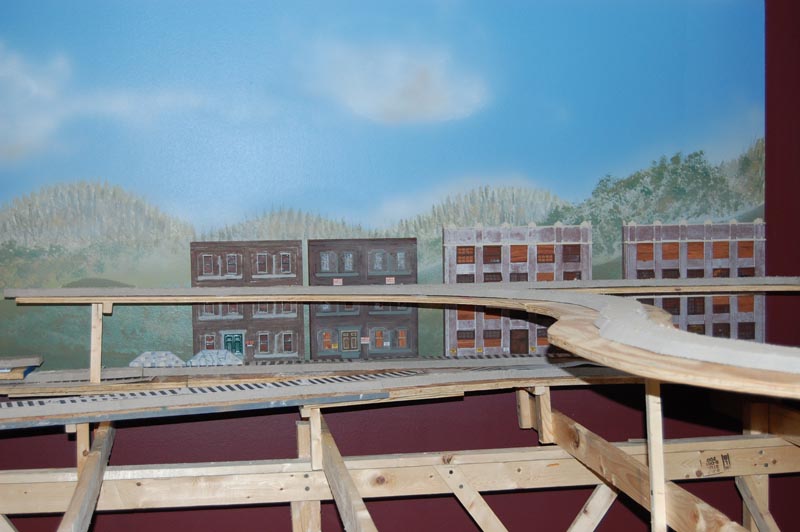
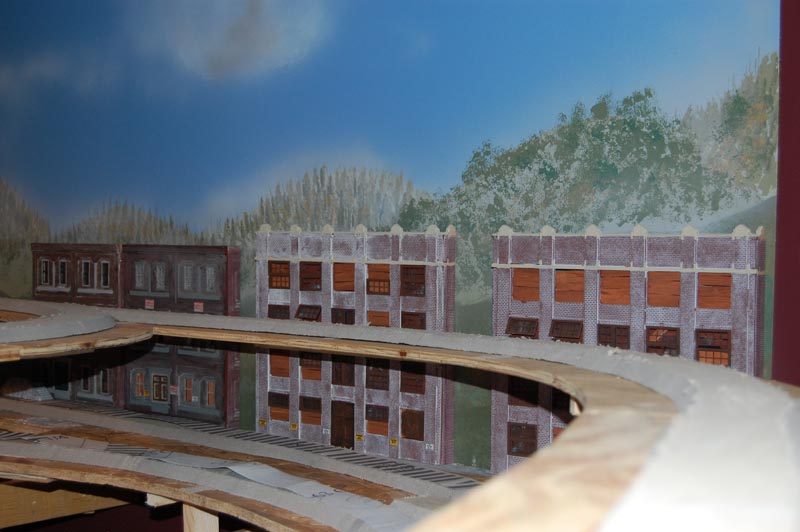
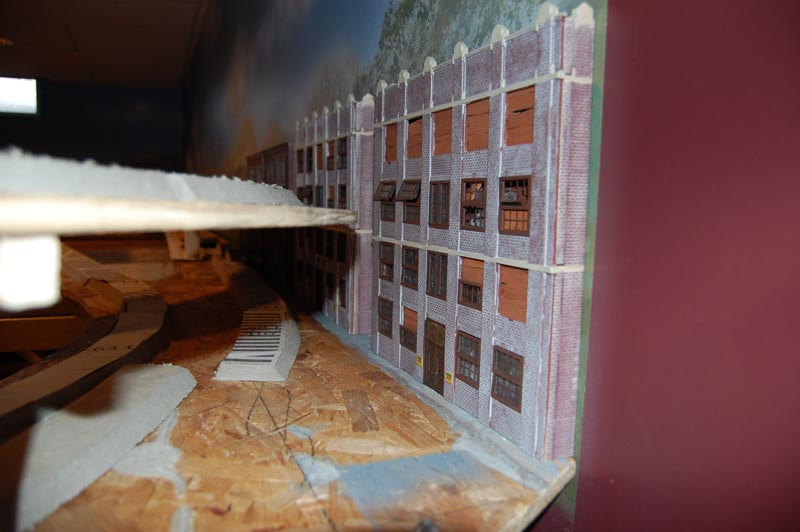
Oct. 2007: Construction of the subroadbed and roadbed is well underway. I've started placing a few buildings and façades to get an idea of what the layout will look like for real. Computer-aided design will only get you so far when it comes to 3D visualization.
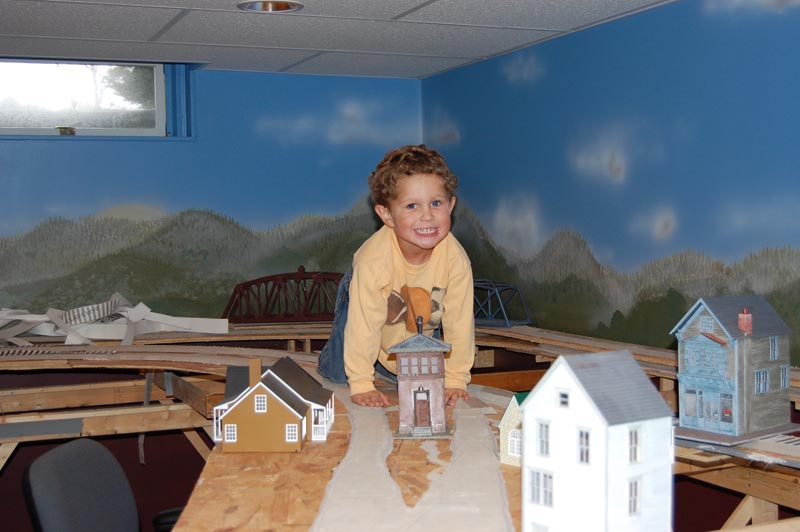
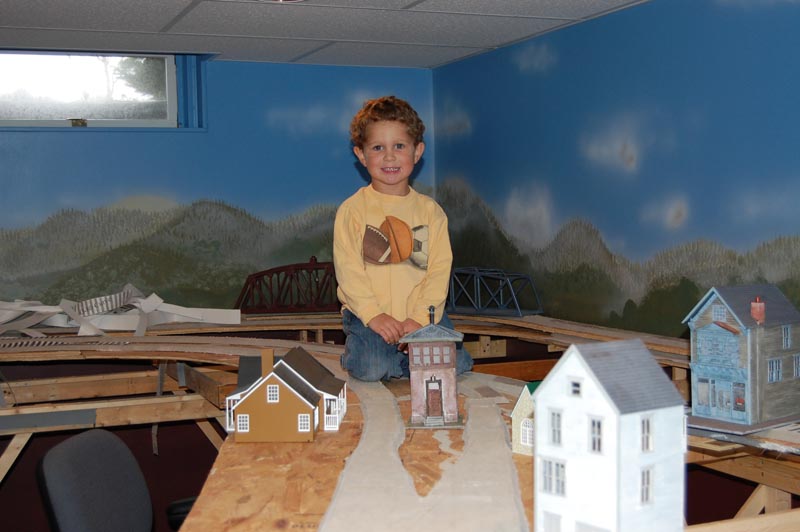
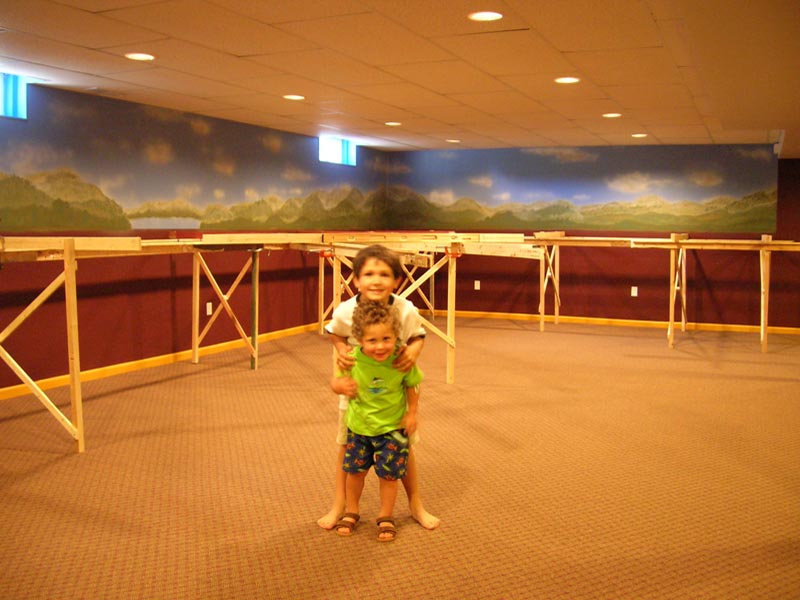
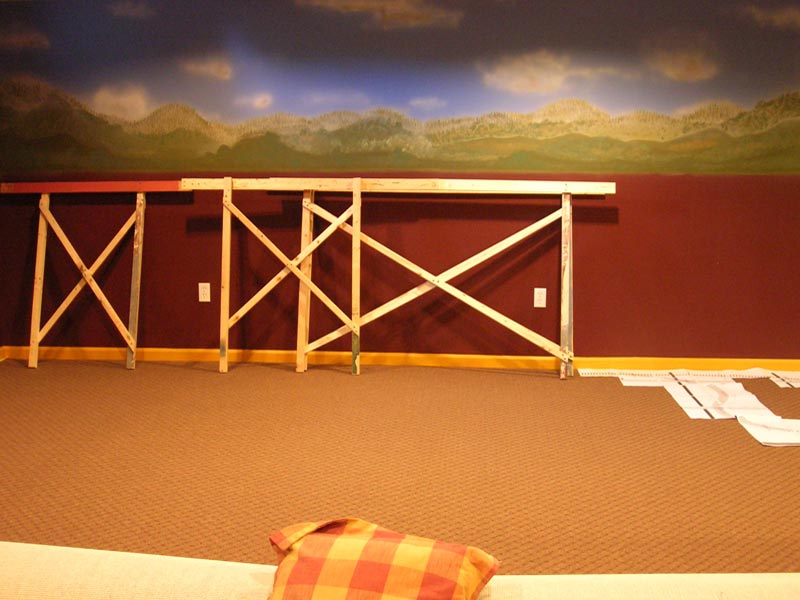
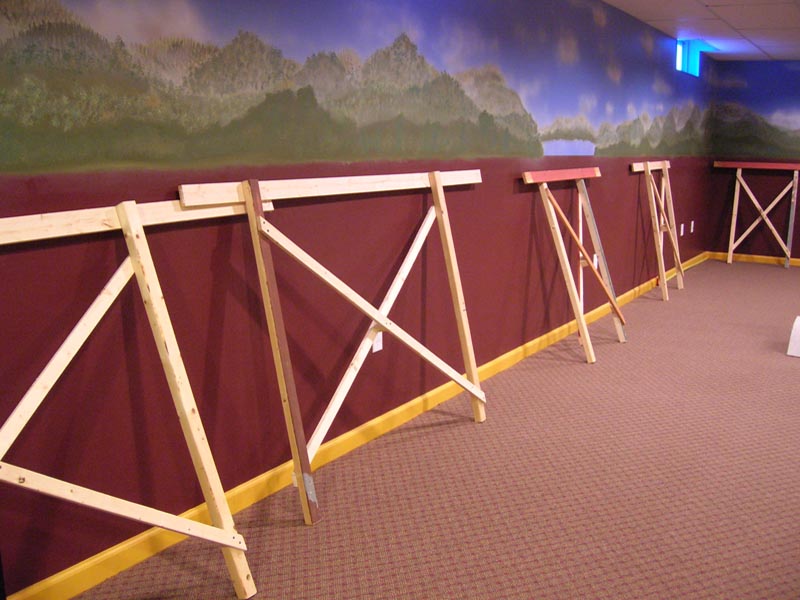
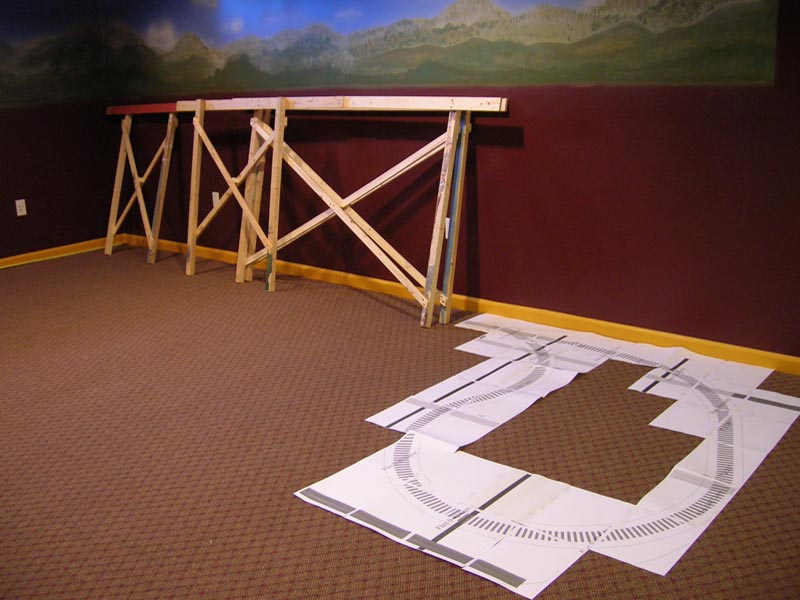
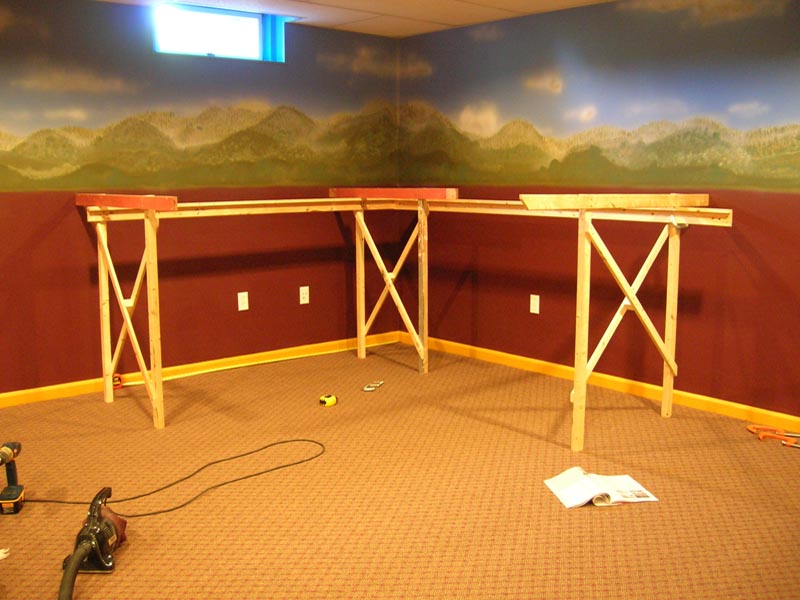
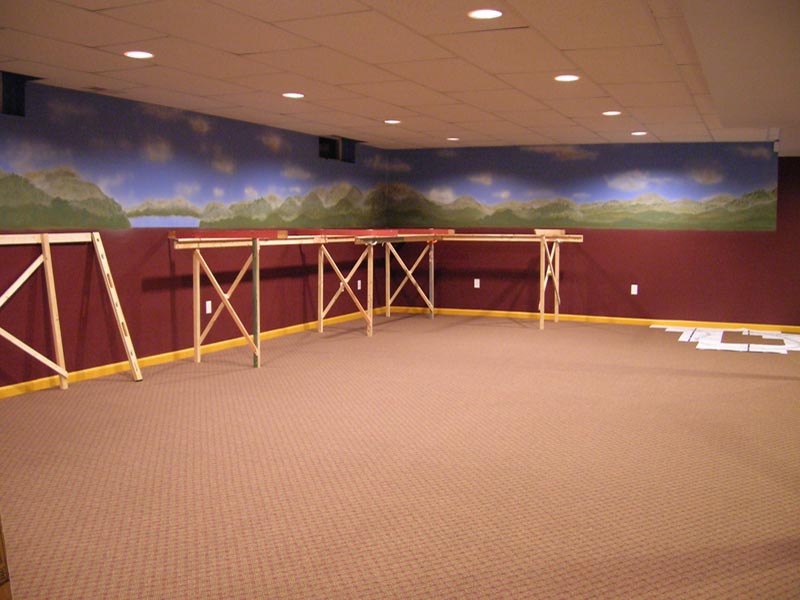
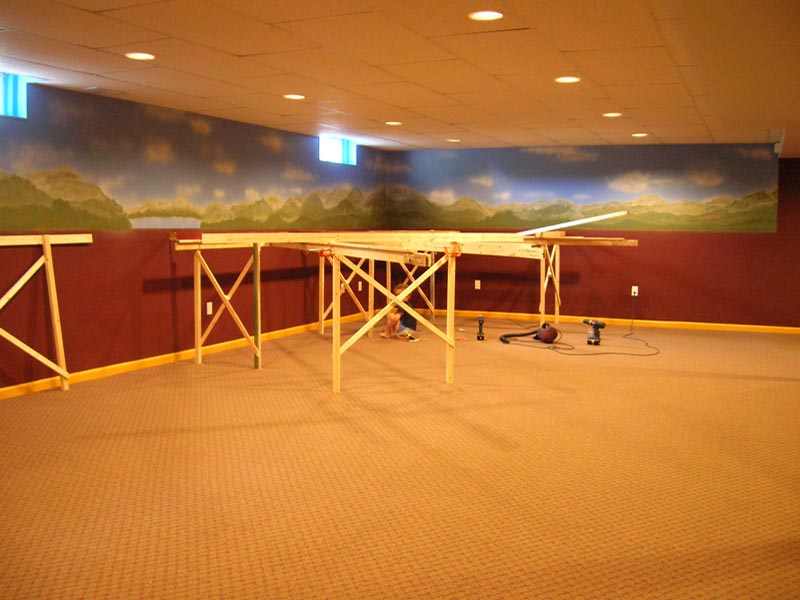
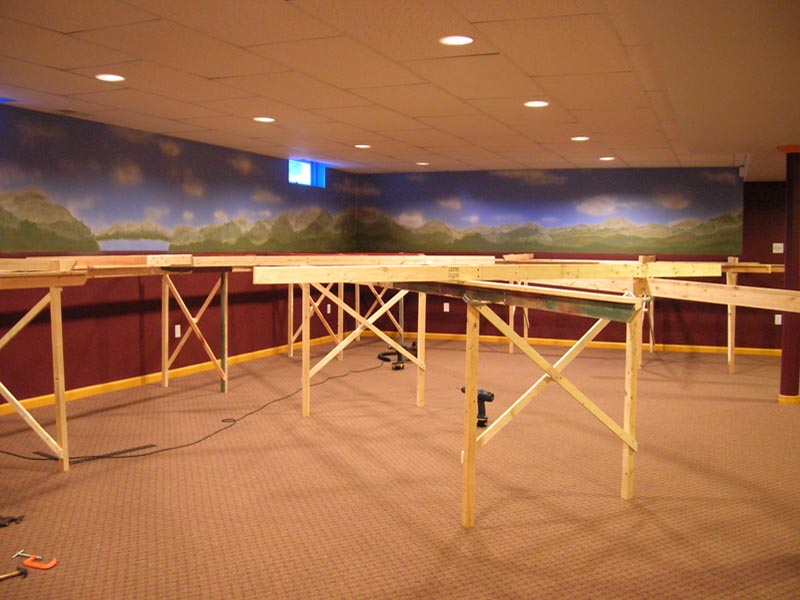
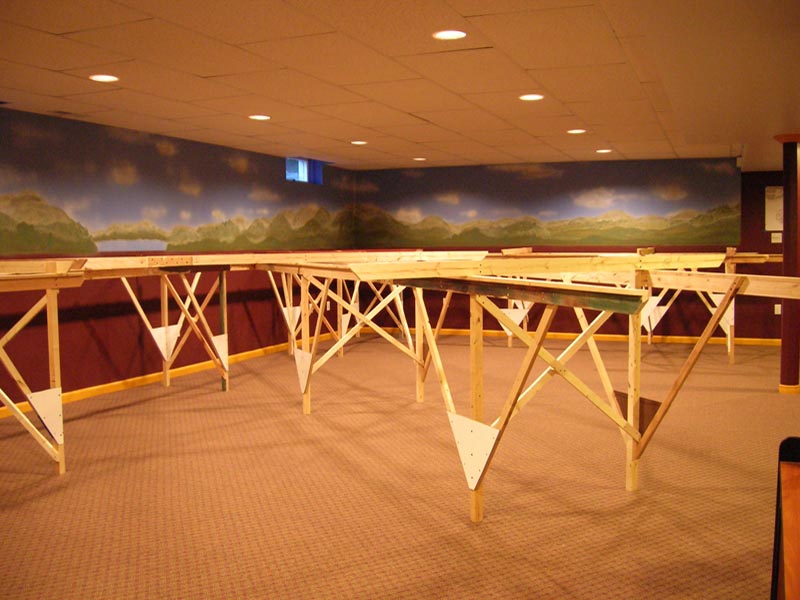
June 2007: Construction of the main benchwork grid. Note our crack team of construction experts. Click on any thumbnail to get a larger image.
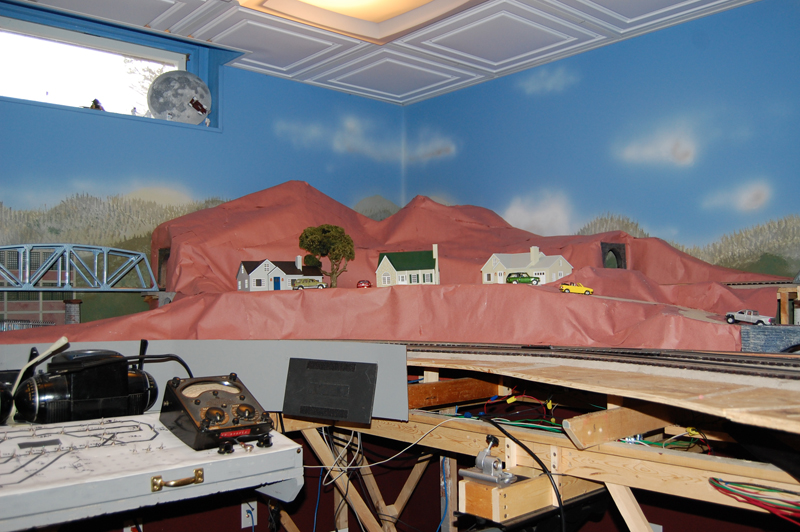
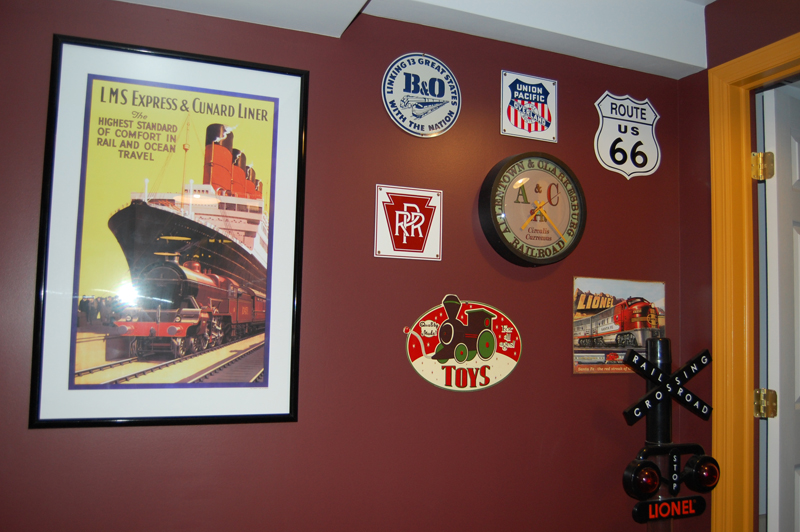
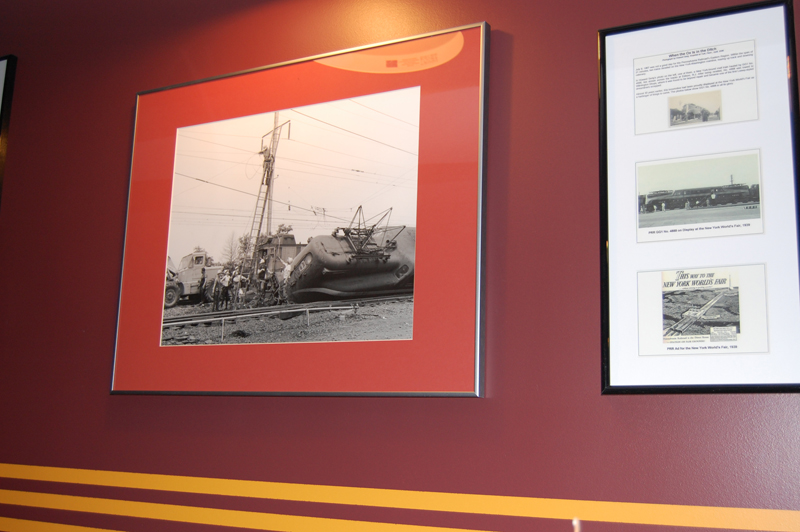
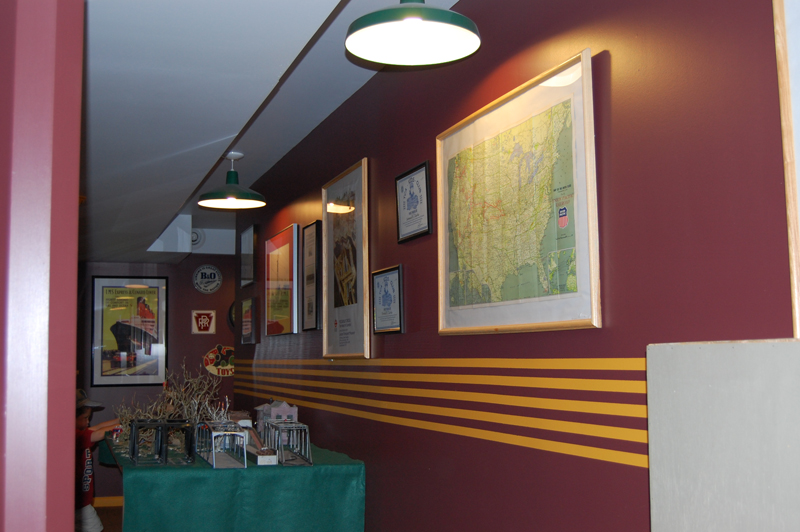
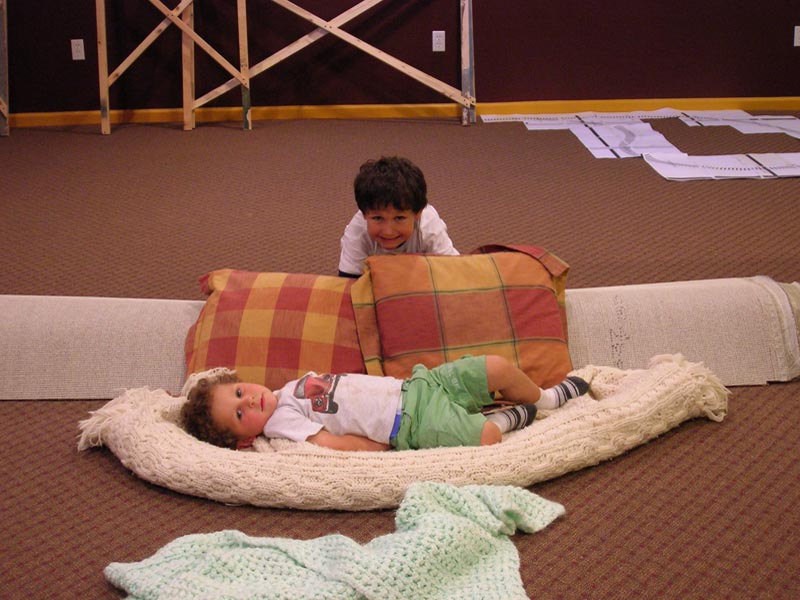
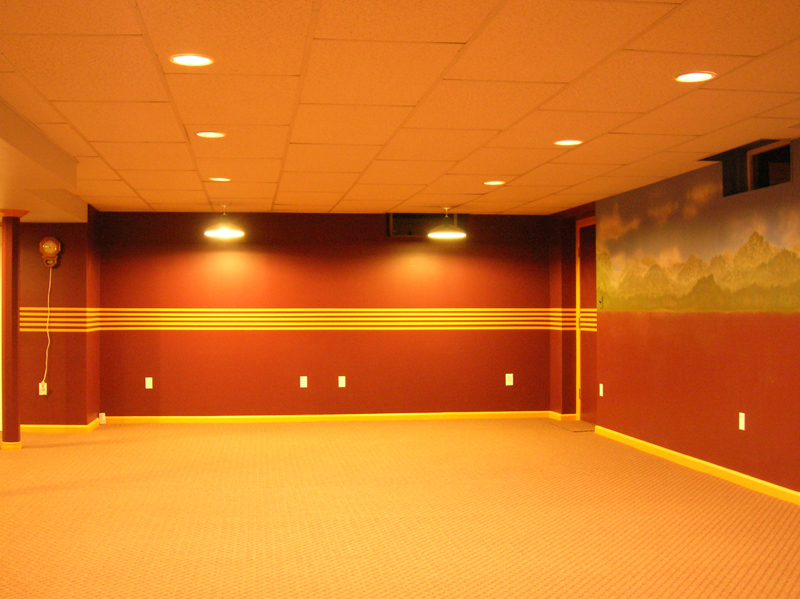
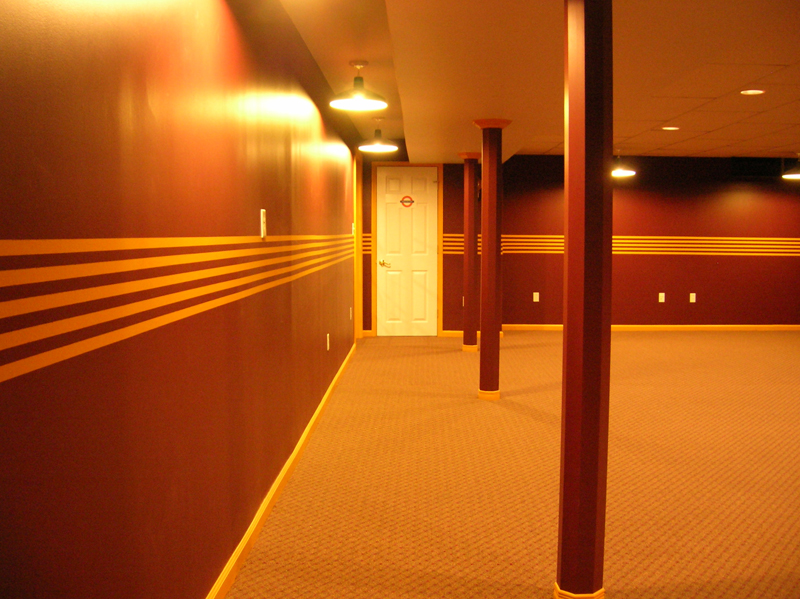
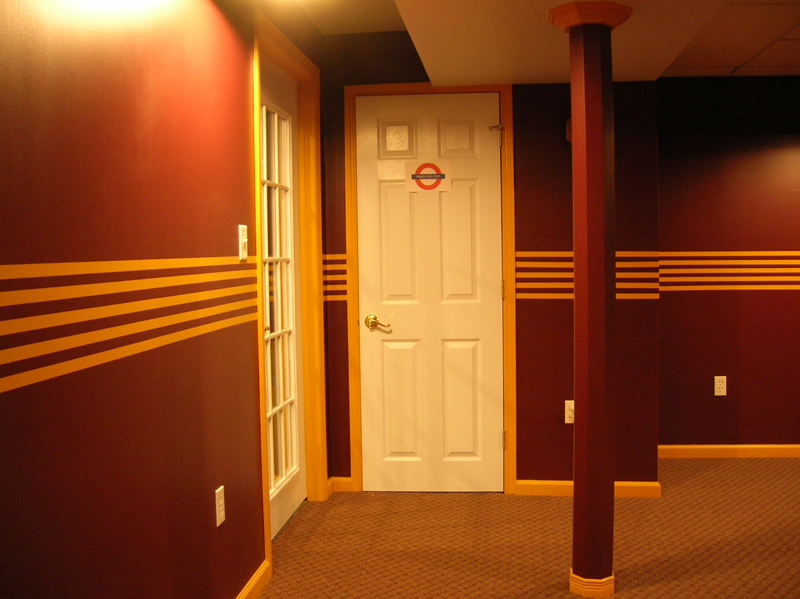
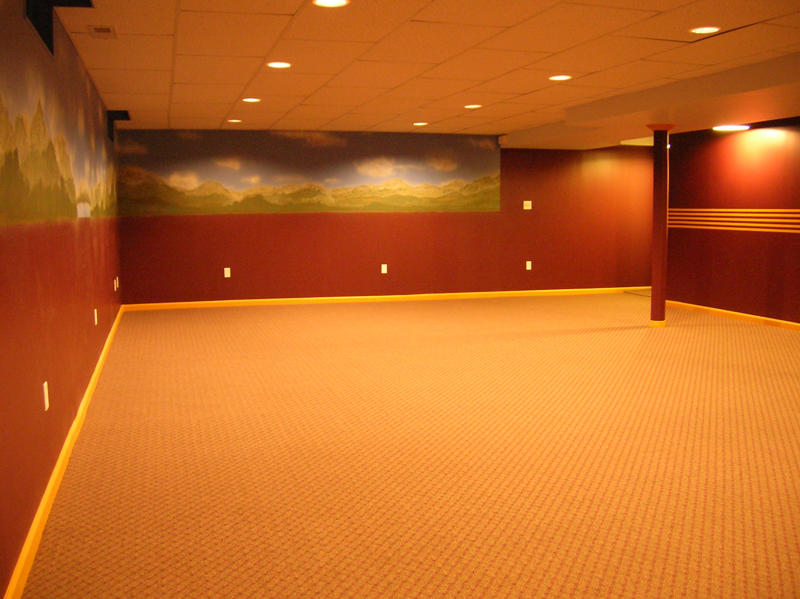
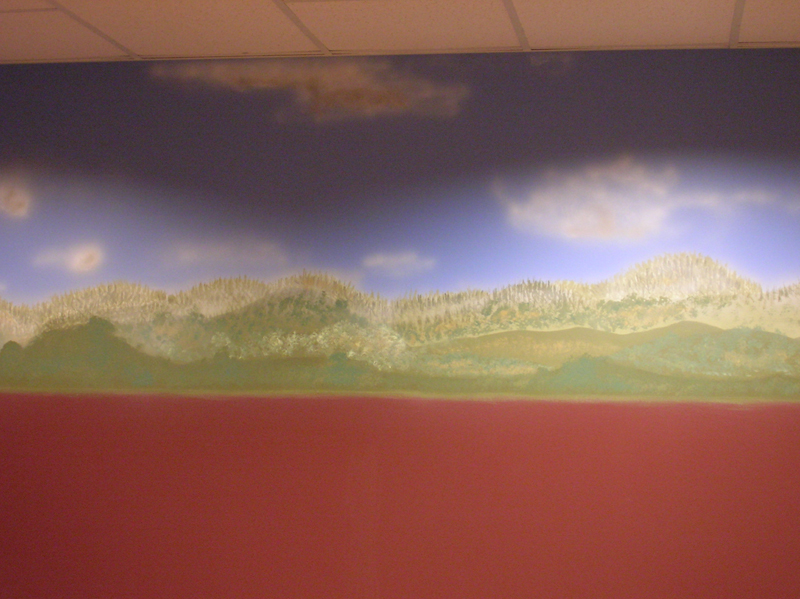
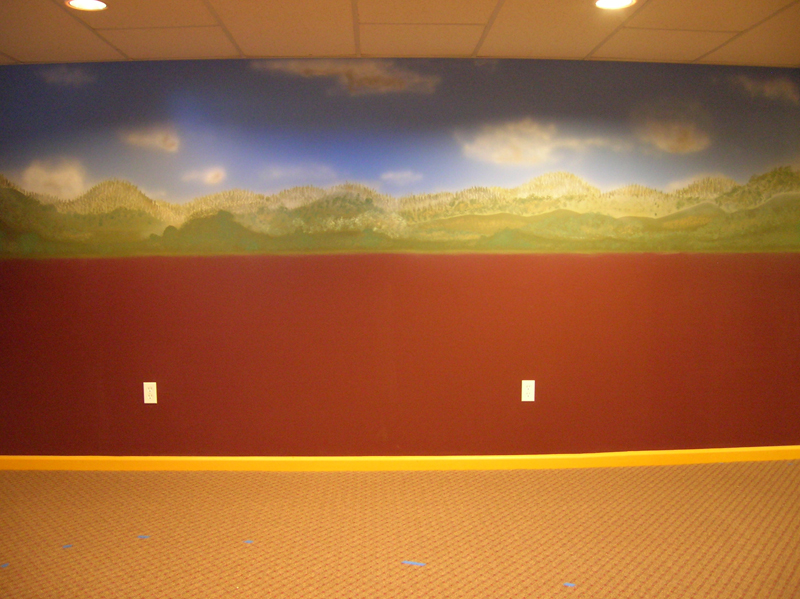
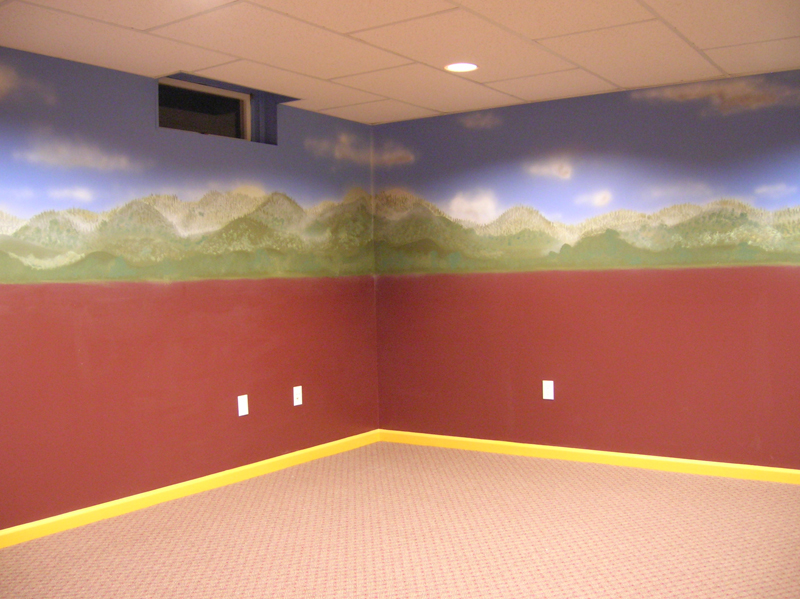
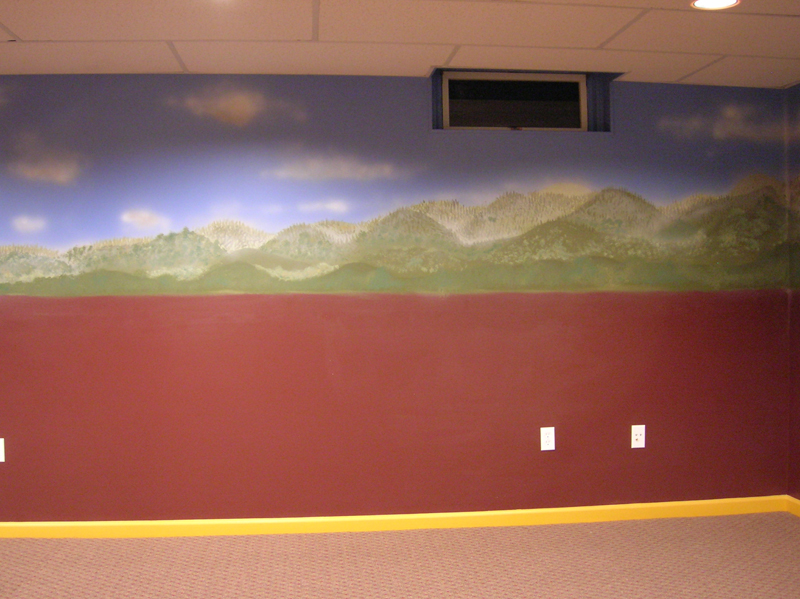
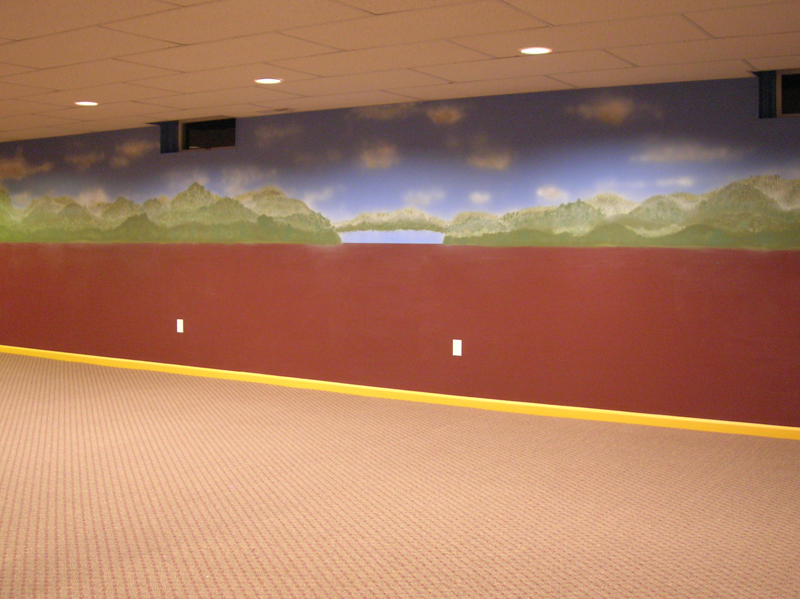
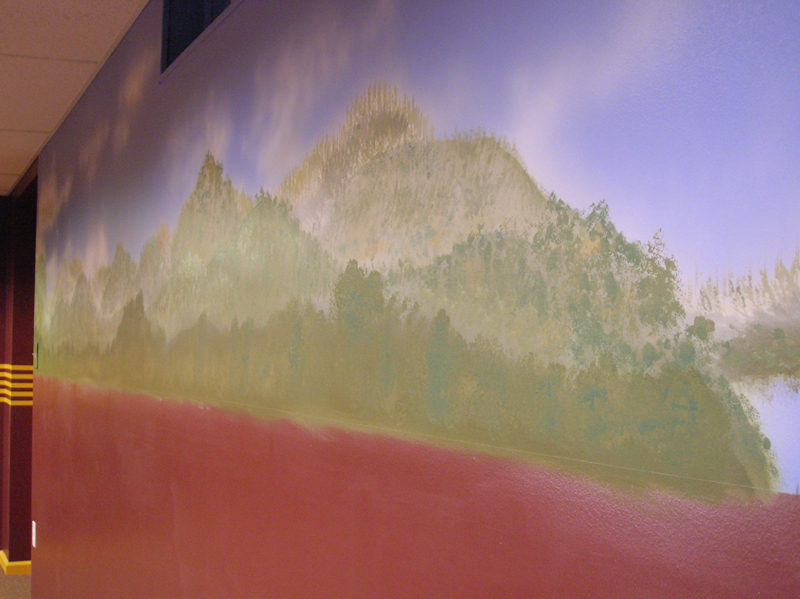
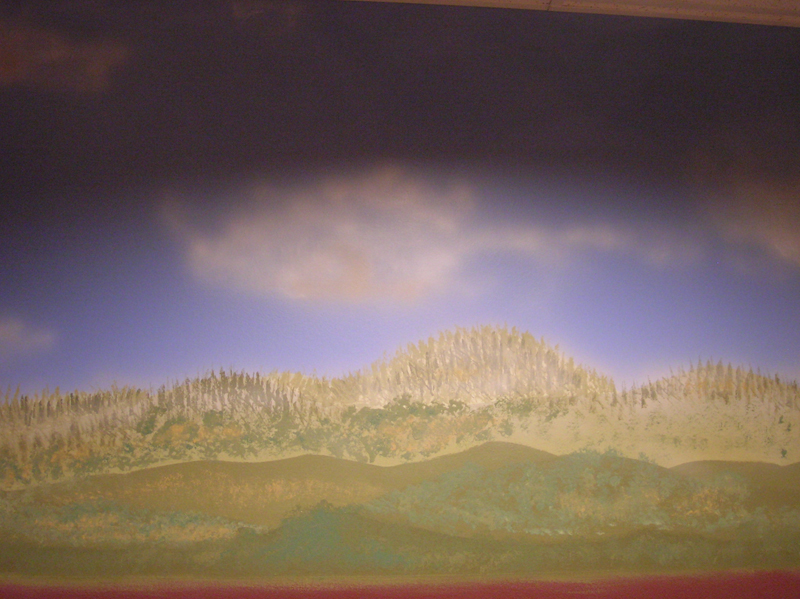
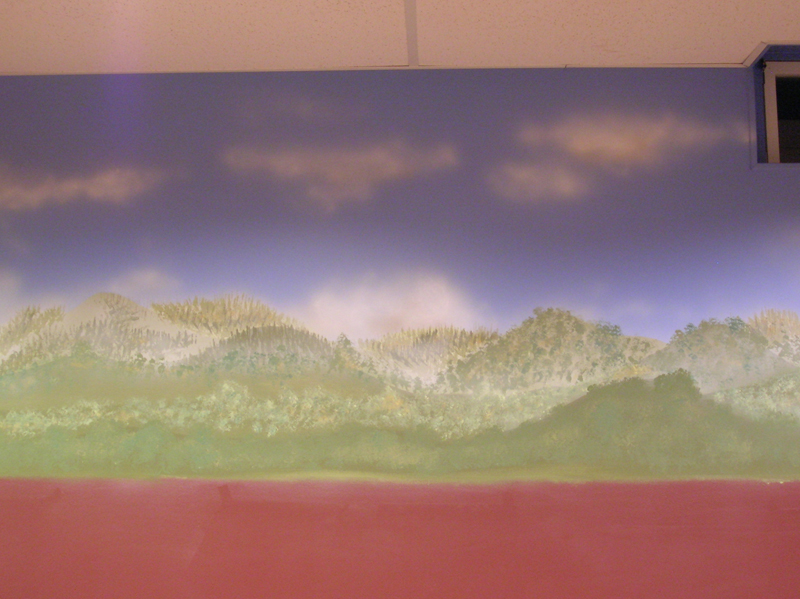
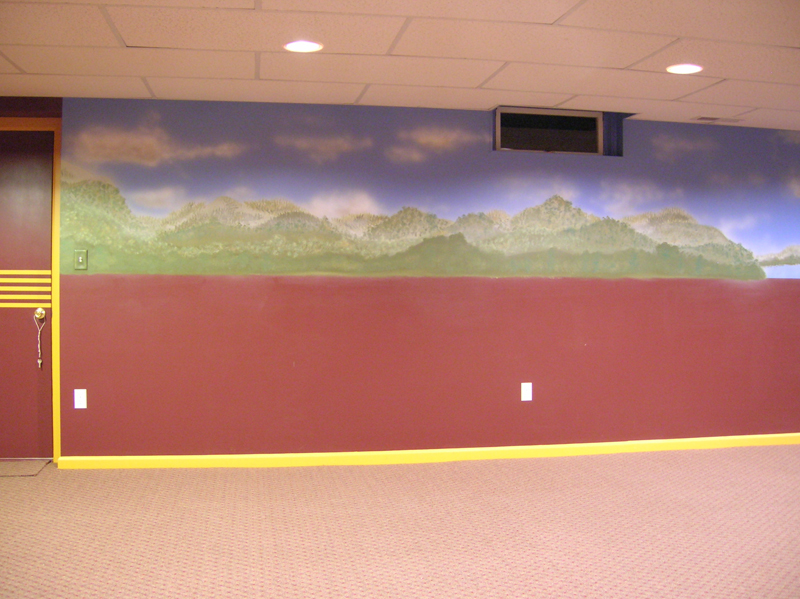
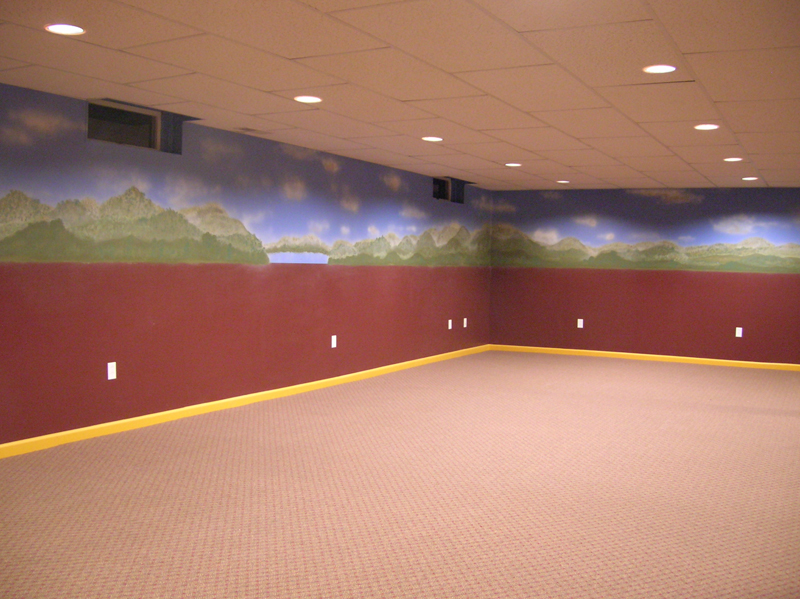
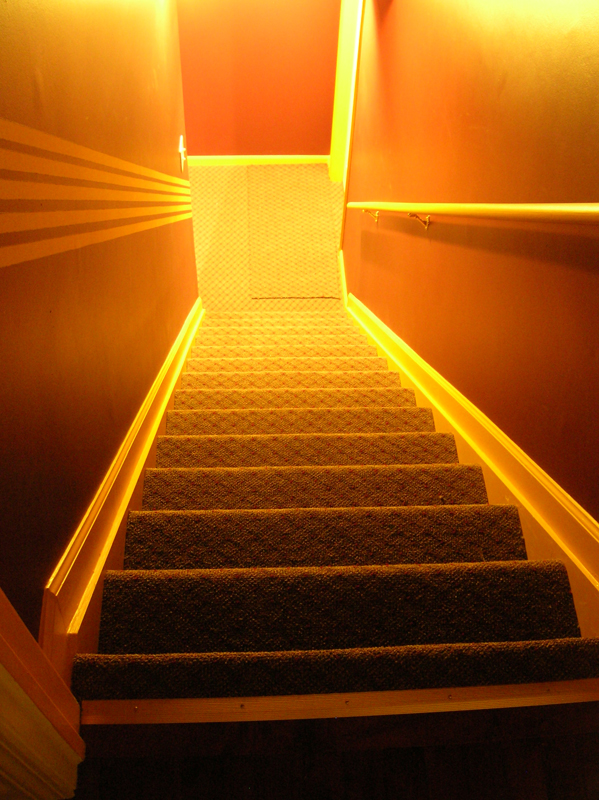
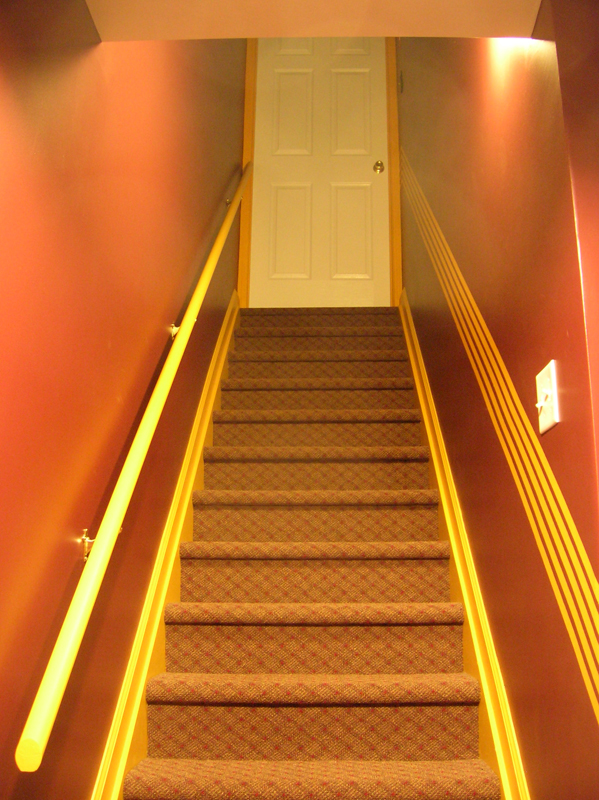
May 2007: These photos show the new train room, which is painted in PRR Tuscan red with gold five stripe. The backdrop was painted with a combination of airbrush, paint brush and sponges, with the initial sky blue done with a roller.
The Old ACRR (2000-06)
May 2006: Just before the layout was taken down.
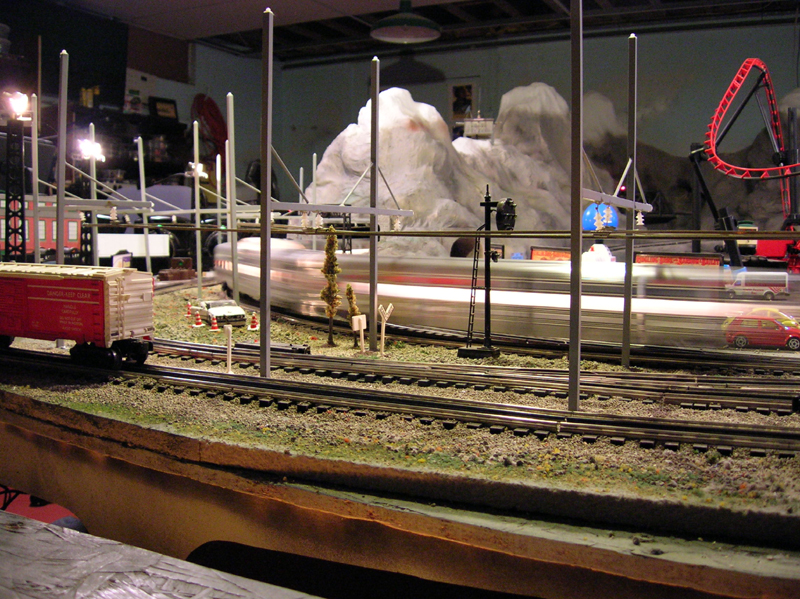
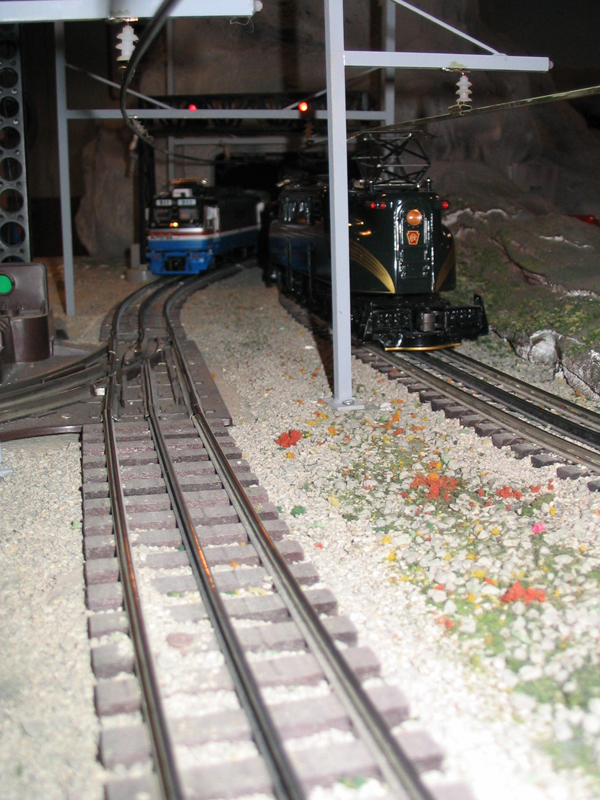
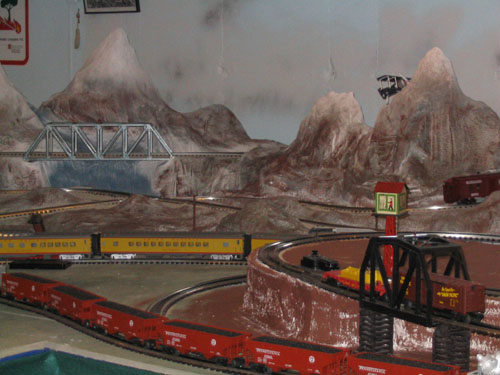
The photos below show developments in 2005: catenary on the two main lines; new mountains; a new siding; warehouse advertising etc.
These are some even earlier photos of the old layout.
Finally, click here for the Pennington layout (~1995-2000). |
||||||||||||||||||||||||||||||||||||||||||||||||||||||||||||||||||||||||||||||||||||||||||||||||||||||||||||||||||||||||||||||||||||||||||||||||||||||||||||||||||||||||||||||||||||||||||||||||||||||||||||||||||


|
Return to |
|
Go back |
|
Animated spinning top courtesy of Webpromotion - 3D Web Animation. |
|
ClarkeFest.com © copyright The Clarkes. |
|
E-Mail: info@ClarkeFest.com |
